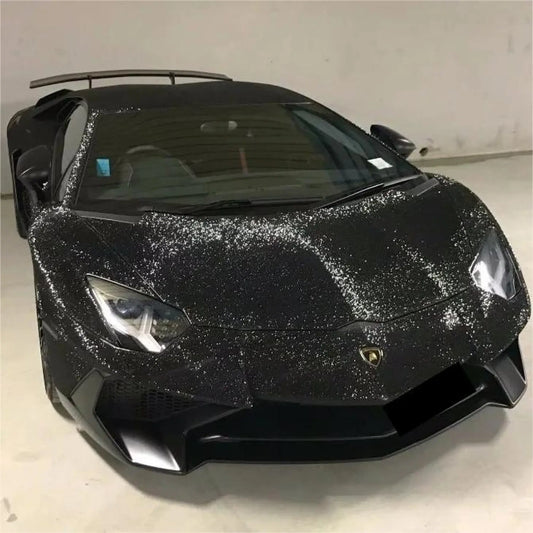
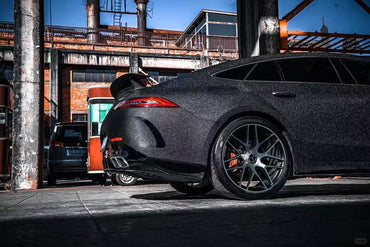
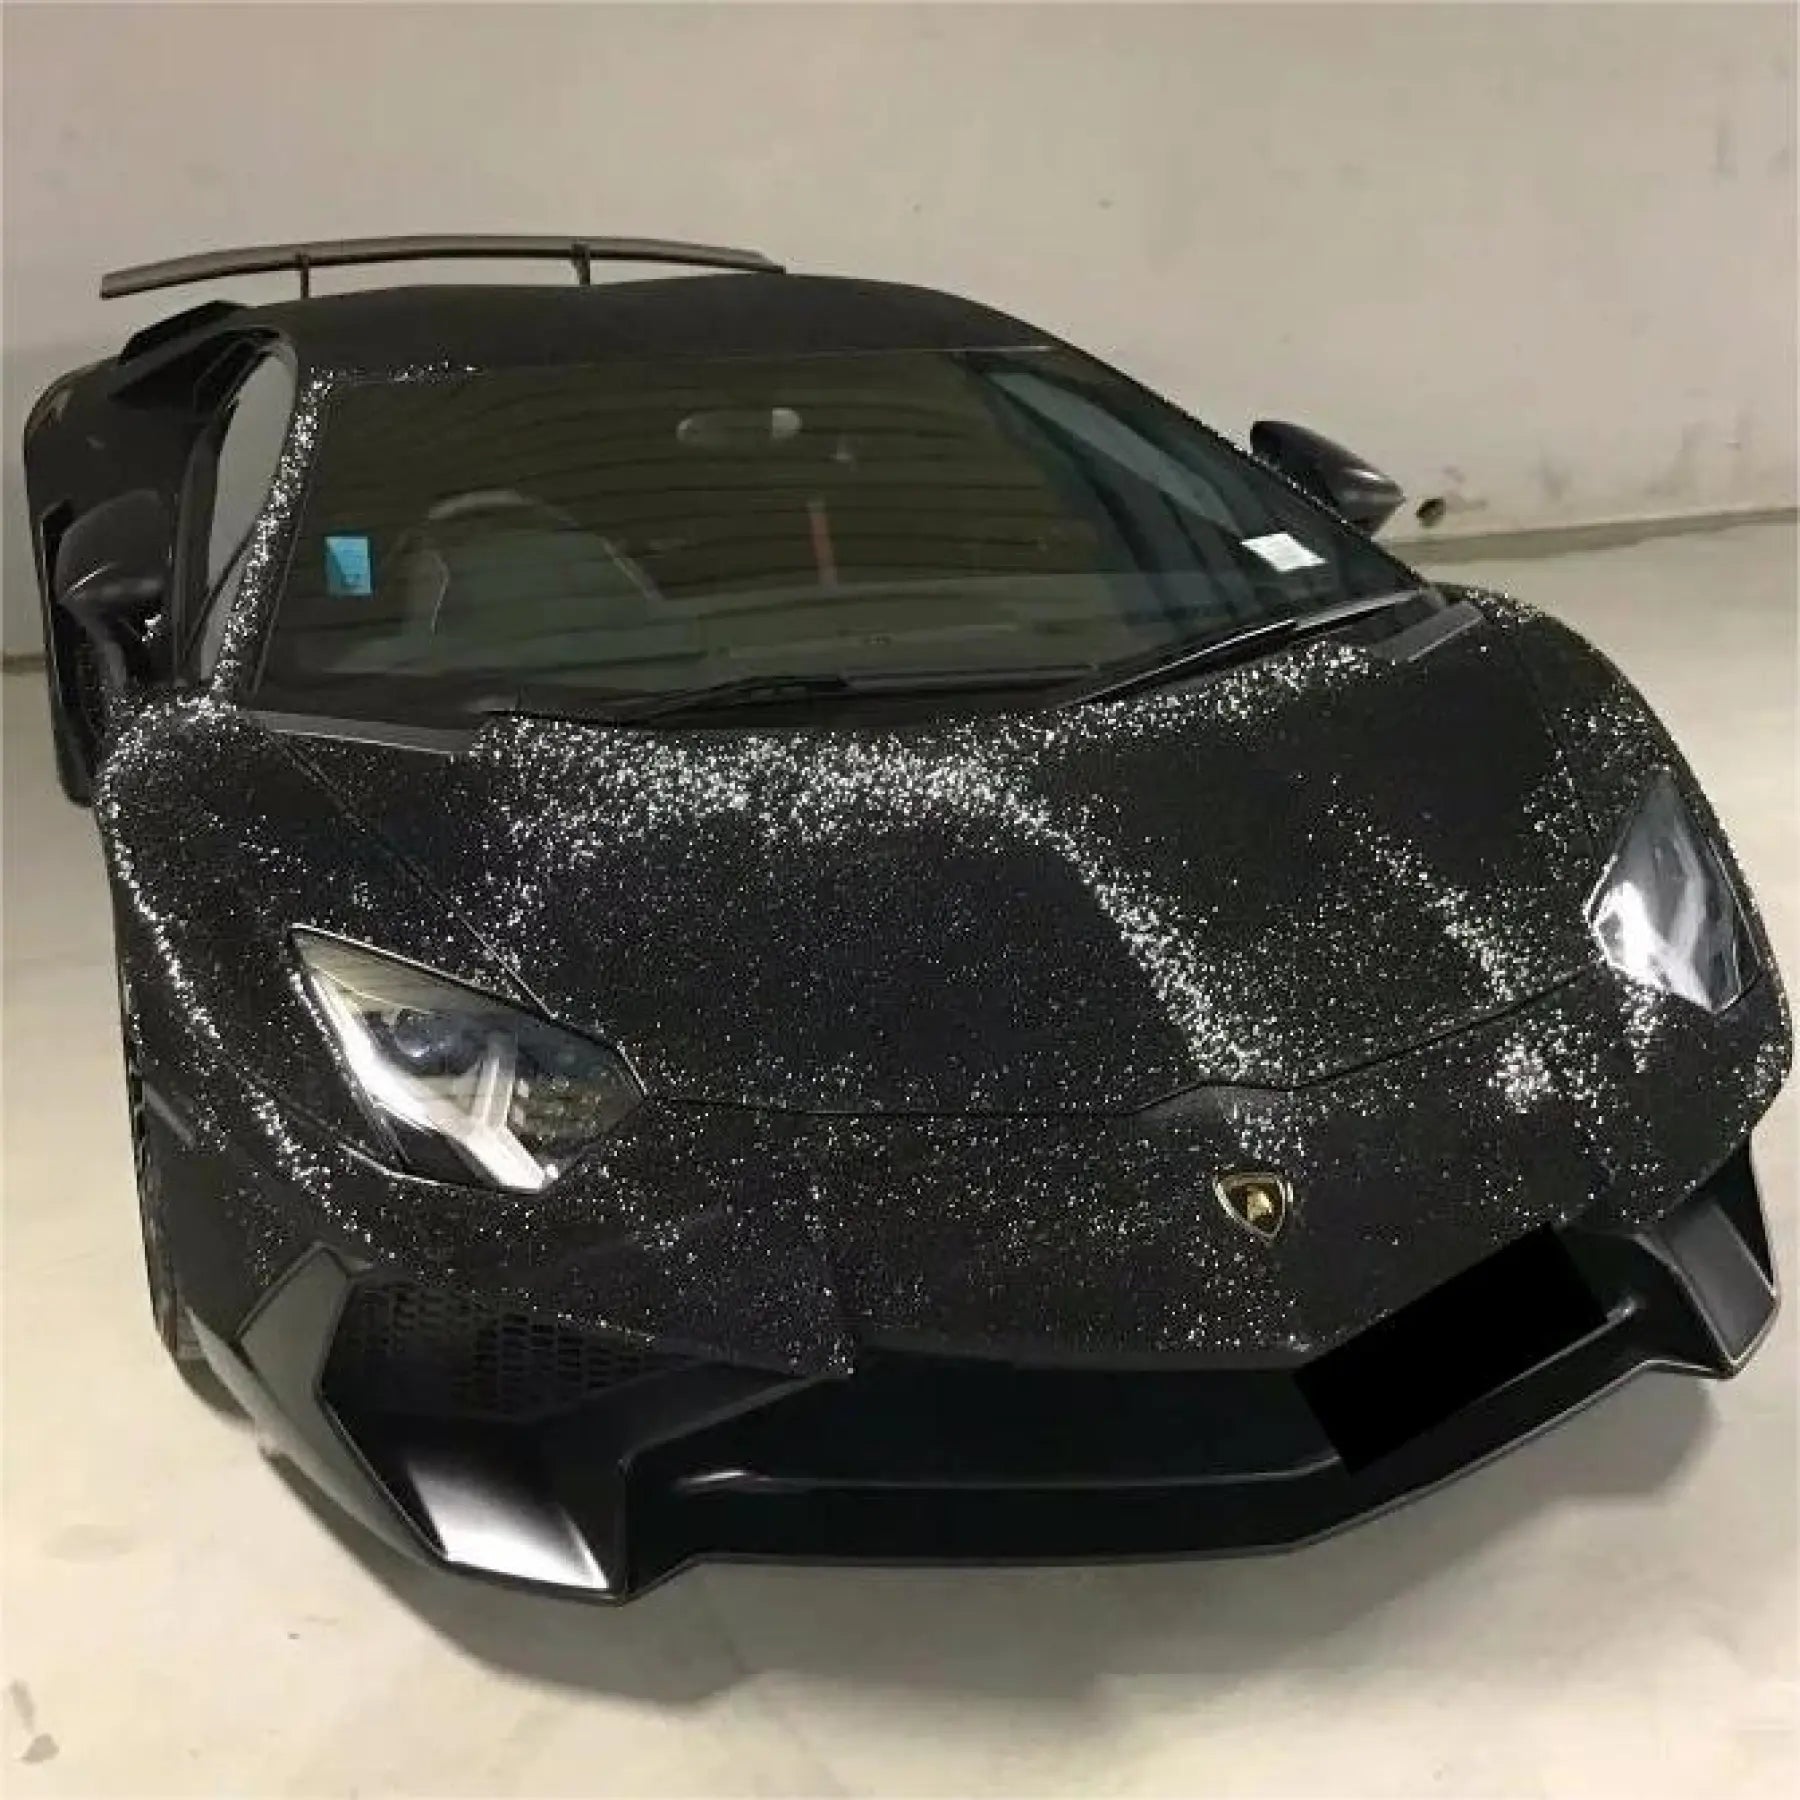
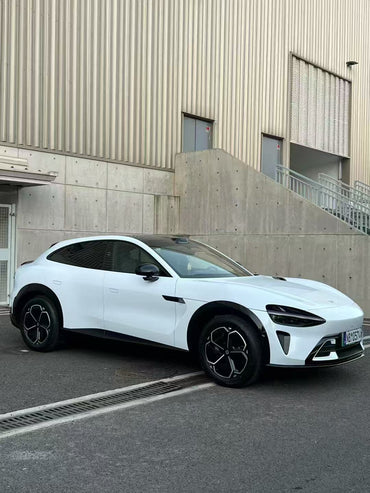
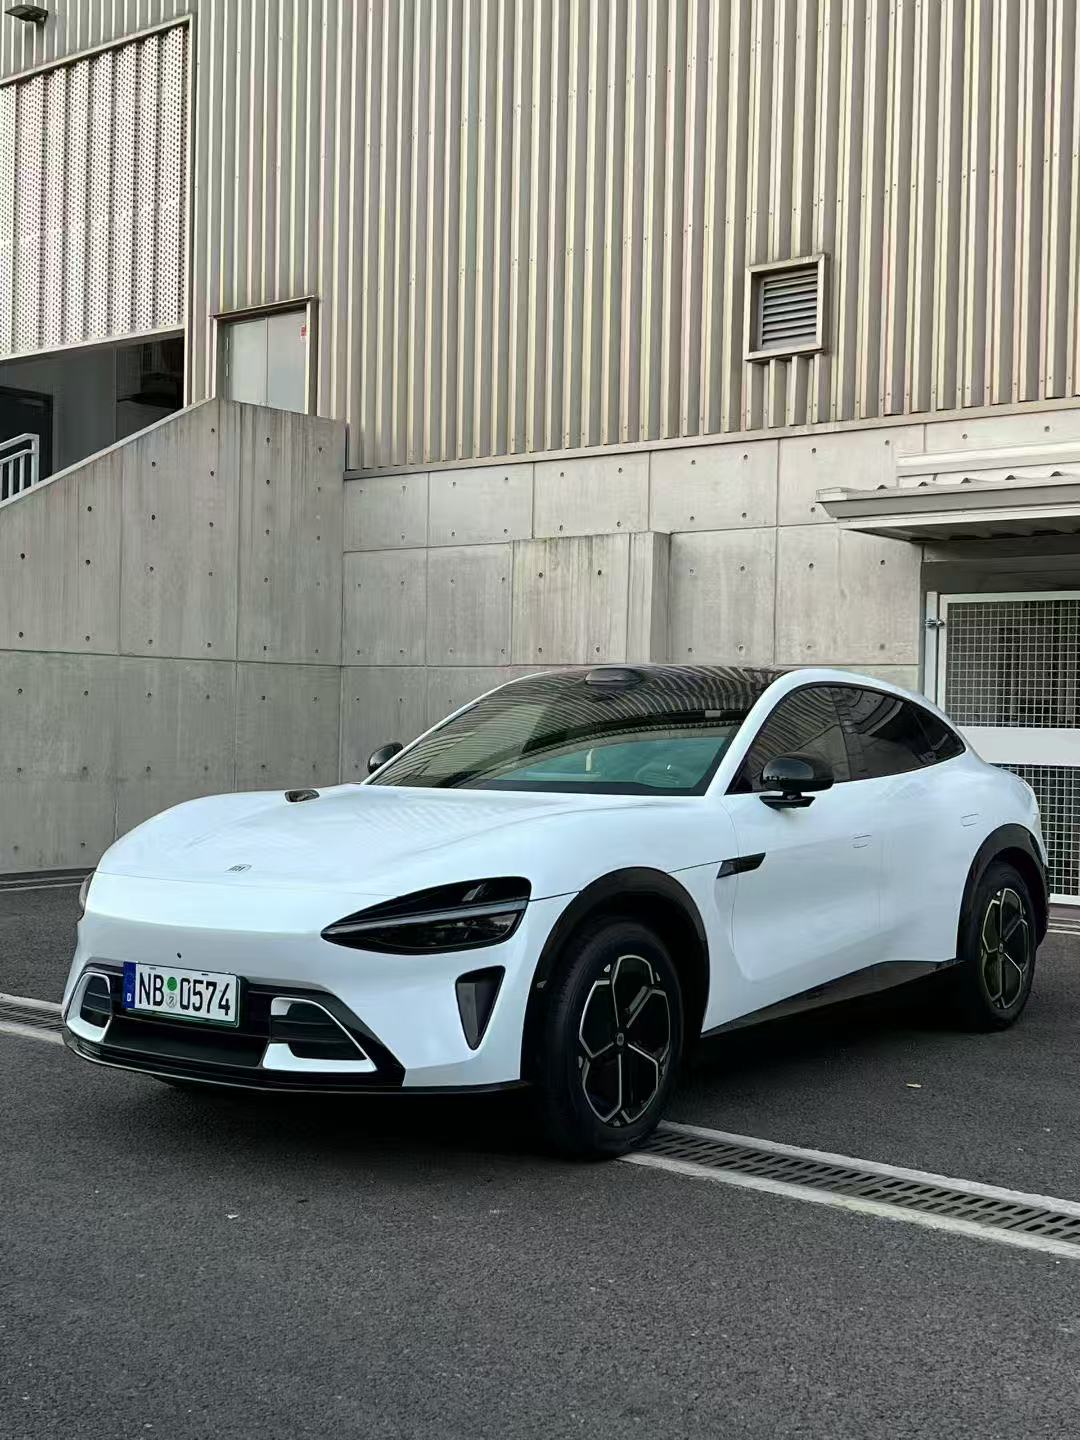
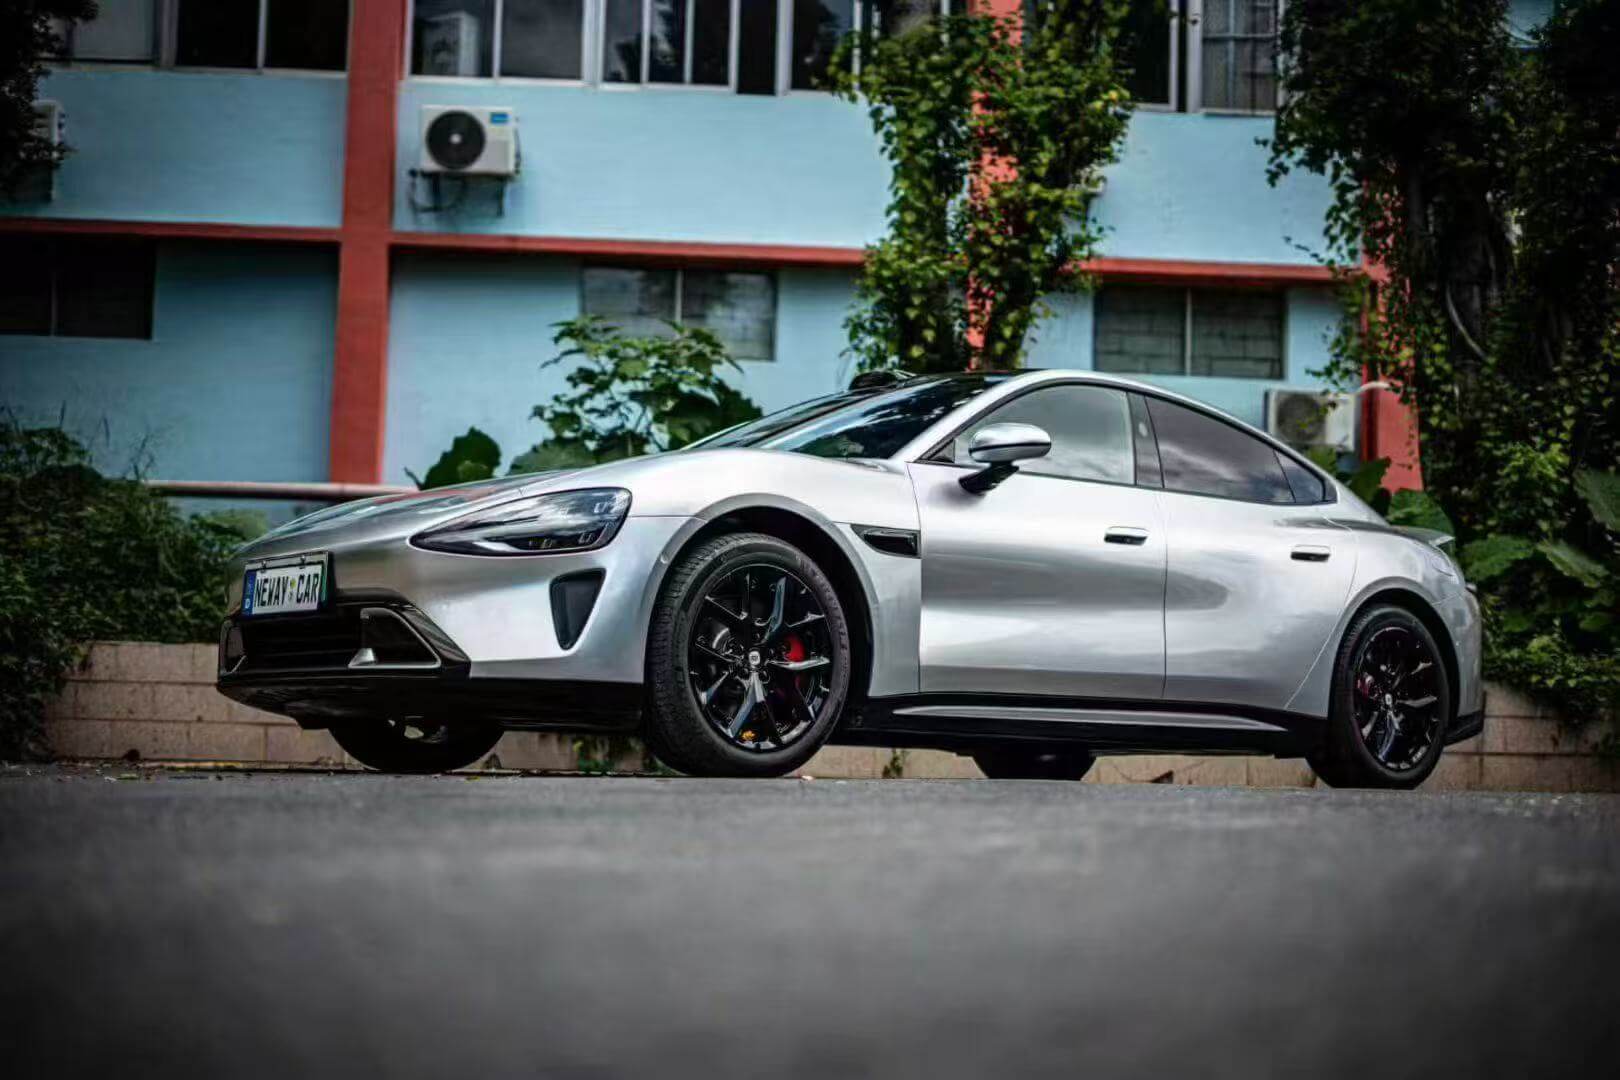
Discovering a scratch, tear, or damaged section on your car vinyl wrap can be frustrating, especially after investing in a premium finish. Whether you've customized your vehicle with our stunning liquid chrome wrap, protected it with TPU paint protection, or created a unique look with dual-color dream vinyl, damage doesn't always mean complete replacement.
Understanding Car Wrap Damage: What Can Be Fixed?
Before attempting any repair, assess the type and severity of damage. Vinyl wraps and paint protection films respond differently to various repair techniques, making proper evaluation critical.
Repairable Damage Types:
Surface Scratches are shallow marks that haven't penetrated through the vinyl layers. These are the most common and easiest to address, often appearing from light contact with branches, shopping carts, or improper washing techniques.
Minor Tears and Cuts measuring under 2 inches can be effectively patched using vinyl repair techniques. These typically result from road debris, keys, or accidental contact with sharp objects.
Edge Lifting occurs when wrap edges separate from the vehicle surface, commonly around door handles, mirrors, and panel seams. This issue often stems from improper installation, pressure washing, or natural adhesive degradation over time.
Small Punctures and Holes from rock chips or minor impacts can be patched seamlessly when caught early, preventing water intrusion and further damage.
Localized Fading or Discoloration in specific areas can sometimes be restored using specialized vinyl conditioners and protectants, especially on newer wraps.
Damage Beyond Repair:
Some situations require professional panel rewrapping or full replacement. Extensive tearing covering more than 6 inches, severe fading across entire panels, brittle or cracked vinyl from age, and deep gouges exposing vehicle paint typically necessitate replacement rather than repair.
For high-value finishes like rainbow laser vinyl or glitter sparkle wraps, consult professionals before attempting repairs to preserve the specialized finish quality.
Essential Tools for Car Wrap Repair
Successful wrap repair requires specific tools and materials. Having the right equipment ensures professional-looking results.
Required Tools:
A heat gun (or high-powered hair dryer) provides controlled heat application for vinyl adhesion and stretching. Digital temperature control models work best, maintaining safe ranges between 194°F-230°F (90°C-110°C).
Microfiber cloths offer scratch-free cleaning and drying essential for prep work and final finishing.
A squeegee or application card removes air bubbles and ensures proper vinyl adhesion during patching.
Utility knife or precision cutting tool enables clean, accurate vinyl trimming without damaging underlying paint.
Isopropyl alcohol (70% concentration) cleans surfaces and removes adhesive residue without harming vinyl.
Vinyl patch material should match your original wrap. Our sample kits offer affordable solutions for color-matching before purchasing full sheets.
Optional Professional Tools:
An infrared thermometer accurately monitors surface temperature during heating, preventing overheating damage. Edge sealing adhesive provides extra security for lifted areas. Vinyl-safe cleaner specifically formulated for automotive wraps ensures thorough cleaning without damage.
Browse our complete selection of wrapping tools to ensure you have professional-grade equipment for optimal repair results.
Step-by-Step: Repairing Surface Scratches
Surface scratches represent the most common wrap damage. Follow this proven repair process for professional results.
Step 1: Clean the Damaged Area
Mix warm water with pH-neutral car soap, then gently clean the scratched area using a microfiber cloth. Remove all dirt, wax, grease, and road grime—contaminants prevent proper adhesion and repair. Rinse thoroughly and dry completely before proceeding.
Step 2: Assess Scratch Depth
Run your fingernail gently across the scratch. If your nail catches, the scratch has penetrated the vinyl layer. Superficial scratches that don't catch may respond to heat treatment alone.
Step 3: Apply Heat Treatment
For minor scratches on ultra matte wraps, metallic vinyl, or gloss finishes, controlled heat can work wonders. Hold your heat gun 6-8 inches from the surface, moving in continuous sweeping motions. Never hold it stationary—this causes overheating and permanent damage.
Heat the scratched area for 15-30 seconds until the vinyl becomes pliable. The material's molecular structure allows it to partially "self-heal" under proper heat application, especially with colored paint protection film featuring self-healing top coats.
Step 4: Massage and Smooth
While the vinyl remains warm, use your thumb or a soft squeegee to gently massage the scratched area. Apply light, consistent pressure in the direction of the scratch. This technique encourages vinyl fibers to realign and fill minor imperfections.
Step 5: Polish and Protect
Once cooled, apply a vinyl-safe conditioner or polish using a clean microfiber cloth. Work the product into the repaired area using gentle circular motions. This step restores sheen and provides protective conditioning to prevent future damage.
For stubborn scratches on specialty finishes like 3D carbon fiber wrap, consider professional refinishing to maintain the textured appearance.
Patching Tears and Cuts: Advanced Repair Technique
Tears and cuts require vinyl patching—a more involved but highly effective repair method that can save hundreds compared to panel rewrapping.
Step 1: Clean and Prepare
Thoroughly clean the damaged area and 2 inches surrounding it with isopropyl alcohol. This ensures optimal adhesive bonding. Allow the area to dry completely—moisture trapped under patches causes bubbling and premature failure.
Step 2: Remove Damaged Material
Using wet 2500-grit sandpaper on a sanding block, gently level any raised edges or vinyl debris around the tear. Keep the area wet during sanding to prevent vinyl dust and minimize heat buildup. This creates a smooth foundation for the patch.
Clean the prepared area again with soapy water, rinse, and dry thoroughly.
Step 3: Cut and Size the Patch
Measure the damaged area, then cut a vinyl patch 1/2 inch larger on all sides to ensure adequate overlap. For best results, align the patch grain direction with the original wrap pattern—this makes repairs less noticeable.
When repairing crystal vinyl wraps or other specialty finishes, precise color matching is essential. Order matching material from the same collection to ensure consistent appearance.
Step 4: Apply the Patch
Remove the backing from your vinyl patch. Starting at the center, use your fingers or application card to apply the vinyl outward in all directions. This technique pushes air bubbles toward edges, preventing trapped air pockets.
Work slowly and deliberately. Rushed application creates wrinkles and bubbles that compromise both appearance and longevity.
Step 5: Heat and Seal
Apply heat to the patched area, focusing on edges and any curves. The heat activates the adhesive and helps the patch conform to vehicle contours. Maintain 6-8 inches distance and use sweeping motions to distribute heat evenly.
Press firmly with your squeegee during heating to ensure complete adhesion. Pay extra attention to patch edges—these areas are most susceptible to lifting.
Step 6: Trim Excess Material
Once the patch has cooled and set (approximately 5-10 minutes), carefully trim any excess vinyl using a sharp utility knife. Hold the blade at a shallow angle to avoid cutting into the original wrap or underlying paint. Light, controlled strokes produce cleaner cuts than aggressive pressure.
Step 7: Final Heating and Sealing
Apply a final heat treatment to seal the patch edges completely. This step is crucial for longevity—properly sealed edges resist moisture intrusion and prevent premature lifting.
The entire patching process typically takes 30-60 minutes depending on damage severity and location. While the repair may be slightly visible upon close inspection, it's far less noticeable (and expensive) than leaving damaged areas exposed or rewrapping entire panels.
Fixing Edge Lifting and Peeling
Edge lifting compromises wrap appearance and allows water intrusion that accelerates damage. Address this issue promptly to prevent expansion.
Repair Process:
Clean the lifted edge and surrounding area with isopropyl alcohol to remove dirt and oils. Carefully lift the separated vinyl edge, then clean the adhesive backing using a 50/50 mixture of water and isopropyl alcohol. Allow it to air dry completely—any remaining moisture prevents proper re-adhesion.
For added security, apply a thin layer of adhesive primer to the vehicle surface before re-adhering the wrap. Heat the vinyl edge to 200°F-220°F using your heat gun, then press firmly in place. Hold pressure for 30 seconds while the adhesive cools and sets.
If lifting persists after this treatment, apply specialized edge sealing adhesive as a last resort. This clear adhesive creates a permanent bond that resists future lifting, though it makes subsequent removal more difficult.
For wraps experiencing widespread edge lifting across multiple panels, professional evaluation is recommended. This often indicates installation quality issues or wrap material failure requiring more extensive intervention.
Self-Healing PPF: The Repair Advantage
Paint protection film offers unique advantages over traditional vinyl wraps, particularly regarding minor damage repair. Our TPU paint protection wrap features advanced thermoplastic urethane construction with self-healing properties.
How Self-Healing Works:
Premium PPF incorporates elastomeric polymers in the top clear coat. When surface scratches occur, controlled heat application causes these polymers to flow back together, essentially "healing" minor imperfections. This technology works on scratches up to 2-3 mils deep—sufficient for most surface damage from road debris, light keying, and environmental wear.
Activating Self-Healing:
For minor scratches on PPF, pour hot (not boiling) water over the affected area or apply heat gun warmth for 30-60 seconds. The scratch should visibly diminish or disappear as the material's molecular structure realigns. This process can be repeated multiple times throughout the film's lifespan.
This self-healing capability makes colored PPF an excellent choice for high-impact areas like front bumpers, hoods, and door edges that commonly encounter minor damage.
When to Repair vs. Replace: Making the Right Decision
Not all damage warrants full replacement. Understanding when to repair versus replace helps optimize your investment.
Choose Repair When:
Damage is localized to specific areas smaller than 6 inches. The wrap is less than 3 years old with good overall condition. Repair costs less than 30% of full panel rewrap price. The damaged area is in a less visible location. You have matching vinyl material available for patching.
Consider Replacement When:
Damage spans entire panels or multiple sections. The wrap shows extensive fading, cracking, or brittleness from age. Previous repairs have failed or look unprofessional. The vehicle requires paint repair underneath damaged areas. Your wrap has exceeded its expected lifespan (5-7 years for quality vinyl).
For premium finishes like best-selling wraps or specialty materials, factor in the finish's value when deciding. Sometimes investing in professional panel rewrapping maintains the vehicle's overall appearance better than visible DIY patches.
Professional vs. DIY Repair: What to Consider
While many repairs can be successfully completed at home, some situations benefit from professional expertise.
DIY-Friendly Repairs:
Minor surface scratches requiring only heat treatment. Small edge lifting in accessible areas. Tiny punctures or holes under 1/4 inch. Surface cleaning and conditioning. Simple vinyl patching in non-visible areas.
Professional-Recommended Repairs:
Complex curves and body lines requiring expert heat shaping. Large tears or cuts exceeding 2 inches. Damage to specialty finishes like chrome, metallic, or color-shift materials. Multiple damaged areas requiring pattern matching. Repairs in highly visible locations (hood center, door faces). Full panel rewrapping after accident damage.
Professional installers have specialized tools, controlled environments, and experience that ensure seamless results. For wraps like our rainbow laser series with complex color-shifting effects, professional repair maintains the finish integrity that DIY attempts might compromise.
Preventing Future Damage: Maintenance Tips
Prevention remains more effective than repair. Implement these practices to minimize wrap damage and extend lifespan.
Regular washing using the two-bucket method removes contaminants before they bond with vinyl. Immediate spot cleaning of bird droppings, bug splatter, and tree sap prevents acid etching. Covered parking protects against UV damage, environmental fallout, and physical impacts. Careful navigation around tight spaces prevents scraping and tearing. Professional ceramic coating adds protective layers that resist scratches and chemical damage.
Explore our complete guide on proper car wrap washing to maintain your investment and prevent avoidable damage.
Conclusion: Repair and Restore Your Investment
Car wrap damage doesn't mean starting over from scratch. With proper techniques, tools, and materials, most scratches, tears, and damaged sections can be effectively repaired without full replacement. Whether you've invested in ultra matte finishes, protective TPU films, or eye-catching specialty wraps, understanding repair options helps you maintain that showroom appearance for years.
For materials, tools, and expert advice on car wrap repair, visit our collections and discover why Sailifilm delivers both quality products and comprehensive support for every stage of your wrap journey.
External References:


