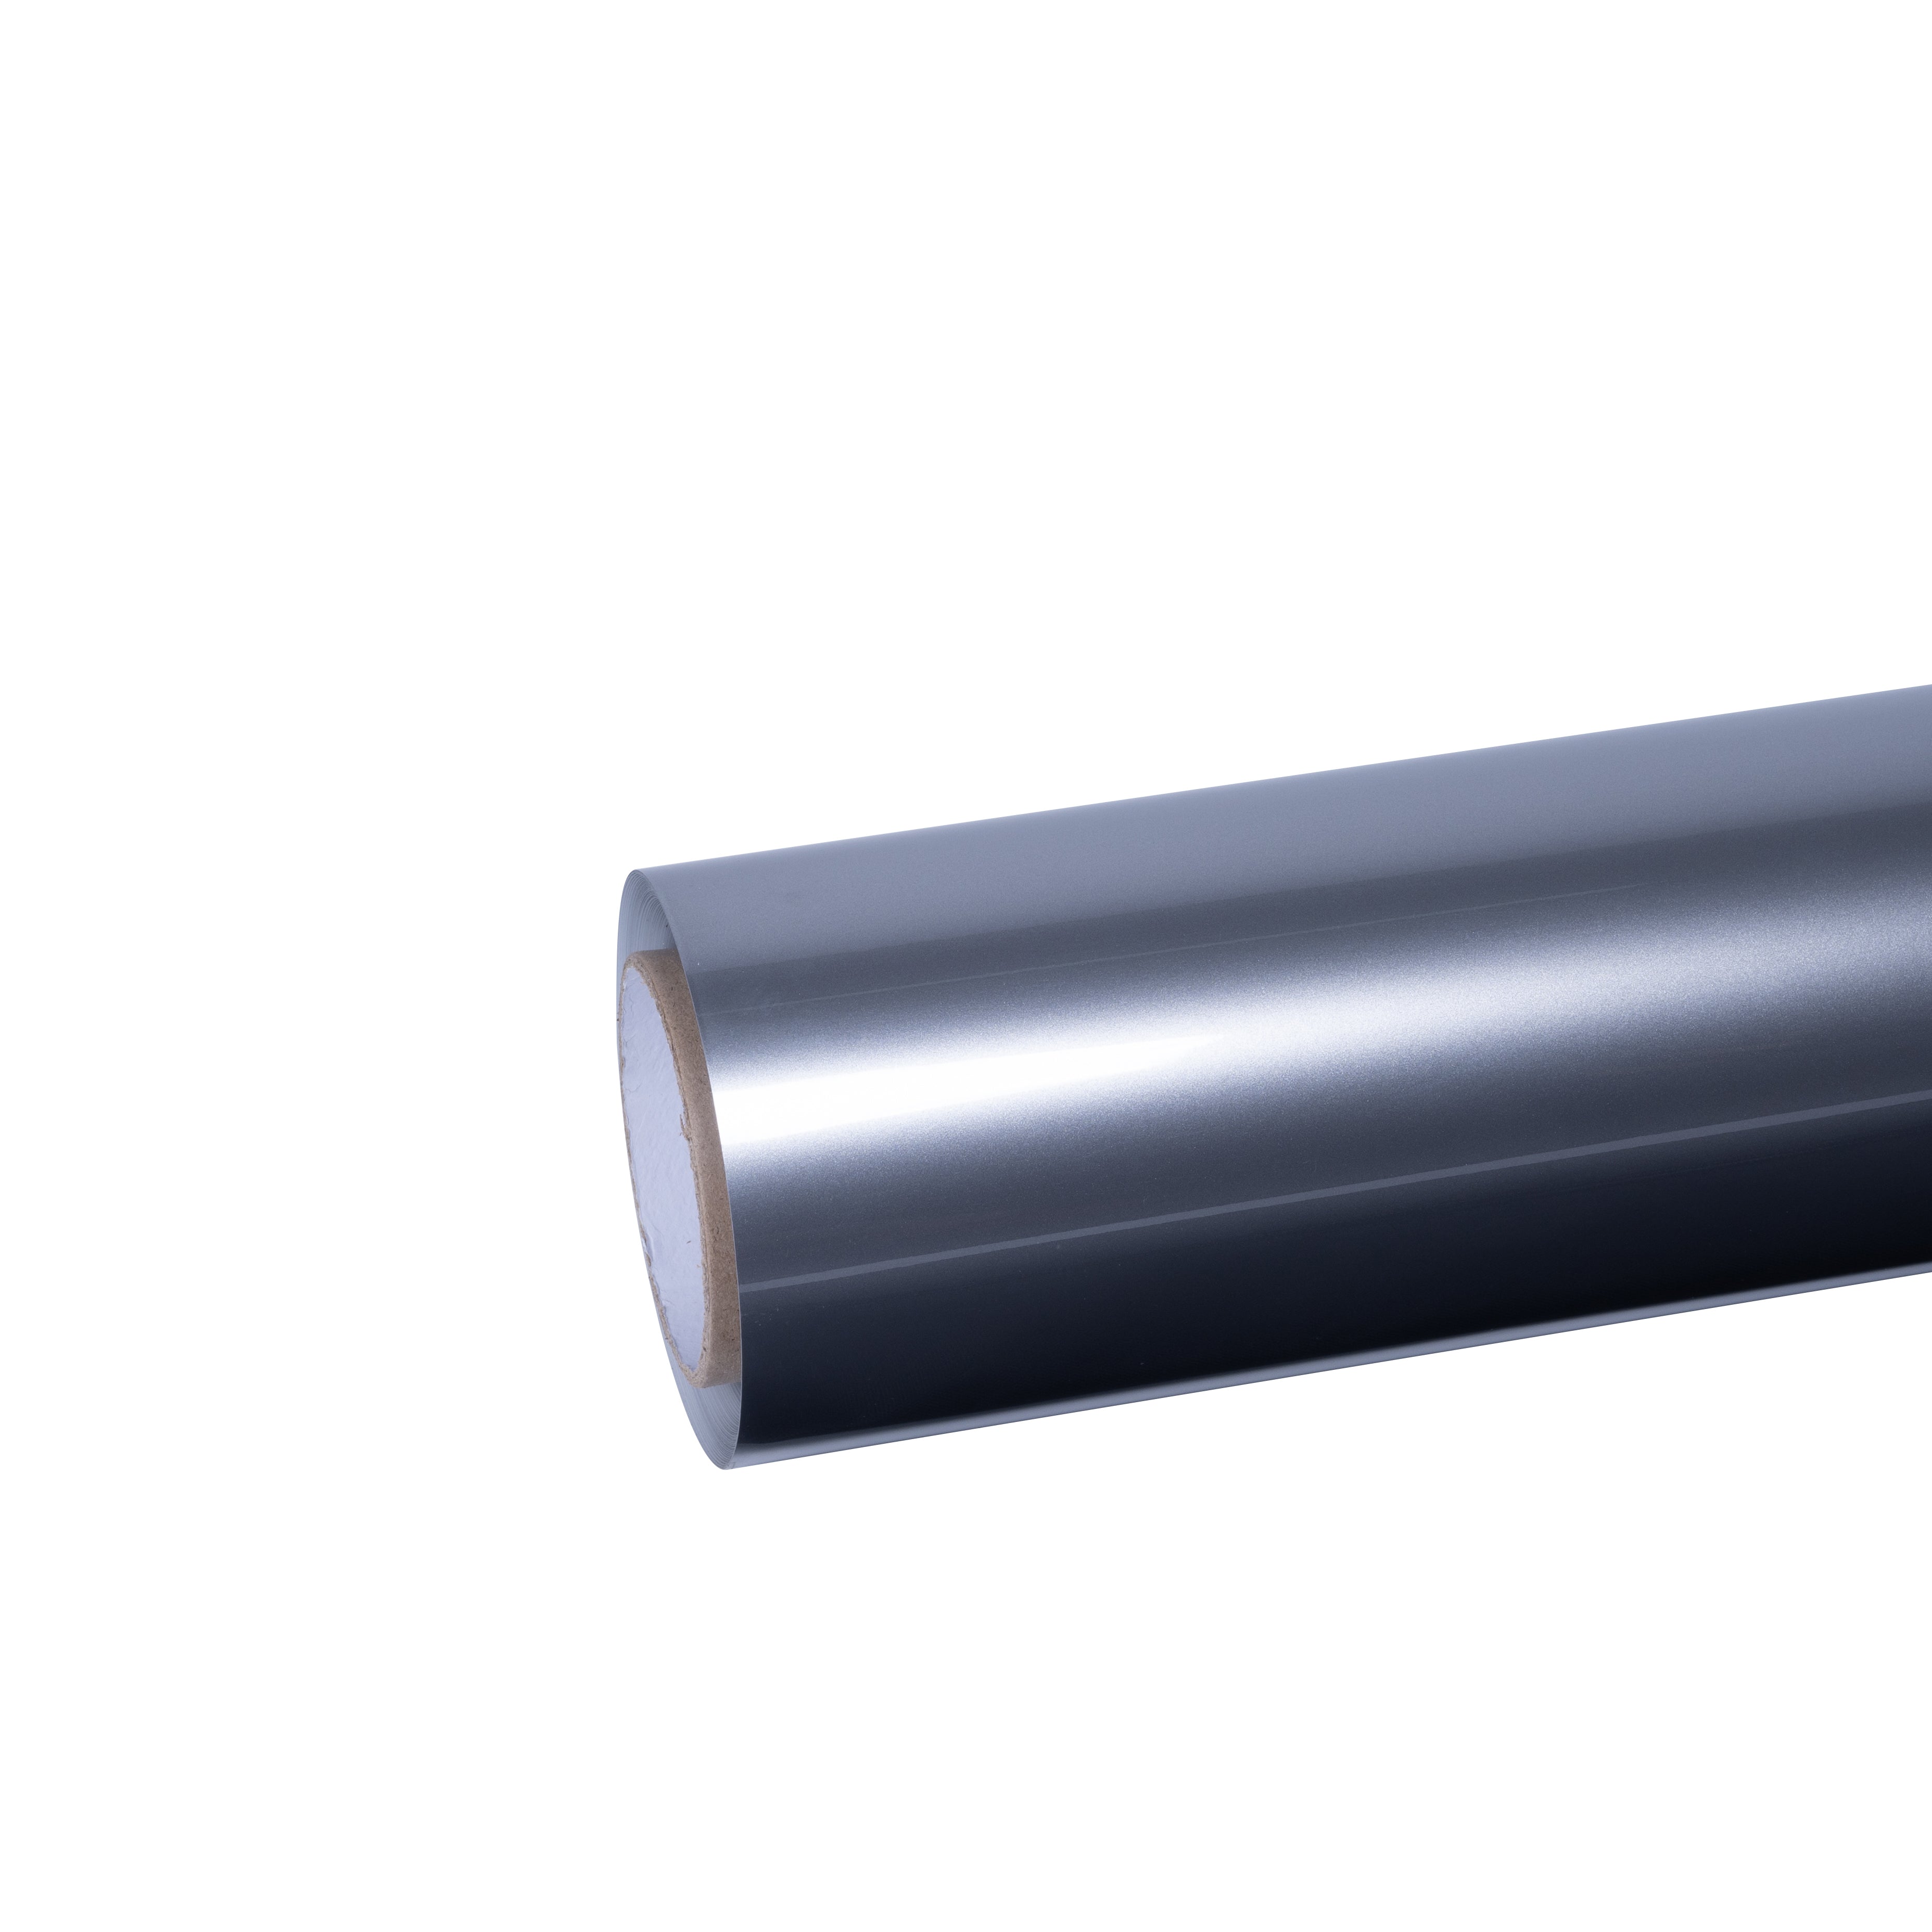
Why Choose DIY Car Wrapping?
Vehicle wrapping offers numerous advantages over traditional paint jobs. The process is reversible, cost-effective, and provides an additional layer of protection for your original paint. According to automotive customization industry research, vehicles with wraps experience ninety percent less paint damage and maintain their original appearance thirty percent longer due to UV protection. Protected cars can sell for ten to fifteen percent more than unwrapped vehicles, making wrapping a smart investment for resale value.
Professional installation typically costs between $2,500 and $6,000 for a complete vehicle wrap, with luxury cars exceeding $10,000. DIY installation reduces these costs dramatically, with material expenses ranging from $500 to $2,000 depending on vinyl quality and vehicle size.
Essential Tools and Materials for Car Wrap Installation
Success in DIY car wrapping depends heavily on having the proper equipment. Here's your complete toolkit for professional results:
Required Tools
Heat Gun: Essential for making vinyl flexible and activating adhesive. Choose a model with adjustable temperature settings between 60-80°C (140-176°F). The heat gun helps vinyl conform to curves and activates the self-healing properties of premium films.
Squeegee Set: Invest in multiple squeegee types including felt squeegees for delicate surfaces, hard squeegees for initial application, and specialized shapes for curves and recesses. Quality squeegees prevent scratching while effectively removing air bubbles.
Cutting Tools: Sharp utility knives with 30-degree and 60-degree blades provide precise, clean cuts. Replace blades frequently to maintain sharpness and prevent tearing.
Knifeless Tape: This innovative tool creates precise cuts without blade contact with your paint, preventing accidental damage to the vehicle surface. Perfect for creating clean lines and designs.
Infrared Thermometer: Monitor vinyl temperature accurately to prevent overheating or underheating. Proper temperature control ensures optimal adhesion and prevents material damage.
Cleaning Supplies: Isopropyl alcohol (70% or 90%), degreaser, clay bar, microfiber towels, and lint-free cloths ensure perfect surface preparation.
Measuring Tools: Tape measure and marking tools help calculate material requirements and plan your layout strategy.
Browse the complete selection of professional-grade wrapping tools to equip yourself for success.
Choosing the Right Vinyl Wrap
Selecting appropriate vinyl material directly impacts installation difficulty and final results. Consider these options:
Cast Vinyl: Premium cast vinyl offers superior conformability, durability, and ease of installation. The material stretches easily around complex curves and maintains its appearance for five to seven years with proper care.
Calendered Vinyl: Less expensive but thicker and less flexible than cast vinyl. Best suited for flat surfaces or short-term applications. Generally more challenging for beginners.
Specialty Finishes: Different finishes require varying skill levels. Ultra-matte wraps hide minor imperfections well, while liquid chrome wraps demand precision due to their reflective nature.
Explore options including metallic vinyl wraps, 3D carbon fiber wraps, crystal vinyl wraps, and color-shifting rainbow laser vinyl wraps for unique effects.
For maximum protection combined with color change, consider colored paint protection film or TPU paint protection wrap which offer superior durability and self-healing properties.
Material Requirements by Vehicle Type
Calculate vinyl requirements accurately to avoid shortages:
- Compact Cars: 50-55 feet of 60-inch wide vinyl
- Sedans: 55-60 feet of 60-inch wide vinyl
- SUVs/Trucks: 65-75 feet of 60-inch wide vinyl
- Large Vehicles: 75-85 feet of 60-inch wide vinyl
Always purchase extra material (add 10-15%) to account for mistakes, complex areas, and future repairs.
Order sample kits before committing to large quantities, allowing you to evaluate colors, finishes, and material characteristics in person.
Step-by-Step DIY Car Wrap Installation Process
Step 1: Choose Your Workspace
Create an ideal installation environment to maximize success. Work in a climate-controlled garage or enclosed space where you can maintain temperature between 68-77°F (20-25°C). Colder temperatures make vinyl brittle and difficult to work with, while excessive heat causes adhesive to activate prematurely.
Ensure adequate lighting from multiple angles to spot bubbles, wrinkles, and imperfections during application. Minimize dust by sweeping floors and dampening the area before beginning. Consider using an air filtration system if available.
Step 2: Thorough Surface Preparation
Surface preparation determines adhesion success. This critical step cannot be rushed.
Initial Cleaning: Wash the entire vehicle thoroughly with automotive soap and water, removing all dirt, mud, and surface contaminants. Pay special attention to crevices, panel gaps, and areas around trim pieces.
Decontamination: Use a clay bar with lubricant to remove embedded contaminants, tree sap, tar, and industrial fallout that washing alone cannot eliminate. The surface should feel glass-smooth after claying.
Degreasing: Wipe down all surfaces with 70% or 90% isopropyl alcohol using lint-free cloths. This removes wax, polish, oils, and any remaining residue. Allow alcohol to evaporate completely before proceeding.
Remove Obstacles: Take off door handles, emblems, trim pieces, mirrors, and any other removable components that would complicate wrapping. This allows vinyl to tuck cleanly behind edges for professional results.
Surface Inspection: Examine paint for chips, scratches, dents, or rust. Vinyl magnifies imperfections rather than hiding them. Repair significant damage before wrapping.
Step 3: Measure and Cut Vinyl Sections
Accurate measurement prevents material waste and ensures sufficient coverage.
Measure each panel separately, adding 5-6 inches (12-15 cm) to all dimensions for overlap and edge tucking. This extra material provides flexibility during positioning and allows proper wrapping around edges.
Cut vinyl sections using sharp blades and straight edges. Work on a clean, flat surface to prevent contamination. Label each piece with its intended location using removable tape.
Pre-cutting reduces stress during installation but requires precise measurements. Beginners may prefer working directly from the roll for flexibility.
Step 4: Start with Simple Flat Panels
Begin your installation on large, flat surfaces like the hood or roof to build confidence and develop technique before tackling complex curves.
Positioning: Place the vinyl section over the panel without removing the backing liner. Use masking tape to create a hinge along the centerline, securing one edge while keeping the opposite side free.
Backing Removal: Peel back half of the backing liner, exposing the adhesive side. Remove backing slowly to prevent static buildup and dust attraction.
Initial Application: Starting from the hinged center line, use your squeegee to press vinyl onto the surface with firm, overlapping strokes. Work outward from the center toward edges, using 50-75% pressure to avoid overstretching.
Second Half: Once the first half adheres completely, remove the hinge tape and backing from the remaining section. Repeat the squeegee process, maintaining consistent pressure and technique.
Step 5: Apply Heat for Curves and Complex Areas
Heat activation is crucial for conforming vinyl around curves, recesses, and body lines.
Position your heat gun 6-8 inches (15-20 cm) from the vinyl surface. Move the heat gun constantly in sweeping motions to prevent concentrated heat buildup. The vinyl should become pliable and slightly tacky but never too hot to touch.
As vinyl softens, gently stretch it around curves using your hands, then secure with the squeegee. Work in small sections, applying heat, stretching, and securing progressively.
For deep recesses like door handles, emblems, and gas caps, apply focused heat while pressing vinyl into grooves with your finger wrapped in a microfiber cloth. Use pointed squeegees for tight areas.
Post-heat these areas after initial application to 200-250°F (93-121°C) to lock the vinyl's memory and ensure long-term adhesion.
Step 6: Eliminate Air Bubbles and Wrinkles
Air bubbles are common during installation but easily corrected with proper technique.
Small Bubbles: Use your squeegee with firm pressure to push bubbles toward the nearest edge. Apply gentle heat while squeegeeing to help air escape more easily.
Stubborn Bubbles: For trapped air that won't move, carefully pierce the bubble with a pin at a 45-degree angle. Gently press air out through the tiny hole, then apply heat to seal.
Wrinkles: Never pull vinyl completely off to fix wrinkles, as this reduces adhesive strength. Instead, carefully lift only the affected section, apply heat, and reposition while the material is warm and pliable.
Step 7: Trim Excess Material
Precise trimming creates clean, professional edges.
Use knifeless tape wherever possible to create clean cuts without risking paint damage. Position tape along desired cut lines, apply vinyl over it, then pull the tape's cutting filament through the vinyl for perfect separation.
For knife trimming, use extremely sharp 30-degree blades. Cut with light pressure, allowing the blade to glide rather than dig. Keep blades at low angles (nearly parallel to the surface) to avoid scoring paint.
Leave approximately 3-5 mm of vinyl to tuck around panel edges. Use a squeegee or plastic tool to press these edges firmly, ensuring they won't lift over time.
Apply edge sealer or primer to tucked edges in high-stress areas for additional security.
Step 8: Post-Heat for Permanent Adhesion
Final post-heating activates the adhesive fully and locks vinyl memory to prevent lifting and shrinkage.
Heat all edges, seams, and complex areas to 200-250°F (93-121°C) using your infrared thermometer for accuracy. Focus on areas with high stress: door edges, bumper corners, mirror bases, and any recessed sections.
Press firmly with your squeegee while heating to ensure complete adhesive activation. This step significantly extends wrap longevity and prevents premature failure.
Step 9: Final Inspection and Reinstallation
Carefully inspect your entire installation in good lighting from multiple angles. Look for:
- Lifted edges that need additional heat and pressure
- Remaining air bubbles requiring attention
- Rough trim edges needing refinement
- Areas where vinyl hasn't fully conformed to body lines
Address any issues immediately while vinyl remains workable. Once satisfied, reinstall all removed components including door handles, emblems, trim pieces, and mirrors.
Clean the wrapped surface with water and mild soap using a microfiber cloth to remove fingerprints and adhesive residue.
Popular Color Choices for DIY Wrapping
Choose colors that complement your vehicle's style and purpose:
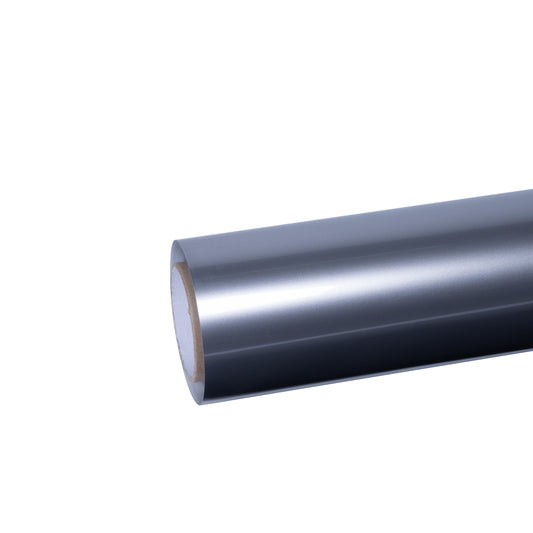
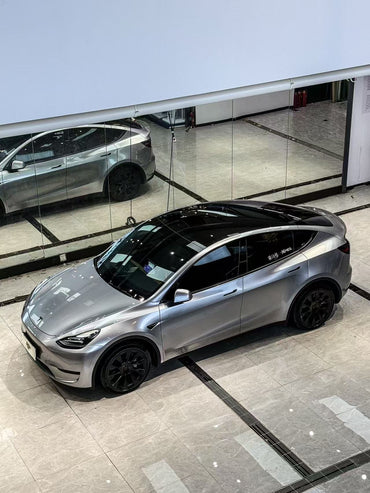
Classic Sophistication: White wraps, black wraps, silver wraps, and grey wraps offer timeless elegance suitable for any vehicle.
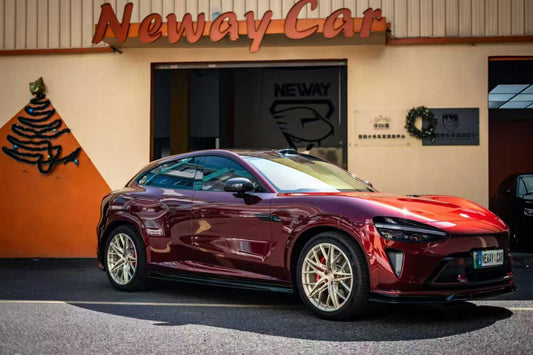
Bold Statements: Red wraps, orange wraps, yellow wraps, and pink wraps ensure your vehicle commands attention.
Natural Tones: Green wraps and brown wraps provide organic alternatives to traditional automotive colors.
Deep and Dramatic: Blue wraps and purple wraps create rich, luxurious finishes.
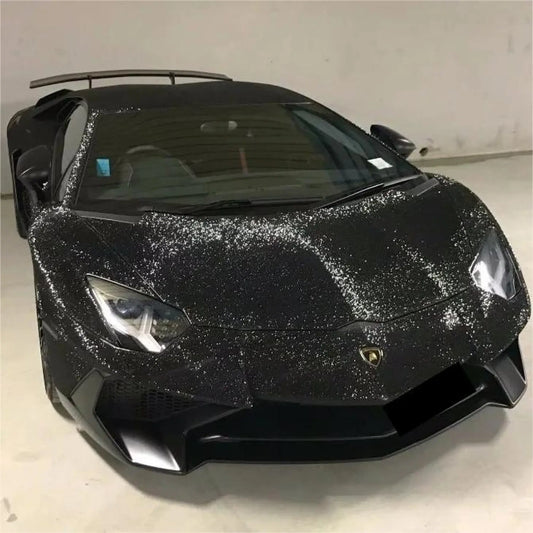
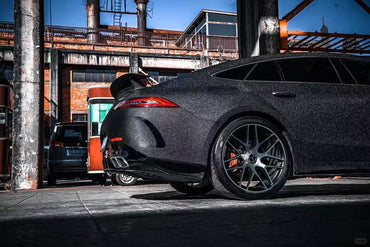
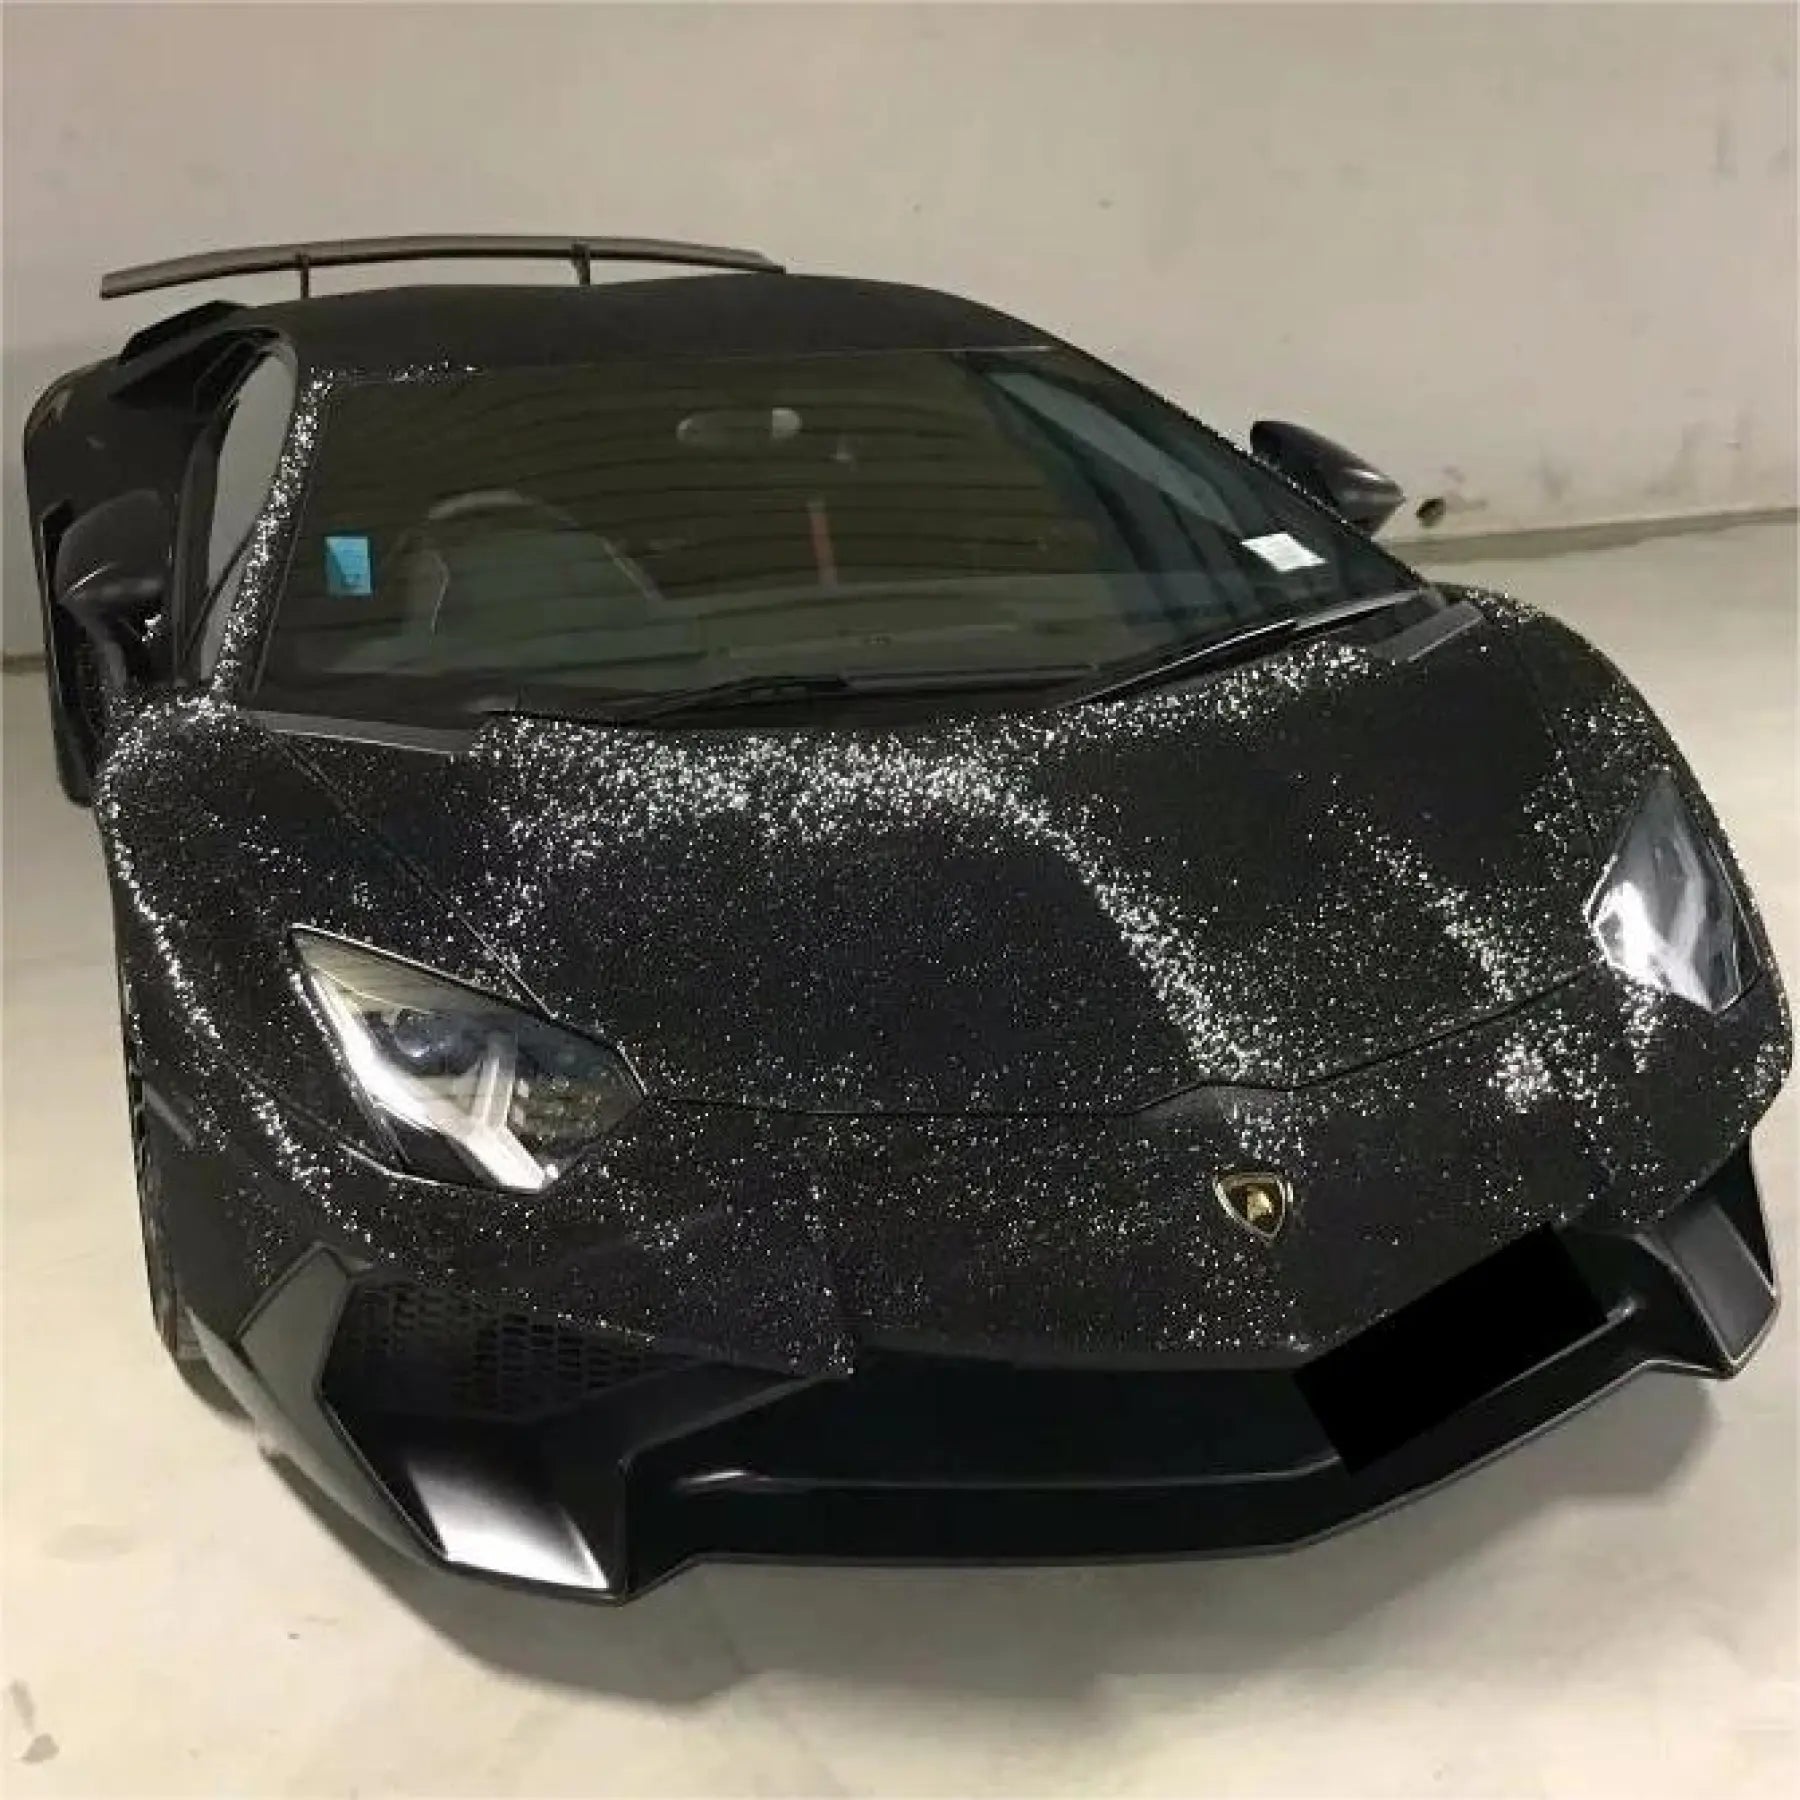
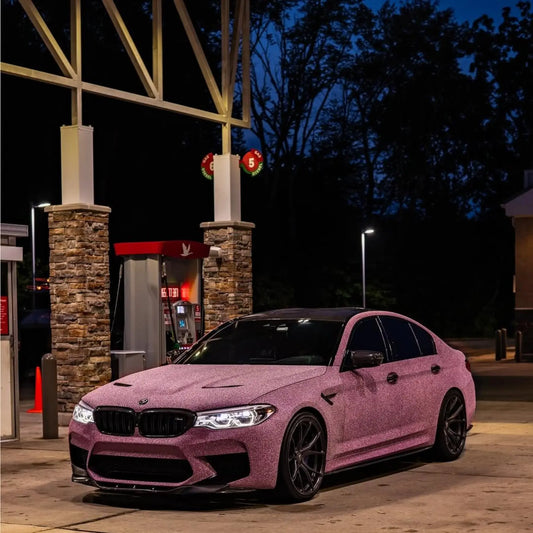
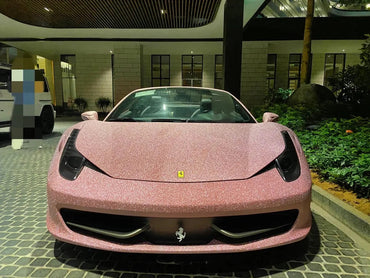
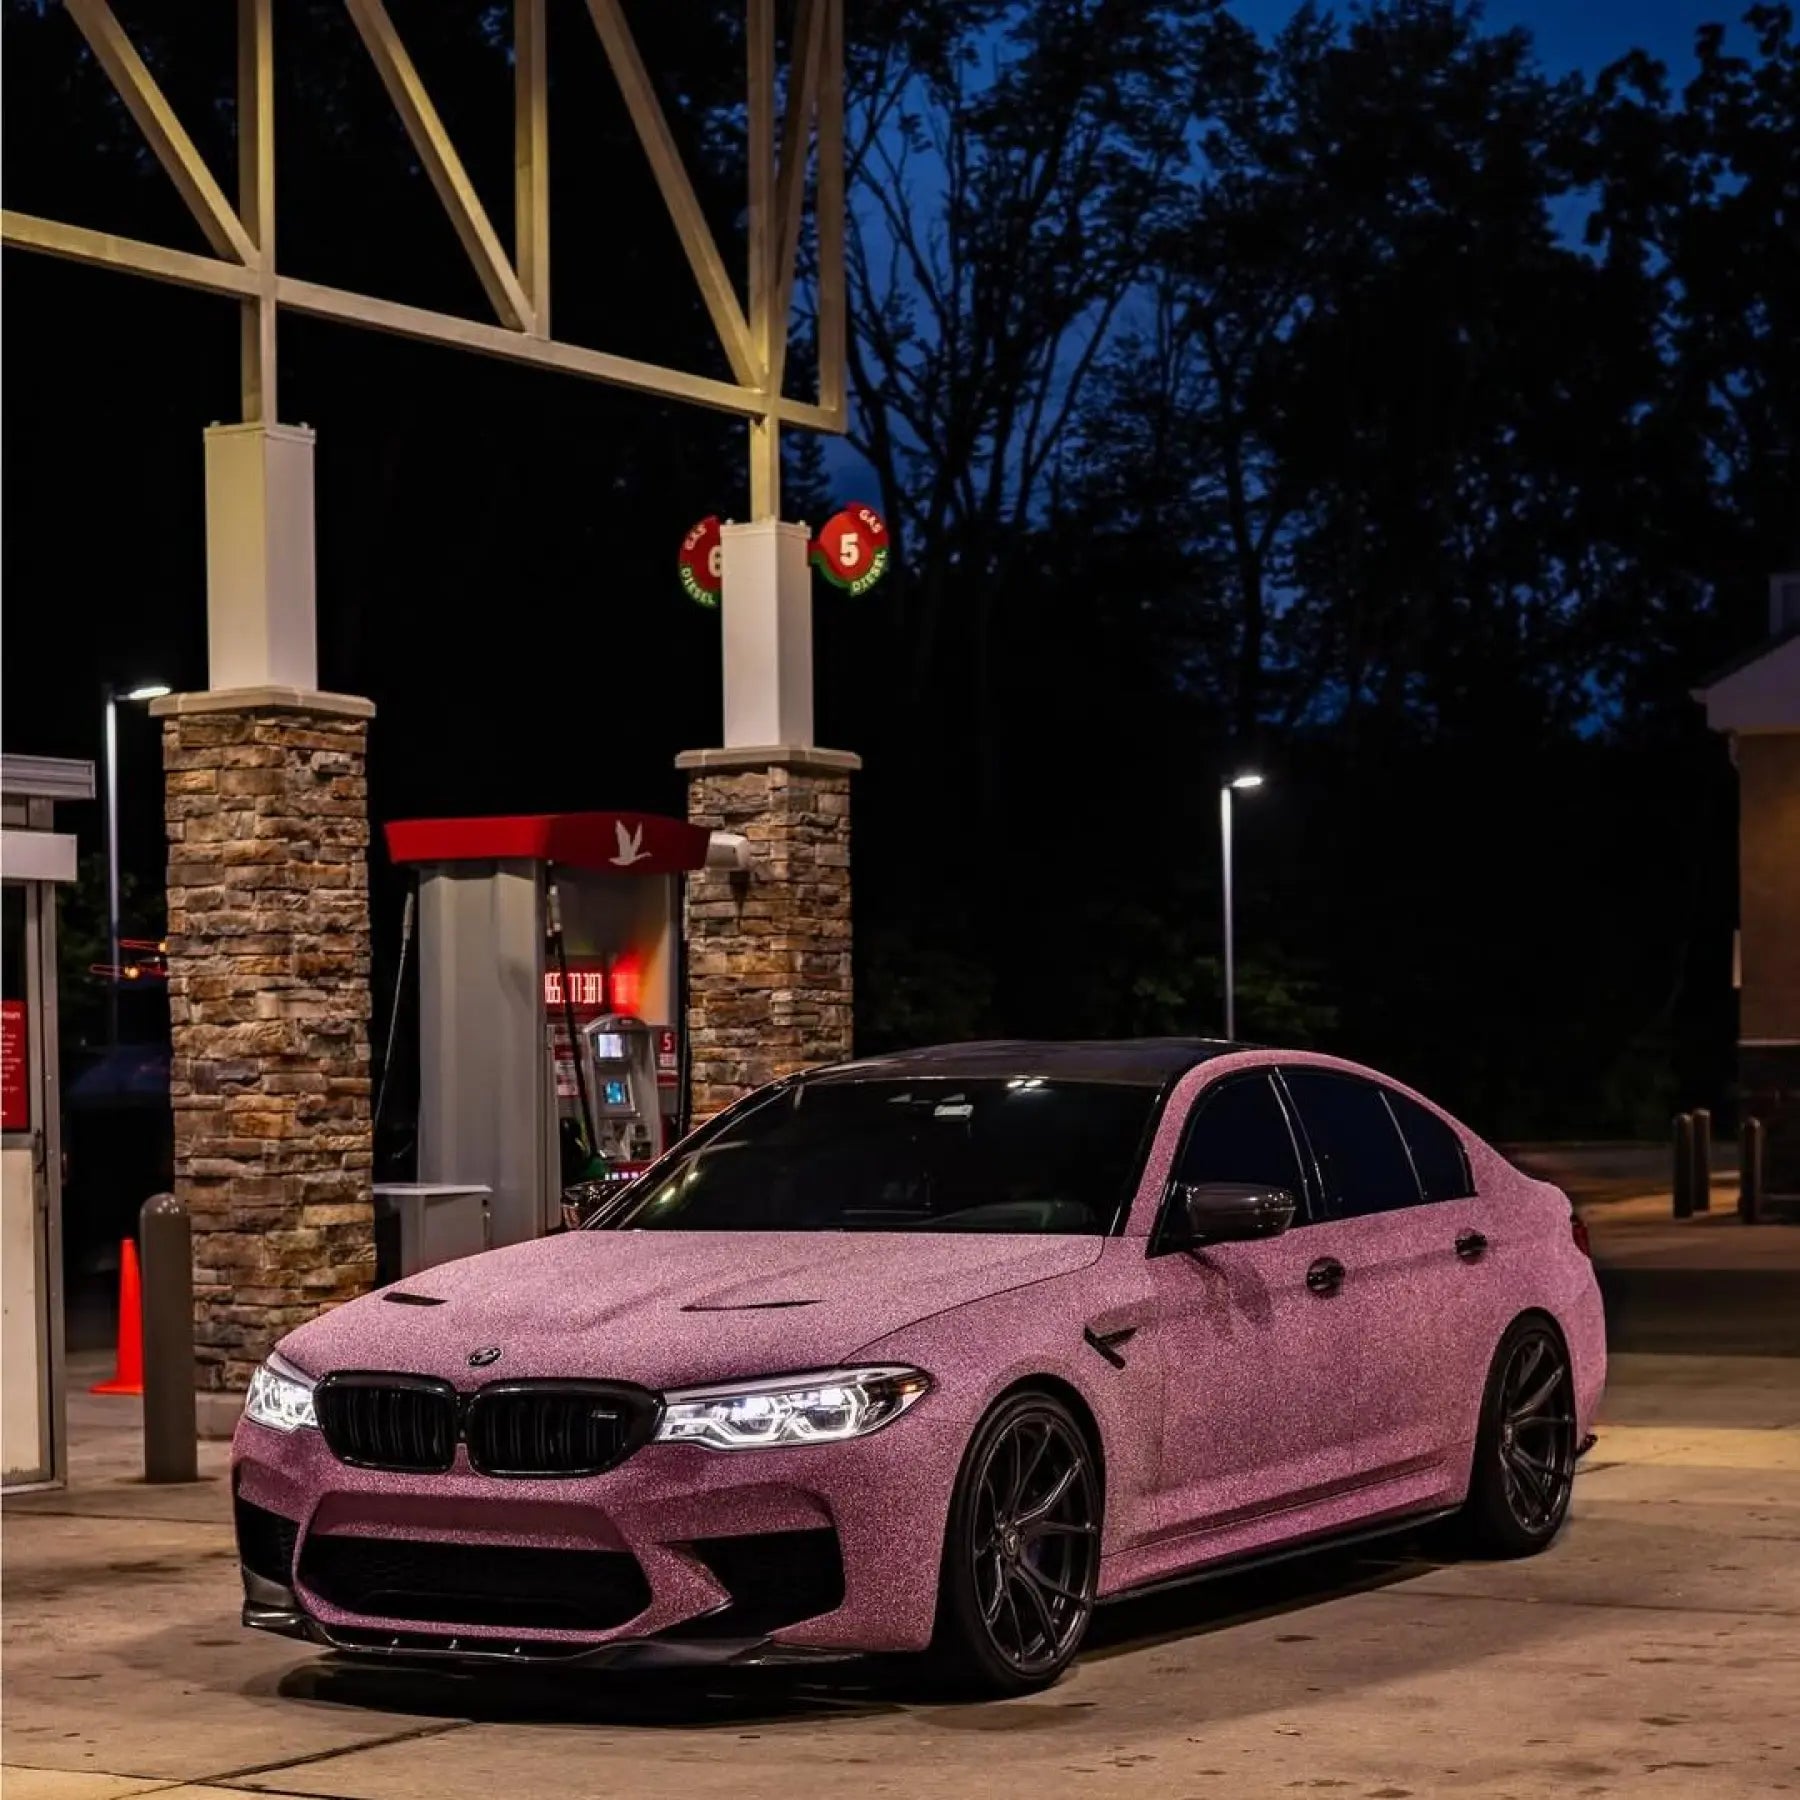
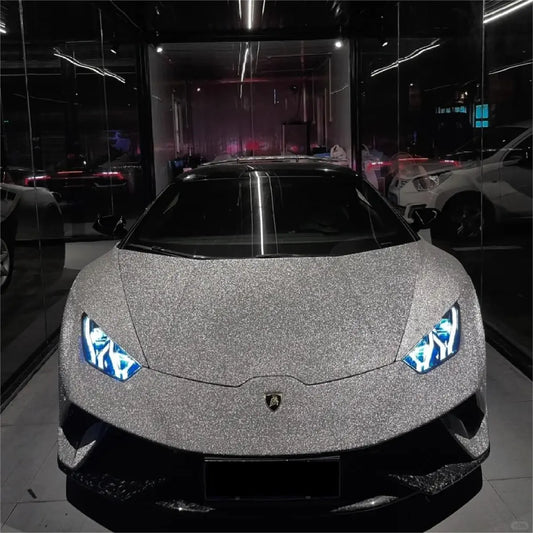
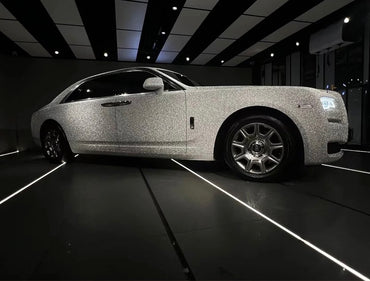
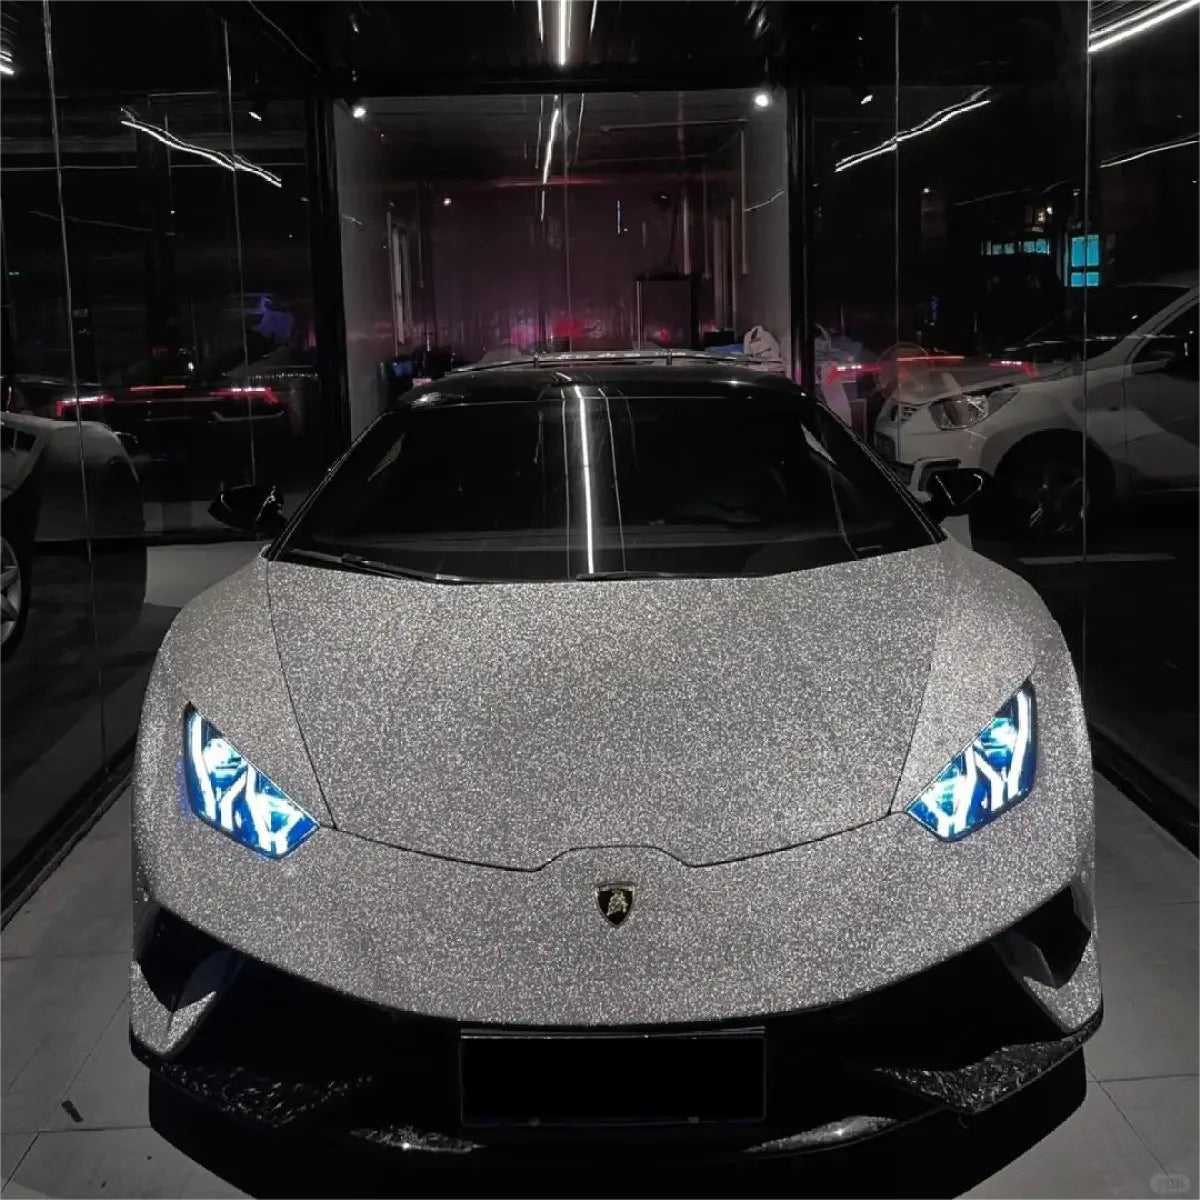
Special Effects: Glitter sparkle car wraps and dual-color dream vinyl wraps deliver show-stopping visual effects.
Check best sellers to see which products have proven most popular among other DIY wrappers.
Common DIY Installation Mistakes to Avoid
Learning from others' mistakes saves time, money, and frustration:
Inadequate Surface Preparation
The most common cause of bubbling, peeling, and adhesion failure. Never skip cleaning steps or rush through decontamination. Any dirt, wax, or grease left on the surface will prevent proper bonding.
Overstretching Vinyl
Excessive stretching causes vinyl to thin, creating visible lines, weak spots, and potential tearing. Cast vinyl should stretch no more than ten to fifteen percent from its original dimension. If you need more stretch, you're using insufficient material or improper technique.
Incorrect Heat Application
Too little heat prevents proper conforming to curves, while excessive heat damages the material, causes discoloration, and can burn adhesive. Maintain proper distance and keep the heat gun moving constantly.
Rushing the Process
Quality installation takes time. Rushing leads to mistakes, poor adhesion, and unprofessional results. Allocate two to five days for a complete vehicle wrap, depending on experience level and vehicle complexity.
Working in Wrong Temperatures
Installing vinyl in temperatures below 60°F (15°C) or above 85°F (29°C) creates significant challenges. Cold vinyl becomes brittle and difficult to stretch, while hot vinyl activates adhesive prematurely, making repositioning impossible.
Poor Trimming Technique
Dull blades tear vinyl instead of cutting cleanly. Excessive pressure scores paint beneath the wrap. Always use fresh, sharp blades and minimal pressure. Let the blade do the work.
Ignoring Post-Installation Care
Vinyl requires 24-48 hours to cure completely. Avoid washing, exposure to rain, or extreme temperatures during this period. Premature stress can cause lifting and adhesive failure.
Post-Installation Care and Maintenance
Proper maintenance extends wrap life significantly:
Curing Period: Allow 24-48 hours before washing or exposing the vehicle to weather. The adhesive needs time to achieve maximum bond strength.
Washing: Hand wash only using pH-neutral automotive soap and soft microfiber cloths or sponges. Avoid automatic car washes, especially those with brushes that can lift edges or damage the vinyl.
Avoid Harsh Chemicals: Never use abrasive cleaners, solvents, or strong degreasers on wrapped surfaces. These products can damage vinyl and cause premature fading.
Parking: Store your vehicle in covered areas when possible to minimize UV exposure and weather-related wear. Prolonged sun exposure accelerates fading even in premium vinyl.
Address Issues Promptly: If you notice lifting edges, bubbles, or damage, address problems immediately before they worsen. Small issues become major problems if ignored.
Professional Detailing: Consider ceramic coating over your wrap for enhanced gloss, easier cleaning, and additional UV protection. Professional detailers experienced with wrapped vehicles can apply protective products safely.
When to Consider Professional Help
While DIY installation offers significant savings, certain situations warrant professional assistance:
- Complex body styles with extensive curves and character lines
- Full vehicle wraps on your first attempt (consider starting with partial wraps or accents)
- Specialty finishes like chrome or color-shifting films requiring advanced technique
- Limited time availability for the multi-day installation process
- Lack of suitable workspace with climate control
Many successful DIY wrappers start with smaller projects like mirrors, roof panels, or accent pieces before attempting complete vehicles. This progressive approach builds skills and confidence while minimizing material waste from learning mistakes.
Cost Analysis: DIY vs Professional Installation
Understanding the true cost difference helps make informed decisions:
DIY Installation Costs:
- Vinyl Material: $500-$2,000
- Tools (first-time investment): $200-$400
- Additional Supplies: $50-$100
- Total First Project: $750-$2,500
Professional Installation:
- Compact Cars: $2,500-$4,000
- Sedans: $3,000-$5,000
- SUVs/Trucks: $4,000-$6,500
- Luxury/Exotic Vehicles: $6,000-$15,000
DIY installation saves $2,000-$10,000+ on your first project. Tools purchased for initial installation serve future projects, increasing long-term value.
Conclusion
DIY car wrap installation offers automotive enthusiasts an affordable, rewarding way to customize and protect their vehicles. Success requires quality materials, proper tools, careful surface preparation, and patience throughout the installation process. While the learning curve can be steep, thousands of DIY wrappers achieve professional results by following proper techniques and respecting the process.
Start your journey with smaller, manageable projects to develop skills before tackling complete vehicle transformations. Invest in quality vinyl from reputable sources, acquire proper tools, and dedicate sufficient time to each installation phase. The satisfaction of transforming your vehicle with your own hands, combined with substantial cost savings, makes DIY wrapping an increasingly popular choice in the automotive customization community.
Whether you choose protective car vinyl wrap for style or premium paint protection film for maximum durability, the key to success lies in preparation, patience, and attention to detail. With the comprehensive knowledge provided in this guide, you're equipped to begin your DIY wrapping journey with confidence.


