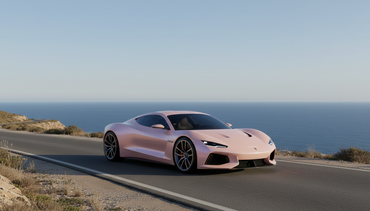
Why Ceramic Coat Your Vinyl Wrap?
Before diving into the application process, let's explore why ceramic coating has become essential for vinyl wrap protection in 2025.
Enhanced UV Protection
Ceramic coatings provide robust UV protection that significantly reduces fading and discoloration, especially critical for glossy and satin wraps that are particularly susceptible to sun damage. Whether you've installed metallic vinyl wrap or crystal vinyl wrap, UV rays can gradually degrade the vibrant colors and finishes. Ceramic coating acts as a sunscreen for your wrap, blocking harmful ultraviolet radiation that causes premature aging.
Superior Hydrophobic Properties
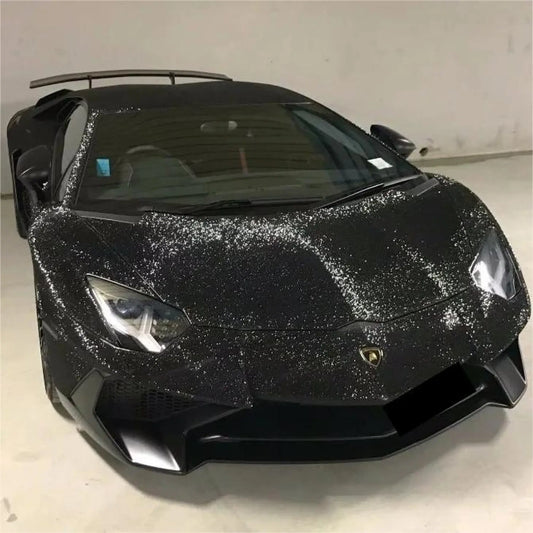
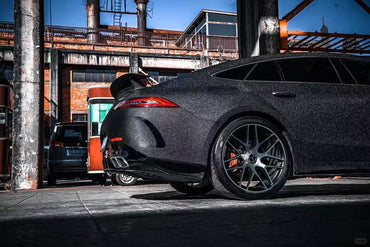
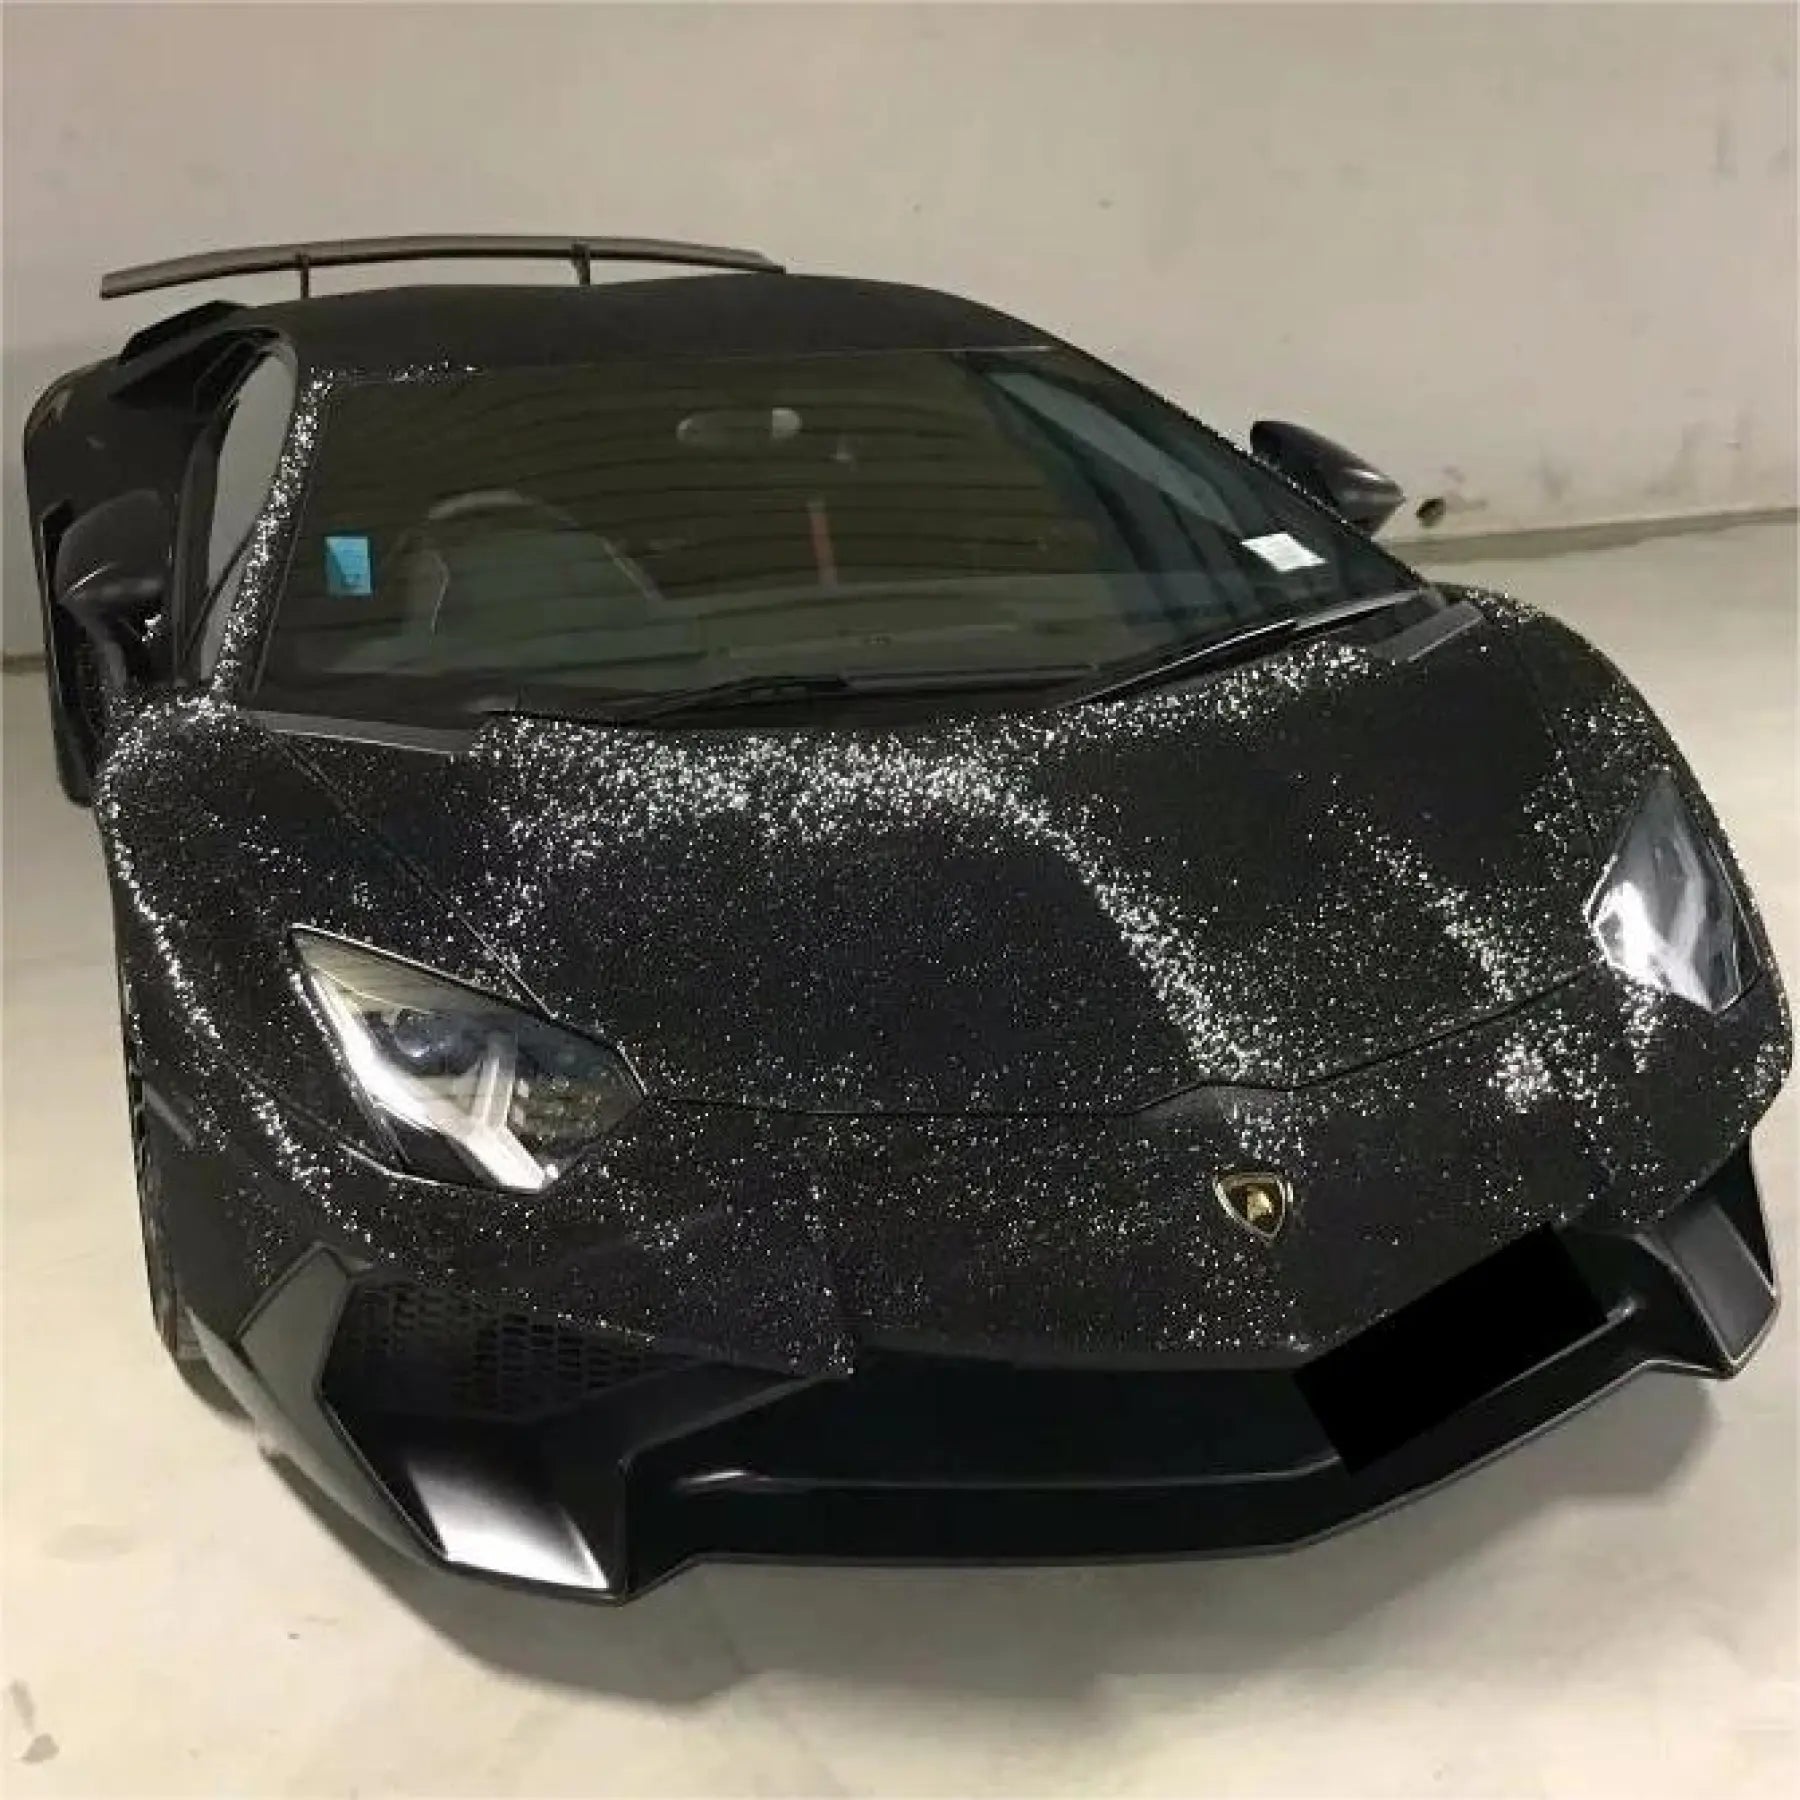
Once cured, ceramic coating creates a highly hydrophobic surface where water beads off easily, making cleaning significantly simpler. This water-repelling characteristic means rain, car wash water, and morning dew simply roll off the surface, taking dirt and contaminants with them. For owners of glitter sparkle car wraps or 3D carbon fiber wraps, this makes maintaining that pristine appearance effortless.
Enhanced Gloss and Depth
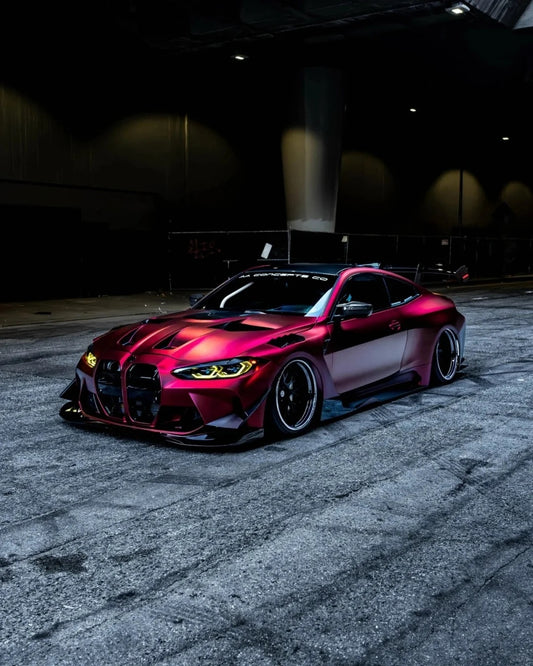
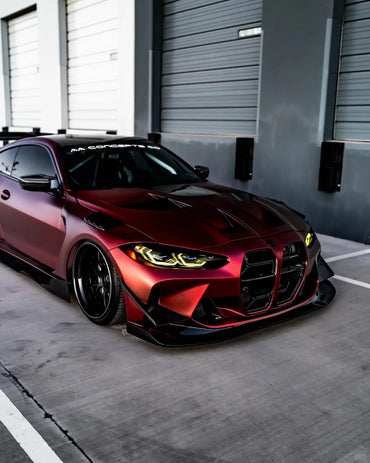
Ceramic coating enhances the visual appeal by making gloss wraps look glossier while adding depth to matte and satin finishes without compromising their original texture. Your dual-color dream vinyl wrap will showcase richer, more vibrant colors with an almost three-dimensional quality that turns heads wherever you drive.
Simplified Maintenance
According to industry experts, ceramic-coated vinyl wraps require significantly less frequent washing and are dramatically easier to clean when they do need attention. Contaminants like bird droppings, tree sap, bug splatter, and road tar are less likely to bond with the protected surface, and when they do land on your vehicle, they wipe away with minimal effort.
Extended Wrap Lifespan
Ceramic coating helps maintain that fresh-installed look while extending the lifespan of the wrap, potentially meaning fewer replacements and greater satisfaction with your investment. High-quality vinyl wraps typically last 3-5 years, but with proper ceramic coating protection, you can extend this lifespan by 1-2 additional years, maximizing your return on investment.
Protection from Chemical Damage
Ceramic coatings create a barrier against acidic contaminants and harsh chemicals that can etch or stain vinyl surfaces. This is particularly important for vehicles exposed to industrial fallout, acid rain, or road salt in winter climates.
Understanding Ceramic Coating Technology
Ceramic coating for vinyl wraps differs significantly from traditional paint ceramic coatings. Understanding these differences is crucial for successful DIY application.
Vinyl-Specific Formulations
Not all ceramic coatings are suitable for vinyl wraps. Using the wrong ceramic coating can cause the wrap to prematurely peel, crack, or fade. Standard ceramic coatings designed for painted surfaces may not bond properly with vinyl's unique molecular structure. Always select ceramic coatings explicitly formulated for vinyl, wrap, and plastic surfaces.
These vinyl-specific formulations account for the different porosity and texture of vinyl materials compared to automotive paint. They're engineered to be flexible and breathable, ensuring they don't suffocate or damage the wrap beneath while still providing exceptional protection.
How Ceramic Coating Bonds with Vinyl
Unlike paint surfaces where ceramic coating chemically bonds with the clear coat, vinyl coating works through mechanical adhesion combined with chemical bonding to the vinyl's surface molecules. The nano-particles in the ceramic coating fill microscopic pores in the vinyl surface, creating an interlocking protective matrix that's highly resistant to environmental damage.
This bonding process is why surface preparation is absolutely critical—any contaminants, oils, or residues will prevent proper adhesion and compromise the coating's performance.
Essential Tools and Materials for DIY Application
Gathering the right tools before starting ensures a smooth, professional application process. Here's your comprehensive checklist:
Cleaning and Preparation Supplies
- pH-Neutral Car Shampoo: Specifically designed for vinyl wraps (avoid products containing wax or silicone)
- Microfiber Wash Mitts: At least two, to avoid cross-contamination
- Microfiber Drying Towels: Ultra-soft, lint-free towels for water removal
- Degreaser or Surface Prep Spray: Removes oils, waxes, and polish residues
- Isopropyl Alcohol (IPA): 70% concentration mixed with distilled water (50/50 ratio)
- Clay Bar or Clay Mitt: For removing embedded contaminants
- Clay Lubricant: Specifically designed for use with clay products
Application Tools
- Ceramic Coating Product: Vinyl-specific formula (ensure it's designed for wrap surfaces)
- Applicator Pads: High-quality microfiber or foam applicator pads (have 4-6 on hand)
- Buffing Towels: Premium microfiber towels dedicated to buffing (at least 6-8 towels)
- Nitrile Gloves: Protect your hands from chemicals
- LED Inspection Light: For spotting high spots, streaks, and missed areas
- Masking Tape: Protect trim, rubber seals, and glass
Workspace Requirements
- Covered, Well-Ventilated Area: Garage or covered workspace away from direct sunlight
- Controlled Temperature: Ideal range is 60-75°F (15-24°C)
- Low Humidity: Below 60% relative humidity for optimal curing
- Dust-Free Environment: Minimize airborne particles that could mar the finish
Optional Professional Tools
While not essential, these tools can elevate your results:
- Infrared Thermometer: Monitor surface temperature
- Spray Bottles: For applying prep solutions
- Detailing Brushes: For cleaning around edges and crevices
Sailifilm offers professional-grade wrapping tools that can also assist in the ceramic coating preparation process, ensuring you have everything needed for success.
Pre-Application Preparation: The Foundation of Success
The toughest and most time-consuming part of applying ceramic coating isn't the application itself but the preparation. A perfectly clean, unmarked surface is required or you'll see every bit of dirt and every scratch preserved under the invisible coating.
Step 1: Timing Your Application
Wait at least 7-14 days after wrap installation before applying ceramic coating. This allows the wrap's adhesive to fully cure and any outgassing from the vinyl to complete. Applying coating too soon can trap gases and cause bubbling or adhesion failure.
Step 2: Choosing Your Workspace
Park your vehicle in a controlled environment—ideally a garage that's clean, dust-free, and away from direct sunlight. Temperature should be between 60-75°F with humidity below 60%. If outdoor application is necessary, work in complete shade during cooler parts of the day (early morning or evening) and ensure the surface temperature is within the recommended range.
Step 3: Initial Inspection
Before starting the cleaning process, thoroughly inspect your vinyl wrap under bright lighting. Document any existing imperfections, lifting edges, or damage. A ceramic coating cannot be applied to a defected surface. Address any issues before proceeding—ceramic coating will lock in and potentially worsen existing problems.
The Complete DIY Ceramic Coating Process
Now that you're prepared, let's walk through the step-by-step application process.
Phase 1: Thorough Cleaning (45-60 minutes)
Step 1: Initial Wash
Begin with a complete hand wash using pH-neutral car shampoo specifically formulated for vinyl wraps. Never use automatic car washes, as the harsh brushes can damage both the wrap and your upcoming coating.
Use high-quality automotive shampoo to remove dirt, grime, and other contaminants. After washing, dry the vehicle's surface thoroughly to prevent water spots.
Wash from top to bottom, one section at a time:
- Rinse the entire vehicle with clean water to remove loose dirt
- Fill two buckets: one with shampoo solution, one with clean rinse water
- Wash using the two-bucket method, rinsing your mitt frequently
- Pay special attention to lower panels, wheel wells, and behind mirrors
- Rinse thoroughly, ensuring no soap residue remains
Step 2: Complete Drying
Use clean, soft microfiber drying towels to remove all water. Water spots will interfere with coating adhesion. Work systematically, using the patting method rather than dragging the towel across the surface. Change to fresh towels as needed to avoid water streaking.
Step 3: Clay Bar Treatment (If Needed)
If your wrap feels rough or has embedded contaminants, use a clay bar treatment:
Clay bar treatment removes deep-embedded contaminants that washing can't eliminate, including tar, tree sap, and industrial fallout.
- Spray clay lubricant generously on a 2x2 foot section
- Gently glide the clay bar across the surface using light pressure
- Fold and knead the clay frequently to expose clean surfaces
- Wipe away residue with a clean microfiber towel
- Continue section by section until the entire vehicle is treated
Note: Clay treatment may not be necessary on newer wraps but is essential for wraps that have been exposed to environmental contaminants.
Phase 2: Surface Preparation (30-45 minutes)
This critical phase ensures the vinyl surface is perfectly clean and ready for coating adhesion.
Step 4: Degreaser Application
Apply a degreaser to remove any remaining grease, oil, or polish residue for smooth application of the ceramic coat on your car.
- Spray degreaser onto a clean microfiber towel (never directly on the vinyl)
- Wipe down the entire vehicle in overlapping passes
- Work in small sections to ensure thorough coverage
- Follow immediately with a clean, dry microfiber towel to remove residue
Step 5: IPA Wipedown (Final Prep)
The final cleansing wipe-down removes any remaining oils, waxes, or silicones. This ensures the surface is perfectly clean for ceramic coating bonding.
Create a 50/50 mixture of isopropyl alcohol and distilled water in a spray bottle:
- Spray IPA solution onto a clean microfiber towel
- Wipe down each panel systematically
- Use fresh towels frequently to avoid recontamination
- Allow 10-15 minutes for complete evaporation
- Perform a final inspection under LED lighting to ensure cleanliness
Step 6: Masking and Protection
Protect areas you don't want coated:
- Apply masking tape to rubber seals, trim pieces, and glass edges
- Cover emblems and badges if desired
- Tape off areas where coating might be difficult to remove
Phase 3: Ceramic Coating Application (2-4 hours)
Now comes the main event—applying the ceramic coating to your vinyl wrap.
Step 7: Review Product Instructions
Always follow the manufacturer's instructions meticulously, including recommended drying and curing times. Don't forget humidity levels and flash times.
Every ceramic coating has specific application guidelines:
- Flash time (how long coating sits before buffing)
- Working time (how long you have before coating becomes difficult to level)
- Temperature and humidity requirements
- Layering instructions (if applicable)
Step 8: First Panel Application
Start with a less visible panel (like the roof or rear trunk) to practice technique before moving to prominent areas.
Take the applicator pad and apply the coating on it, then spread it on the surface of the vinyl in lines with overlapping strokes. Apply in small sections using straight lines to cover the surface evenly.
Application technique:
- Apply 3-4 drops of ceramic coating to your applicator pad
- Work in 2ft x 2ft sections maximum
- Use straight, overlapping lines (horizontal then vertical in a crosshatch pattern)
- Apply moderate, even pressure
- Ensure complete coverage without over-application
- Monitor the coating's appearance as it begins to flash
Step 9: Flash Time and Leveling
Once the coating is applied, let it sit briefly as per manufacturer's instructions—generally one to five minutes depending on the specific product and ambient conditions.
During flash time:
- Watch for the coating to develop a rainbow-like sheen or haziness
- This indicates it's ready for buffing (timing varies by product and conditions)
- In warm temperatures, flash time decreases; in cool temperatures, it increases
- Never let the coating fully cure before buffing—this makes removal nearly impossible
Step 10: Buffing and Leveling
Use clean microfiber cloths to buff gently in circular motions, flipping or changing the cloth frequently to avoid streaks. Buff thoroughly until a smooth and glossy finish is achieved.
Proper buffing technique:
- Use one towel to remove the bulk of excess coating with moderate pressure
- Follow immediately with a second, clean towel for final leveling
- Use circular buffing motions
- Check your work under LED lighting from multiple angles
- Look for high spots (areas where coating pooled), streaks, or haziness
- Address any imperfections immediately before moving to the next section
Step 11: Systematic Panel Coverage
Work in small sections recommended by manufacturer (typically 2×2 areas). Start and finish your application area on a body line and blend your next application area at that body line.
Continue methodically:
- Complete one full panel before moving to the next
- Maintain consistent technique across all panels
- Change applicator pads every 2-3 panels or when saturated
- Use fresh buffing towels frequently
- Keep used towels separate from clean ones
- Take breaks to inspect completed areas under lighting
Step 12: Final Inspection
Using diffused flat lighting, inspect all areas where ceramic coating was applied and ensure no high spots or streaks are present.
Perform thorough quality control:
- Use LED lighting from multiple angles
- Check for high spots (shiny areas where excess coating remains)
- Look for streaking or uneven coverage
- Verify complete coverage in all areas
- Address any issues immediately with fresh buffing towels and gentle pressure
Post-Application Curing and Care
Your work isn't finished once the coating is applied. Proper curing is essential for maximum durability and performance.
Immediate Curing Period (24-48 hours)
The curing process is absolutely crucial. If you rush it, the coating might not fully form its protective layer, leaving the wrap vulnerable to elements like UV rays, road debris, and acid rain.
During the first 24-48 hours:
- Keep the vehicle completely dry: No rain, washing, or moisture exposure
- Garage parking: Store indoors in a controlled environment
- Avoid touching: Fingerprints and contact can mar the partially cured coating
- No driving if possible: Minimize exposure to road debris during this critical period
- Monitor weather: If outdoor parking is unavoidable, cover with a breathable car cover
Extended Curing Period (7-14 days)
The ceramic coating will take about two to three weeks to cure completely, depending on outdoor temperature and humidity levels. You can still use your car during this time, but you have to be careful.
During full curing:
- Gentle hand washing only: If washing is necessary, use pH-neutral shampoo and soft microfiber
- Avoid automated car washes: Harsh brushes and chemicals can damage the curing coating
- Remove contaminants immediately: Bird droppings, bug splatter, and tree sap should be gently removed promptly
- No waxes or sealants: Allow coating to cure completely before applying any additional products
- Limit sun exposure: Prolonged UV exposure during curing can affect final hardness
Maintenance for Long-Lasting Protection
Once cured, your ceramic-coated vinyl wrap requires specific maintenance to maximize longevity.
Regular Washing Protocol
Washing Frequency: Every 2-4 weeks, or as needed based on environmental exposure
Regular washing is essential, but use pH-neutral car shampoos and soft cloths or sponges to avoid damaging the coating.
Proper washing technique:
- Hand wash only: Never use automatic car washes with brushes
- pH-neutral shampoo: Specifically formulated for ceramic-coated surfaces
- Two-bucket method: Prevents reintroducing dirt to the clean surface
- Soft microfiber mitts: Prevents scratching the coating
- Top-to-bottom approach: Allow dirty water to flow downward
- Thorough rinsing: Remove all soap residue
- Pat drying: Use clean microfiber drying towels with gentle pressure
Contaminant Removal
While ceramic coating makes your car easier to clean, don't get lazy. Bird droppings, tree sap, and other contaminants should be cleaned off promptly to prevent damage to the coating.
Immediate action items:
- Bird droppings: Remove within 24 hours; acidic content can etch if left too long
- Tree sap: Soften with warm water, then gently remove with microfiber
- Bug splatter: Pre-soak with bug remover, gently wipe away
- Road tar: Use dedicated tar remover safe for ceramic coatings
- Water spots: Address quickly with spot-free rinse or detail spray
Periodic Inspection
Periodically inspect your coating for any signs of wear or damage. If you notice any weak spots, a touch-up might be in order.
Monthly inspection checklist:
- Check for coating degradation in high-wear areas (front bumper, rocker panels)
- Look for water beading characteristics (coating should maintain hydrophobicity)
- Inspect edges and seams for lifting or coating failure
- Document any areas requiring touch-up or maintenance
- Address issues promptly to prevent spreading
Optional Ceramic Boost Sprays
Some manufacturers offer ceramic boost or maintenance sprays that can be applied every 3-6 months to refresh the hydrophobic properties and extend coating life. Ensure these products are compatible with your specific ceramic coating and vinyl wrap type.
Common DIY Application Mistakes and How to Avoid Them
Learning from common errors helps ensure successful application on your first attempt.
Mistake 1: Inadequate Surface Preparation
Using wash detergent that contains silica dioxide, wax or sealant properties to prepare for coating can prevent proper bonding.
Solution: Use only wax-free, silicone-free cleaning products specifically designed for pre-coating preparation. The IPA wipedown is non-negotiable.
Mistake 2: Working in Poor Conditions
Applying ceramic coating in direct sunlight, extreme temperatures, or high humidity leads to flash-curing, streaking, and uneven coverage.
Solution: Control your environment. Wait for ideal conditions rather than rushing the process. Temperature and humidity matter significantly.
Mistake 3: Over-Application
Applying too much ceramic coating creates high spots, hazing, and difficulty in leveling.
Solution: Less is more. Use minimal product and focus on even distribution rather than heavy application. You can always add a second layer later if desired.
Mistake 4: Insufficient Buffing
Wiping the ceramic coating off the paint before recommended visual and time cues from manufacturer can cause improper bonding.
Solution: Follow flash time precisely. Buff thoroughly but not prematurely. Use multiple clean towels and check your work under proper lighting.
Mistake 5: Rushing the Curing Process
Allowing the vehicle to get wet before recommended cure time (typically 12-24 hours) or using any chemical or cleaner before fully cured can compromise the coating.
Solution: Plan your coating schedule around weather and your driving needs. Patience during curing pays dividends in long-term performance.
Mistake 6: Using Wrong Coating Type
Using coating designed for painted surfaces on vinyl can cause premature peeling, cracking, or fading.
Solution: Always select ceramic coatings explicitly designed for vinyl wrap applications. Check product specifications before purchasing.
Maximizing Your Vinyl Wrap Investment
Combining quality vinyl wraps with proper ceramic coating protection represents the ultimate vehicle customization and protection strategy.
Choosing the Right Wrap for Coating
All Sailifilm vinyl wrap products can be ceramic coated, but some finishes show more dramatic improvements:
Best Results with Ceramic Coating:
- Liquid Chrome Wraps: Coating enhances mirror-like finish and prevents tarnishing
- Metallic Vinyl Wraps: Added depth and protection against oxidation
- Glitter Sparkle Wraps: Coating protects glitter particles and enhances sparkle
Excellent Results with Ceramic Coating:
- Ultra-Matte Wraps: Maintains matte finish while adding protection (use matte-specific coating)
- Crystal Vinyl Wraps: Amplifies translucent effects and crystal clarity
- 3D Carbon Fiber Wraps: Preserves texture while adding gloss depth
Sample Before Committing
Before applying ceramic coating to your entire vehicle, test on a small, inconspicuous area. Sailifilm offers sample kits that allow you to practice wrap installation, and you can test ceramic coating compatibility on these samples before committing to your vehicle.
Do a test spot with your customer on expectations of how the ceramic coating will look on the vinyl. Some customers may have different expectations, or the surface reacts unexpectedly.
Professional vs. DIY: Making the Right Choice
While this guide empowers you to complete DIY ceramic coating application, understanding when professional services make sense is important.
When DIY Makes Sense
Choose DIY ceramic coating if:
- You have adequate workspace and tools
- Your wrap is in excellent condition with no defects
- You're comfortable with detailed, meticulous work
- Budget is a primary concern (DIY costs $100-200 vs $500-1,400 professional)
- You enjoy hands-on vehicle maintenance
- You have time to dedicate to proper preparation and application
When Professional Application Is Better
Consider professional services if:
- Your wrap has imperfections requiring expert assessment
- You lack proper workspace or tools
- You're applying coating to a high-value or show vehicle
- You want warranty coverage on the coating work
- Time constraints prevent proper DIY application
- You're uncomfortable with the technical process
For error-free smooth installation of ceramic coating, professional assistance is recommended. It may be expensive but you'll get long-term satisfaction. Cost starts around $1,000 to $1,400, depending on vehicle size and condition.
Cost Analysis: DIY Ceramic Coating Budget
Understanding the investment required helps you plan appropriately.
Initial Investment Breakdown
Materials and Products:
- Vinyl-specific ceramic coating (50ml-100ml bottle): $60-150
- pH-neutral car shampoo: $15-25
- Degreaser/prep spray: $10-20
- IPA solution: $8-12
- Clay bar kit: $20-35
- Microfiber towels (10-15 count): $30-50
- Applicator pads (6-pack): $15-25
- Nitrile gloves: $10-15
- LED inspection light (if needed): $25-50
Total DIY Investment: $193-382
Compare this to professional ceramic coating services ($500-1,400), and the savings are significant. However, remember that professionals bring experience, warranty coverage, and specialized equipment that can justify the additional cost for some situations.
Long-Term Value
When you factor in the extended lifespan of your vinyl wrap (potentially 1-2 additional years) and reduced maintenance costs, ceramic coating pays for itself. Your best-selling wraps from Sailifilm deserve the protection that maximizes their lifespan and appearance.
Frequently Asked Questions
Q: Can I ceramic coat immediately after wrap installation? A: No. Wait 7-14 days after wrap installation to allow adhesives to fully cure and any outgassing to complete. Premature coating can cause bubbling or adhesion failure.
Q: Will ceramic coating change my matte wrap to glossy? A: No, if you use a ceramic coating specifically formulated for matte finishes. Matte-specific coatings maintain the original texture while adding protection. Standard glossy coatings will alter the appearance.
Q: How long does DIY ceramic coating last on vinyl wraps? A: Quality vinyl-specific ceramic coatings typically last 2-3 years with proper maintenance. Professional-grade coatings may last 3-5 years.
Q: Can I remove ceramic coating if I don't like the results? A: Yes, but it requires specialized removal products and significant effort. This is why test spots and proper preparation are crucial before full application.
Q: Does ceramic coating protect against scratches? A: Ceramic coating provides resistance against minor scratches and swirl marks but won't prevent deep scratches from sharp objects or significant impacts. It's not a bulletproof shield but does offer meaningful protection.
Q: Can I apply multiple layers of ceramic coating? A: Some products allow layering for enhanced protection. If layering, apply the second coat 12-24 hours after the first. Check manufacturer guidelines as not all coatings are designed for layering.
Q: Will ceramic coating prevent my wrap from fading? A: Ceramic coating with built-in UV protection reduces fading, cracking, and peeling over time, making the vinyl stronger and more durable. While not 100% fade-proof, it significantly slows UV degradation.
Q: Can I wax my ceramic-coated wrap? A: No. Waxes and traditional sealants are unnecessary and can interfere with the ceramic coating's performance. Use ceramic coating-specific maintenance products if additional protection is desired.
Conclusion: Protecting Your Sailifilm Wrap Investment
Applying ceramic coating to your vinyl wrap represents the ultimate in automotive protection and maintenance. While the process requires patience, attention to detail, and proper technique, the results—enhanced protection, easier maintenance, and extended wrap lifespan—make it well worth the effort.
Whether you've installed Rainbow Laser vinyl wrap, Dual-Color Dream wrap, or classic Metallic finishes, ceramic coating ensures your investment stays protected and looking stunning for years to come.
Remember these key principles for successful DIY ceramic coating:
- Preparation is paramount: 80% of your success comes from proper surface prep
- Follow manufacturer instructions: Every product has specific requirements
- Work in controlled conditions: Temperature and humidity matter
- Don't rush the process: Quality takes time
- Proper curing is essential: Patience during curing ensures maximum performance
- Maintain consistently: Regular care preserves coating effectiveness
Ready to transform your vinyl-wrapped vehicle with ceramic coating protection? Browse Sailifilm's complete collection of premium vinyl wraps and professional wrapping tools to ensure you have everything needed for success.
For those considering paint protection film with color-changing capabilities, explore Sailifilm's colored paint protection film and TPU paint protection wrap collections, which offer self-healing technology and superior impact resistance that can also be enhanced with ceramic coating.
Your vehicle is a reflection of your personality and style. Protect that expression with proper ceramic coating application, and enjoy a stunning, low-maintenance finish that turns heads and stands the test of time.
External References:


