



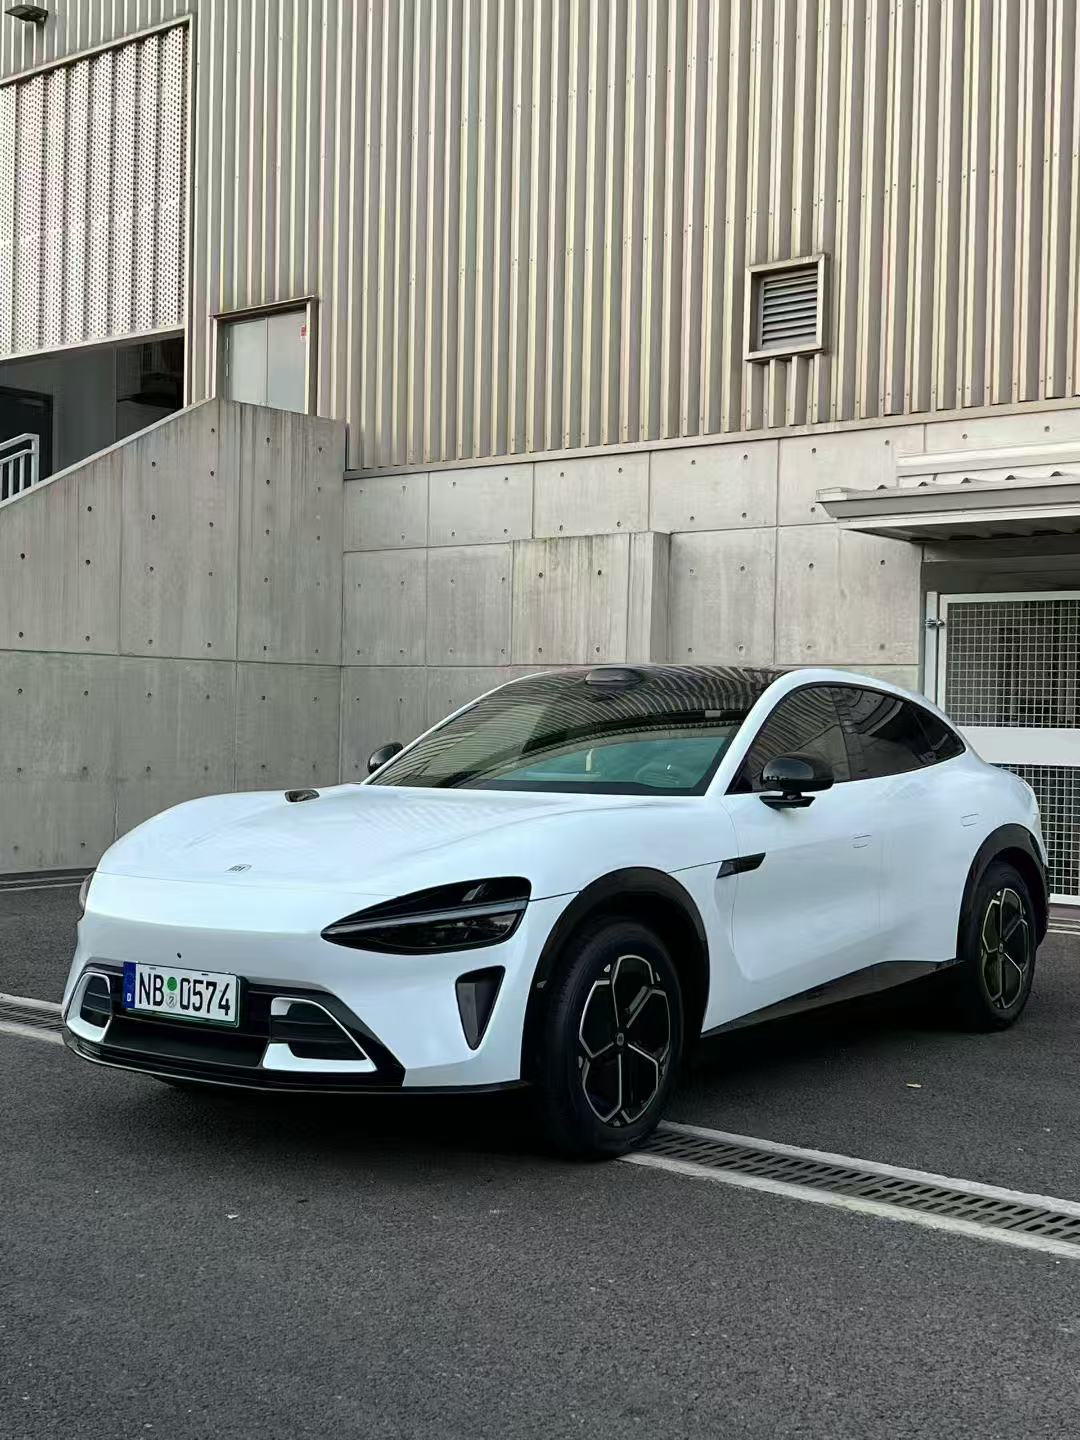


A glossy car wrap can look beautiful from across a parking lot, then show a slightly rippled reflection when you stand beside the door. Owners often describe that texture as “orange peel.” If your goal is a paint-like finish, it is worth understanding before you choose a roll or approve an installation.
Orange peel does not, by itself, identify a single cause or prove that a wrap has failed. The useful next step is to compare the exact film, the underlying surface and the installed result under consistent lighting. This guide focuses on those checks, rather than choosing a color or performing paint correction.
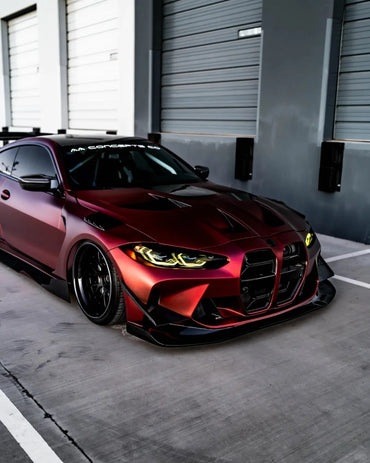
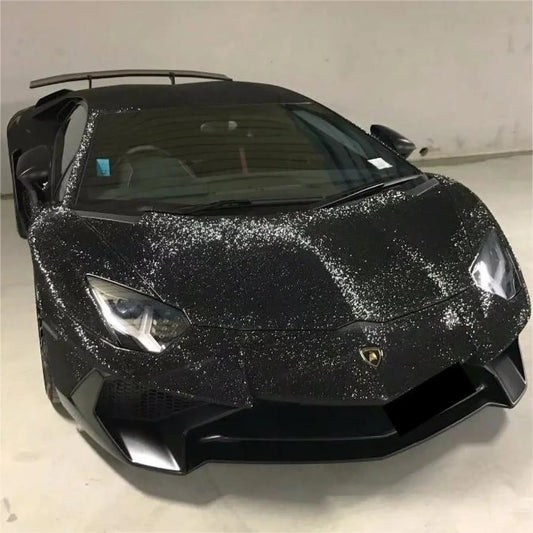
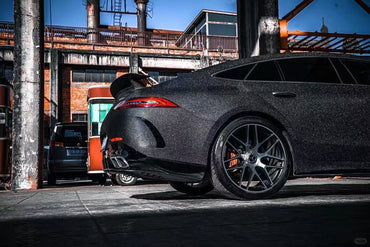
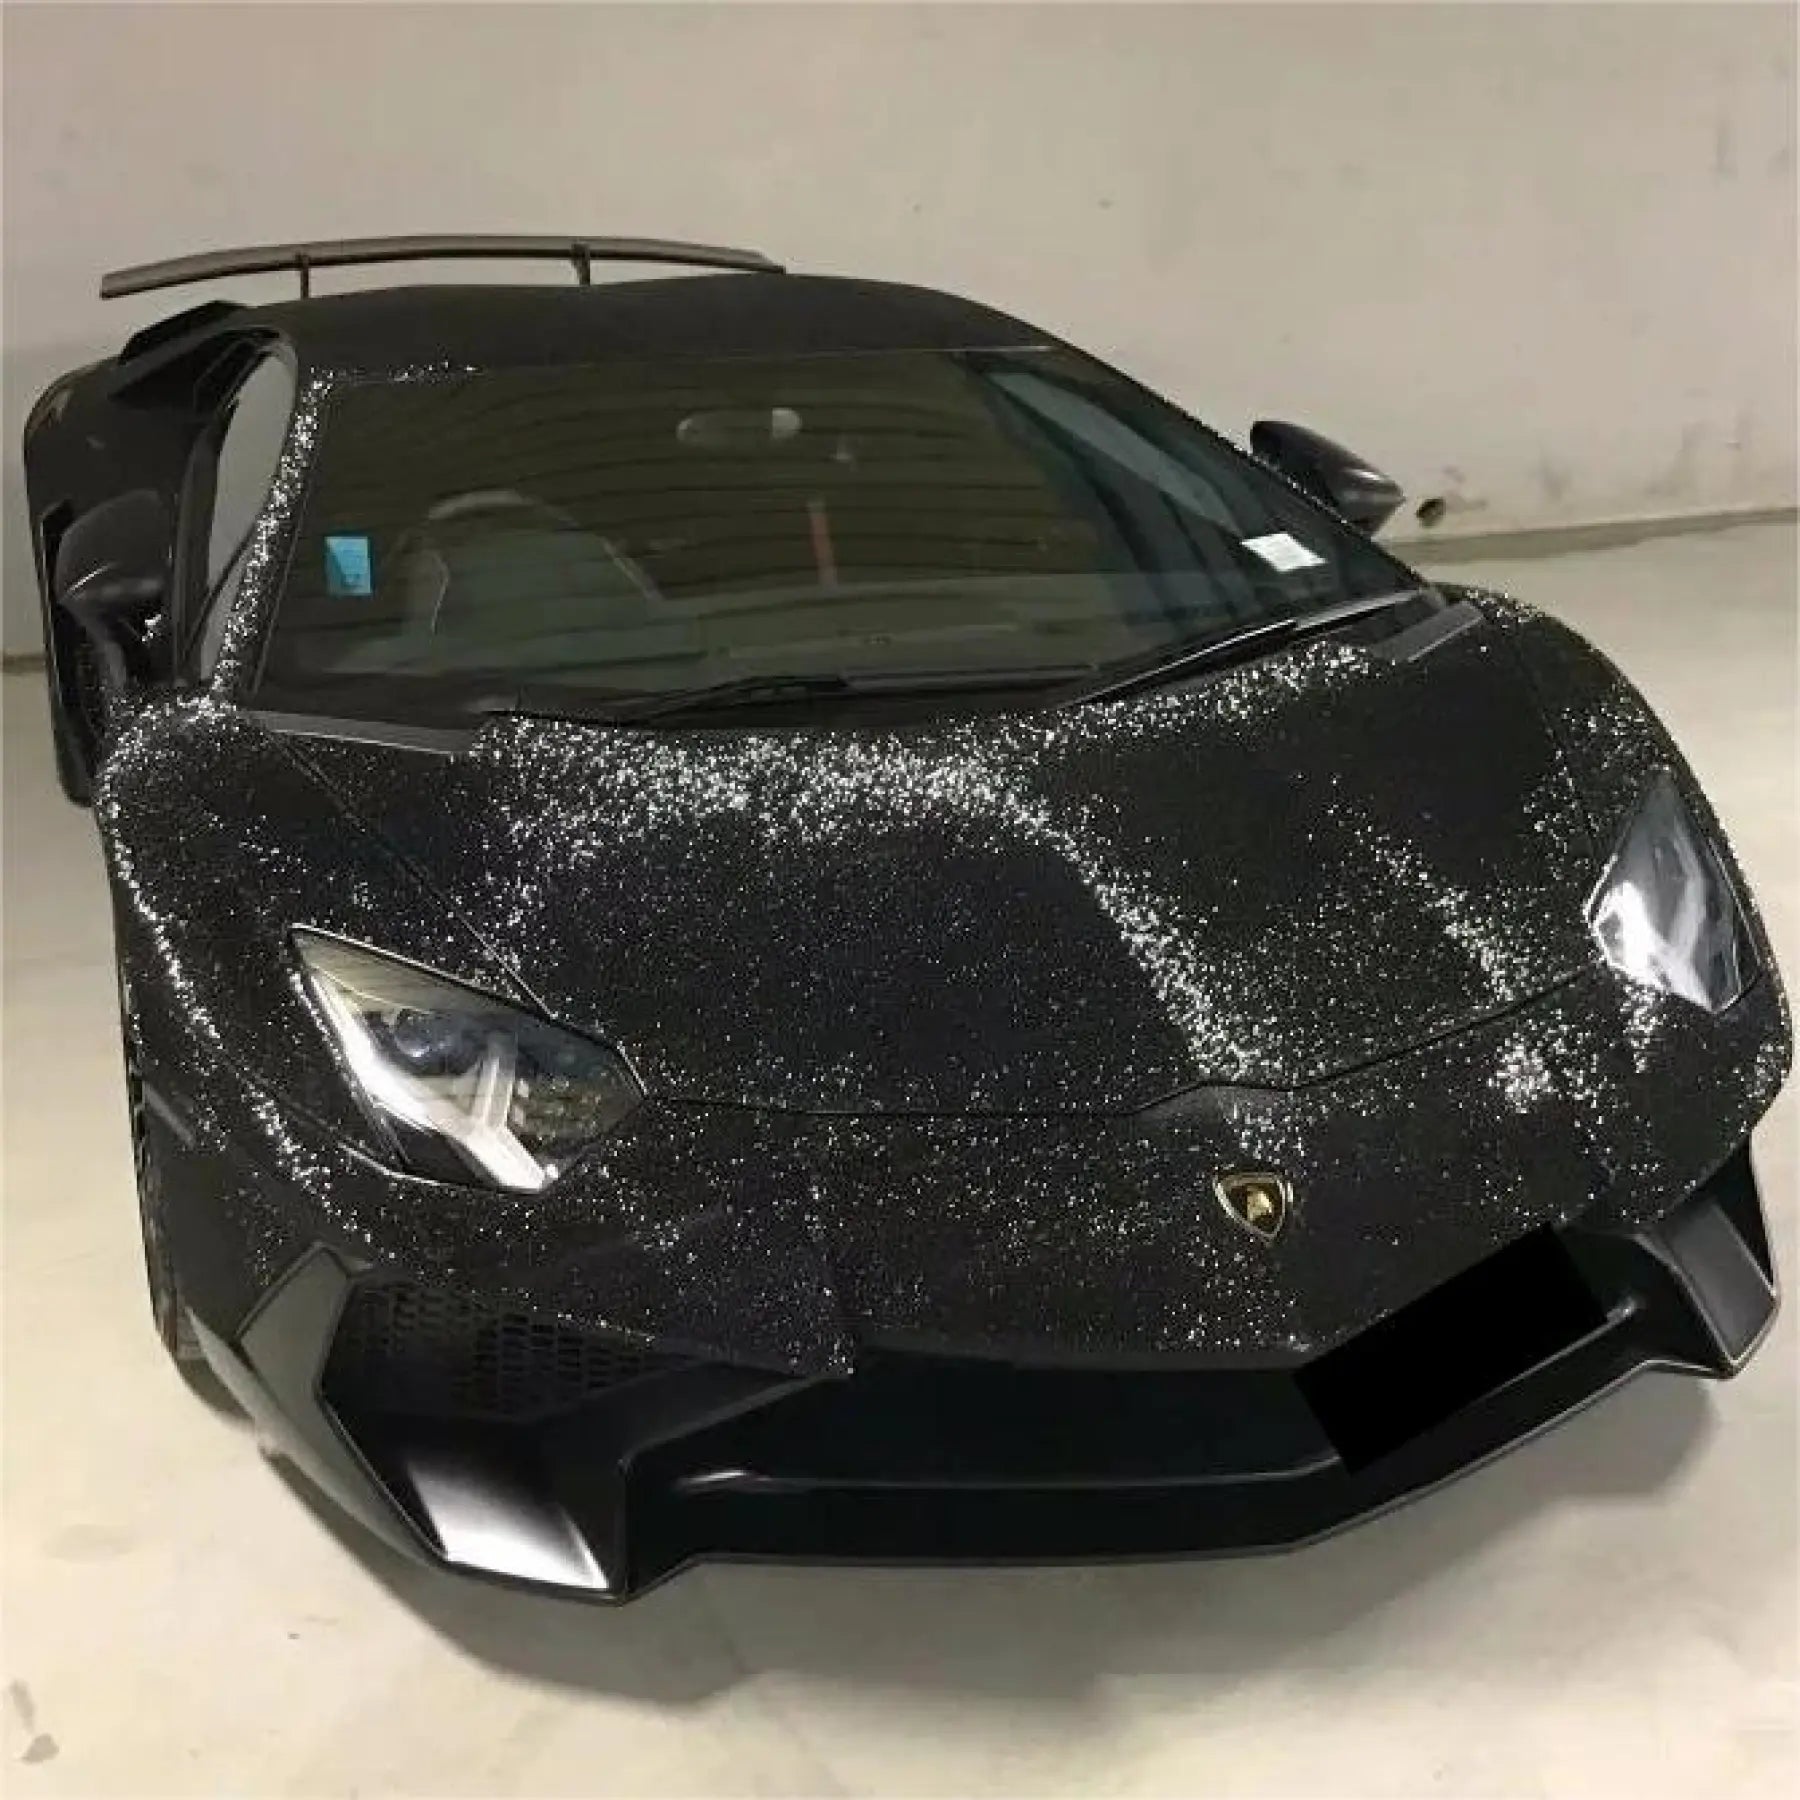
The images are original AI-generated illustrations. They explain visual concepts, not measured product performance or a before-and-after repair.
What does orange peel look like on a gloss surface?
Imagine a straight light reflected in the door. Instead of a clean, even reflection, you see fine waviness or a dimpled appearance. Surface-measurement specialist BYK describes orange peel through the waviness and image-forming quality of a reflective surface.
This is why “shiny” and “clear reflection” are not interchangeable descriptions. When comparing samples, ask two separate questions: does the surface have the sheen you want, and how distinctly does it reflect its surroundings?

Three things to investigate before blaming the roll
1. The appearance of the exact film
“Gloss,” “super gloss” and “paint-like” are useful shopping descriptions, but they do not replace seeing the product. Ask for a physical sample and, if possible, an installed demonstration of the same film and finish. Compare its reflections with your expectations before approving a whole vehicle.
A tiny swatch helps with color. For reflection quality, ask to see a larger demonstration area as well, so you can follow the shape of a reflected light or window frame. Keep the reference object and viewing position consistent when comparing options.
2. The paint underneath
A film is not a leveling repair for an uneven substrate. The 3M Protection Wrap Film installation FAQ explains that paint defects, including orange peel, can remain visible through its film, especially with flat gloss colors. It also discusses professional correction where heavy paint texture is present. That guidance concerns the specified 3M film; have your installer assess your own paint and selected product.
Before installation, ask the shop to photograph any existing texture and note repaired or repainted panels. Those records make a later discussion much more useful than trying to remember what the original door looked like.
3. A local installation concern
If the appearance changes sharply in one small area, ask the installer to examine it rather than treating every mark as orange peel. The same 3M FAQ notes that overstretching its Protection Wrap Film can produce adhesive marking or damage the clear coat layer. Its application limits should not be transferred to another film.
Describe the location and pattern: “a cloudy patch beside this crease” is more actionable than “the whole wrap looks wrong.” A description helps the inspection; it does not establish the cause.
A five-step sample comparison
- Identify the sample. Record the exact product, color and finish so your final order refers to the material you evaluated.
- Use a consistent reference. Compare the reflection of the same straight studio light or window edge on each demonstration panel.
- Keep the angle comparable. A flat display and a strongly curved fender are different comparison surfaces. Ask to see similar shapes.
- View it at two distances. Judge the overall appearance from a normal viewing distance, then move closer to examine the reflection detail.
- Agree on the expected result. Discuss what the sample demonstrates and what the condition of your car may change.
Start with Sailifilm sample kits and confirm whether your shortlisted film is included. Then ask your installer whether an installed demonstration is available. A product photograph or AI preview is helpful for inspiration, but cannot certify the surface you will receive.
What to record at vehicle handover
Review the car with the installer under lighting that makes reflections easy to see. Compare the result with the approved demonstration and the pre-installation photographs. Note any specific area you want explained before agreeing on the next step.
| Observation | Useful information to record |
|---|---|
| Fine texture across several panels | A wider photograph, close detail and the exact film reference |
| One panel differs from adjacent panels | Panel location, paint history and photographs under matching light |
| A localized cloudy or marked area | Its position relative to a curve, edge or recess |
| The appearance changes after delivery | When it appeared and any cleaning or treatment used |
The aim is a shared record of the concern. Ask the shop to explain whether it needs further assessment, a supplier review or another agreed action; avoid assuming that every visible texture has the same remedy.
Should you polish or heat the texture yourself?
Do not start a correction attempt without instructions for the exact film. A method used on automotive clear coat is not automatically suitable for vinyl or a protective film top layer. The 3M Protection Wrap Film maintenance guidance, for example, warns against abrasive polishes and rubbing compounds on that product.
For Sailifilm, check the film maintenance guide and ask support about the selected product before applying a treatment. Sending clear photographs and the product reference is a better starting point than experimenting with extra heat or an abrasive pad.
Gloss wrap texture FAQ
Does orange peel always mean poor installation?
No. Compare the film demonstration, paint-condition records and affected area before drawing that conclusion.
Will a high-gloss label guarantee a perfectly smooth reflection?
A label alone cannot establish the finished result. Approve an actual demonstration and discuss your vehicle’s condition with the installer.
Can clear PPF hide orange peel in the paint?
Do not buy it on that assumption. Have the underlying texture assessed and ask what the chosen film can realistically achieve.
What should I choose if reflection clarity matters most?
Shortlist the finish you like, compare installed samples under the same conditions, and agree on expectations before purchasing. Explore Sailifilm car vinyl wraps with those checks in mind.
