






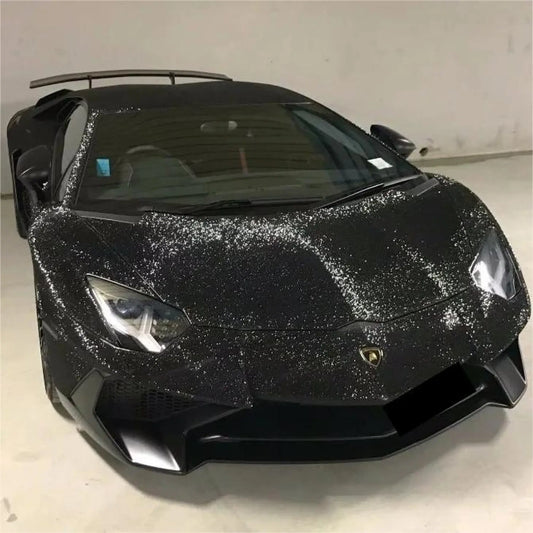
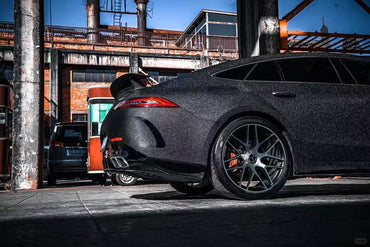
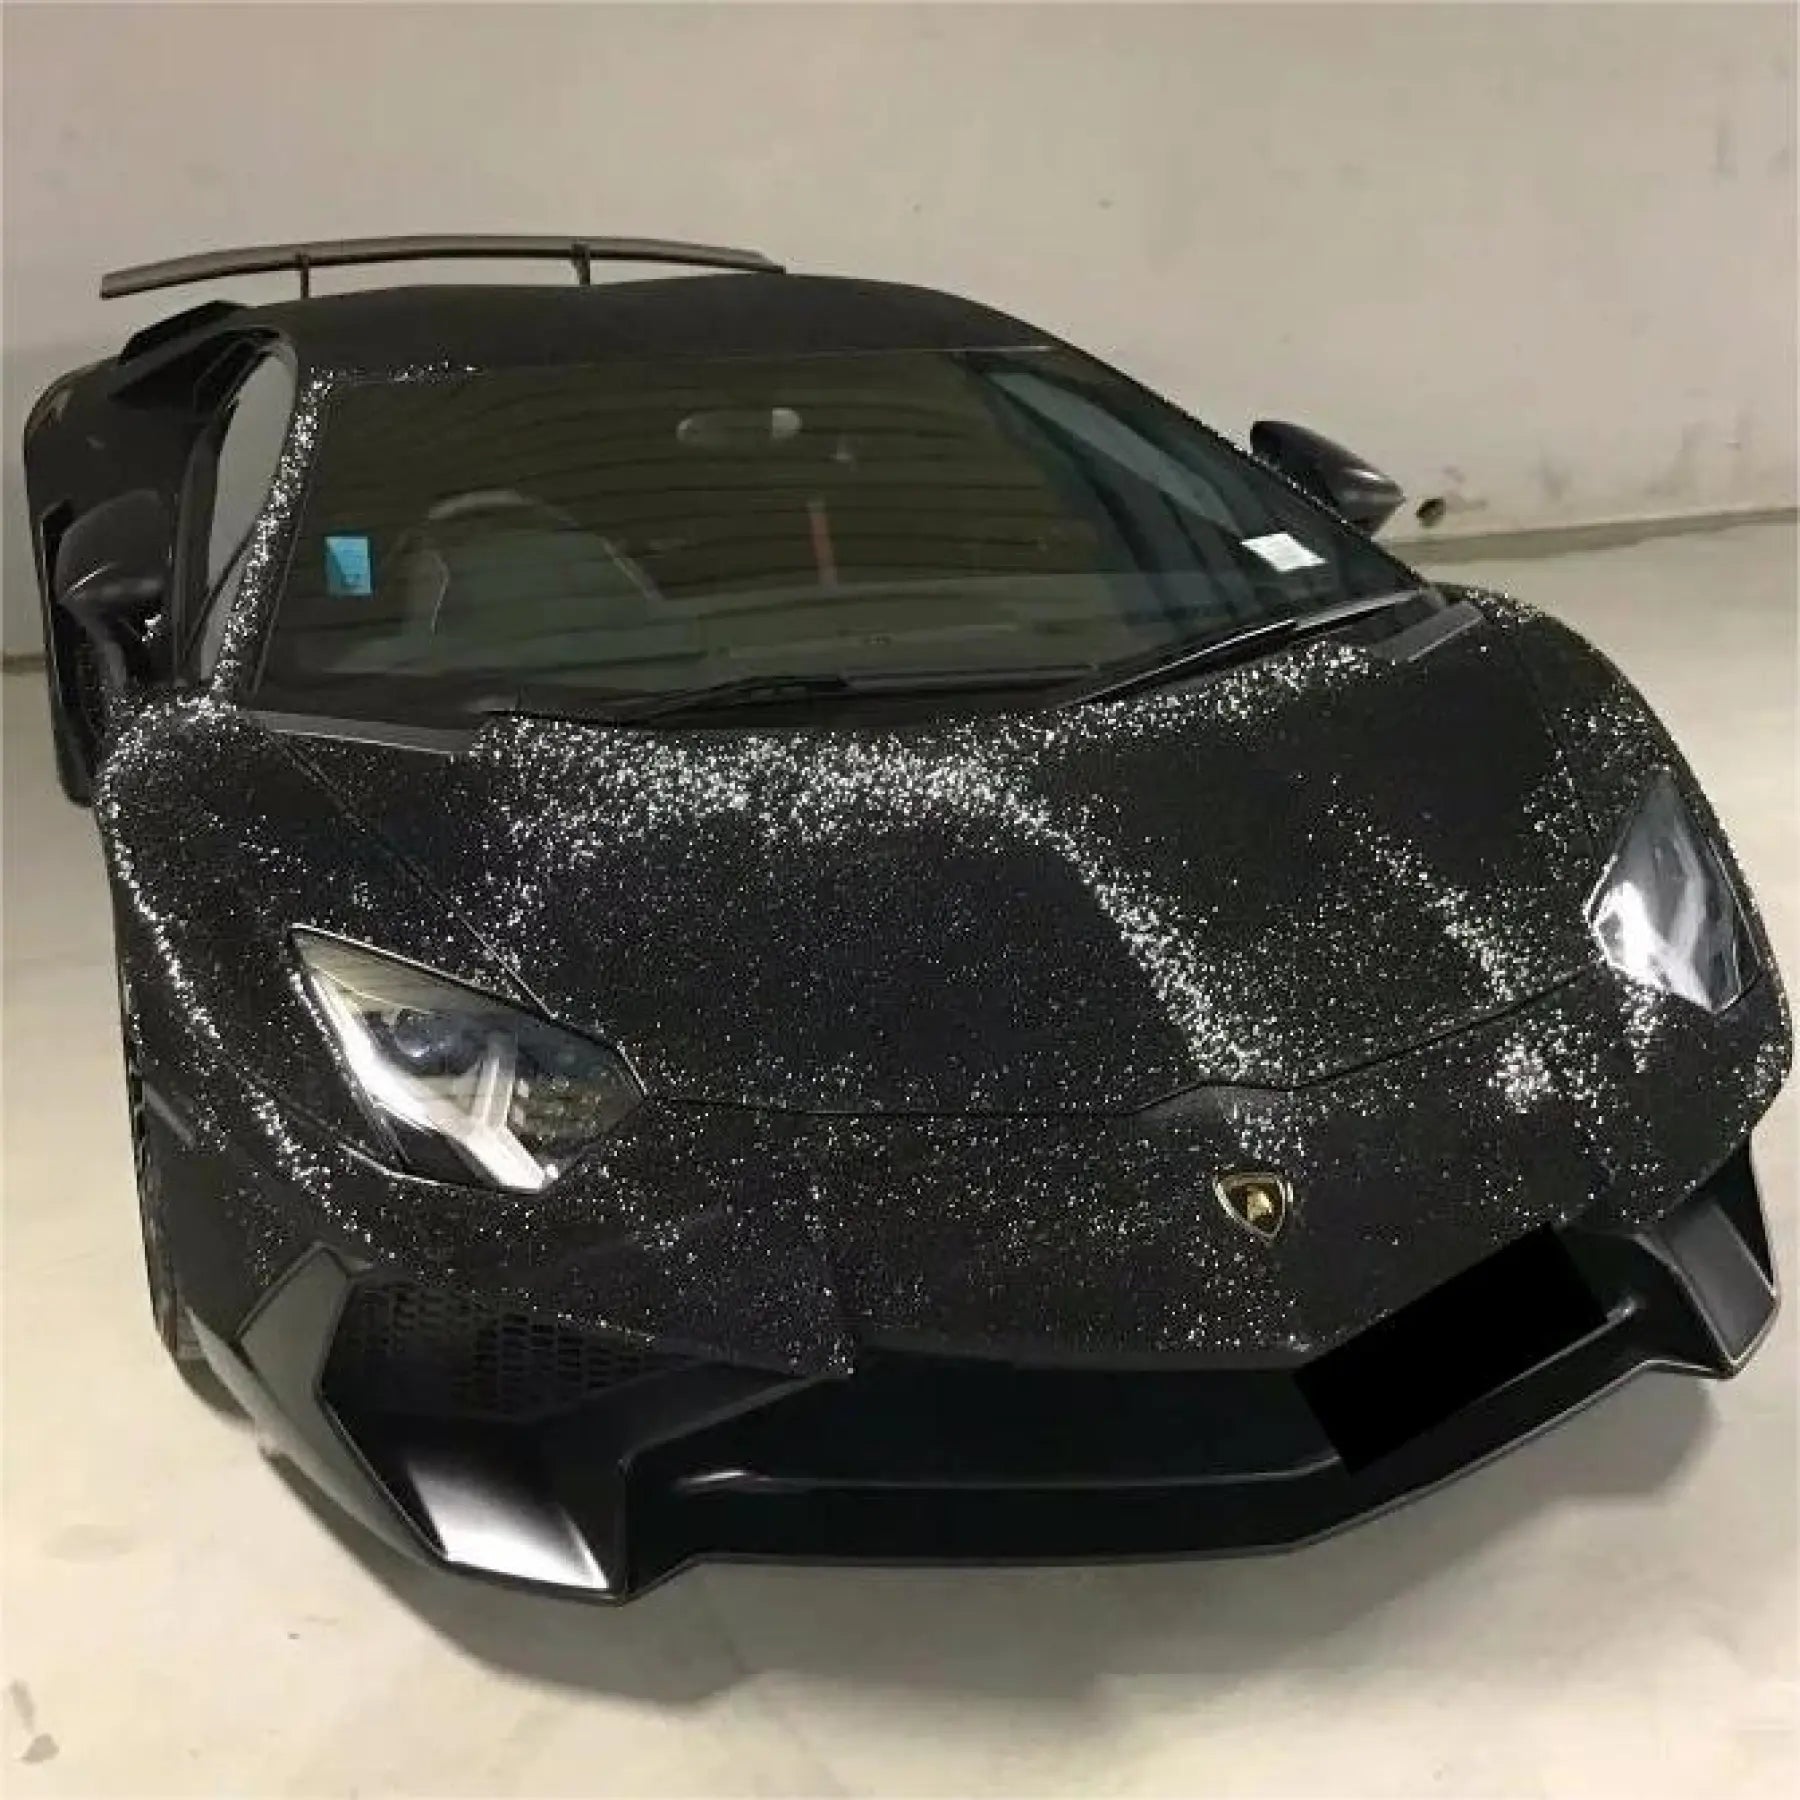





The whole point of a 3D carbon fiber wrap is the weave. That crisp, woven grid or the chaotic swirl of forged fiber is what tricks the eye into reading vinyl as genuine composite. And it is also the single easiest thing to ruin. Pull the film a fraction too hard, hold the heat gun a second too long, and the pattern that sold you on the wrap smears into a cloudy, washed-out patch that no amount of squeegee work will bring back. Textured film punishes the exact instinct that helps with solid-color vinyl — the instinct to stretch and force material into place.
Why Textured Film Is a Different Animal
A solid gloss or matte wrap has a flat, uniform surface. When you stretch it, the color simply thins slightly and the eye rarely notices. Carbon fiber film is the opposite. Its appearance comes from a physically embossed surface — raised ridges and channels engineered into the top layers to mimic a real woven weave. Our films use a multi-layer construction of three to six layers: a textured middle that carries the pattern, a gloss or matte topcoat, and a pressure-sensitive adhesive with air-release channels beneath.
When you overstretch that structure, you are not just thinning color. You are physically pulling the embossed ridges apart, flattening the peaks and widening the valleys. The weave loses its depth and reads as a hazy, stretched blur — the tell-tale sign of an amateur install. Because the film is also thicker and more dimensional than standard vinyl, it is less forgiving in cold conditions and more prone to holding squeegee marks if worked carelessly. Understanding this before you peel any backing is what separates a sharp result from a disappointing one.
The Number That Matters: Your Stretch Limit
Here is the figure to commit to memory. Quality 3D carbon fiber film stretches roughly 10 to 15 percent before the texture begins to distort. That window is generous enough to handle almost every body contour you will meet — the curve of a hood, the sweep of a fender, the wrap around a mirror cap — but it is a ceiling, not a target.
The practical rule is simple: if you feel significant resistance while pulling the film around a curve, stop pulling. Resistance is the film telling you it is near its limit. The answer is never more force; it is more heat. Heat, not tension, is what lets carbon film conform. When you rely on stretch alone, you thin the material and distort the weave. When you rely on heat, the film relaxes and molds itself with the pattern intact. This single mental shift — heat first, tension second — prevents the majority of pattern-distortion failures.
For deep recesses like mirror housings or hood scoops, resist the urge to force the whole curve at once. Work in small increments, adding heat and pressing a few centimetres at a time. A technique sometimes called bridging helps here: lay the film across the gap, warm it, and gently press it into the recess in stages rather than one aggressive pull.
Heat Discipline: The Line Between Conforming and Melting
Heat is your most powerful tool and your most dangerous one. Set a heat gun with adjustable temperature to a moderate range for textured vinyl — roughly 180°F to 220°F is a sensible working band for 3D carbon film. Hold the gun four to six inches from the surface and keep it moving in slow, continuous sweeps. Never let it hover on one spot.
The failure mode to fear is overheating. Push the film past its working point and the substrate softens too far — the texture flattens, the material turns gummy, and it becomes prone to tearing. The best gauge is touch: with a gloved hand, the film should feel warm and pliable, not hot. If it feels hot rather than merely warm, back off and let it cool before continuing. On large panels like hoods and roofs, work the surface in quadrants, heating and squeegeeing one small zone before moving to the next. Heating an entire panel at once creates uneven tension that pulls the weave out of alignment and invites wrinkles.
There is a second, positive role for heat: post-heating. After the film is down and edges are conformed, a final pass at a higher temperature sets the film's memory so it does not try to shrink back and lift later. This locks in both the position and, crucially, the pattern.
Squeegee Technique That Preserves the Weave
Pressure is the other half of the equation. Use a felt-edge squeegee, never a bare hard blade. The felt glides across the raised texture without scratching it or dragging grit, and it will not leave the shine marks a hard edge can press into a soft warm surface.
Hold the squeegee at roughly a 45-degree angle and work in firm, overlapping strokes that push outward from the centre of the panel toward the edges. That outward motion drives air ahead of the blade and out through the adhesive's air-release channels, preventing the trapped bubbles that masquerade as texture flaws. Keep your pressure consistent. Too light and you leave micro-bubbles beneath the surface; too heavy and you can stretch the warm weave and distort the very 3D effect you are trying to protect.
The working rhythm that keeps everything under control is deliberately slow: peel a few inches of backing, squeegee flat, peel a few more, squeegee flat. Never strip a large sheet of backing at once. Slack film wrinkles, misaligns, and tempts you into corrective stretching that damages the pattern. Sections of six to eight inches at a time keep tension even and the weave true.
Pattern Alignment: The Detail Amateurs Miss
Distortion is not only about stretch — it is also about direction. Unlike solid-color vinyl, carbon fiber film has a directional weave that must line up across adjacent panels. If you wrap a bumper with the weave running one way and the fender beside it runs another, the mismatch reads as sloppy even if every panel is bubble-free. Before you cut or commit, dry-fit and pre-align each section so the pattern flows continuously from panel to panel. Treat it like matching a puzzle: the weave on one piece should visually continue onto the next.
This matters even more with the depth variants. The 4D and 5D films in our collection add extra dimensional layering and a light-reflective gloss coat, so the pattern shifts more dramatically with viewing angle. That makes a misalignment more obvious under changing light — and a correct alignment far more striking. Forged carbon is the exception that helps you: because its pattern is randomized and non-directional, it hides seams and curves better than a traditional grid, which is exactly why it has become such a popular choice for full hoods and roofs.
Matching Film Depth to the Job
Choosing the right variant for the surface reduces distortion risk before you even start. A shallower 3D weave is more flexible and handles tight interior curves like A-pillars and switch panels more easily. The deeper 4D and 5D textures deliver more dramatic light play but can be stiffer to work around very tight radii, so they shine on larger, gentler surfaces like hoods, roofs, and door panels where their depth is showcased and the curves are forgiving.
If you are still deciding which finish suits your build, or you want to feel the texture and test how a variant behaves on your own panels before committing, our Sample Kits let you evaluate weave depth, gloss, and color accuracy in your actual lighting. And for the tools that make clean, distortion-free work possible — felt-edge squeegees, adjustable heat guns, precision blades — the Wrapping Tools collection has the kit designed for textured film.
Aftercare That Keeps the Texture Sharp
A perfectly installed pattern still needs protection to stay that way. The embossed surface can trap dirt in its channels, so wash gently by hand with a pH-neutral car soap and a soft mitt. Avoid abrasive sponges, harsh solvent cleaners, and wax-based products, all of which degrade the topcoat and dull the weave. Keep high-pressure washers at a respectful distance, especially away from trimmed edges where forced water can creep under the film and lift it.
Because horizontal surfaces like hoods and roofs take the most sun, covered parking meaningfully extends the life of the finish. For high-touch or high-impact zones, pairing carbon film with protection film adds a durable, self-healing layer over the top. Our TPU Paint Protection Wrap and Colored Paint Protection Film both bring self-healing properties that erase light surface marks — useful insurance for a textured finish you want to keep looking crisp.
Bringing It Together
Protecting a carbon fiber pattern comes down to a short list of disciplines: respect the 10-to-15 percent stretch limit, lead with heat instead of tension, keep the heat gun moving and moderate, use a felt-edge squeegee with even pressure, and align the weave across panels before you cut. Do those things and the film rewards you with the deep, dimensional, motorsport-grade weave that made you choose 3D carbon in the first place. Rush any one of them and the pattern is the first thing to go.
Start on something small and forgiving — a pair of mirror caps or an interior trim piece — to build the muscle memory before you commit to a hood or a full panel. For step-by-step technique across every finish, our blog continues this series, and for background on the real material these films replicate, the carbon fiber reinforced polymer entry on Wikipedia is a useful primer on why the weave carries such visual weight.

