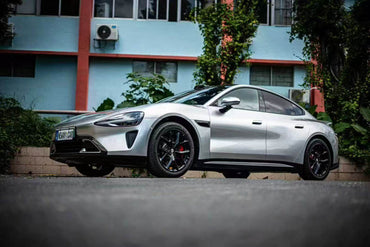
Car wrapping has revolutionized vehicle customization in 2025, transforming from a niche service into a mainstream choice for automotive enthusiasts and everyday drivers alike. With vinyl wraps lasting between three to ten years depending on quality, installation care, and environmental factors, they offer a cost-effective alternative to traditional paint jobs. But the critical question remains: should you tackle this project yourself or trust the professionals?
Understanding Car Wrap Technology in 2025
Before diving into installation methods, it's essential to understand what you're working with. Modern car wraps come in two primary categories, each serving distinct purposes:
Vinyl Wraps: The Customization Champion
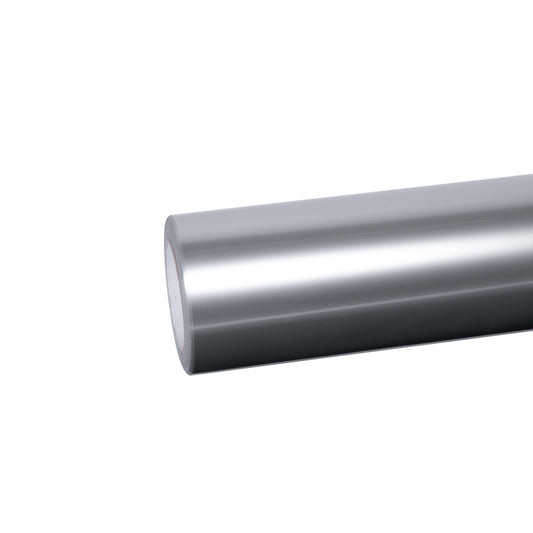
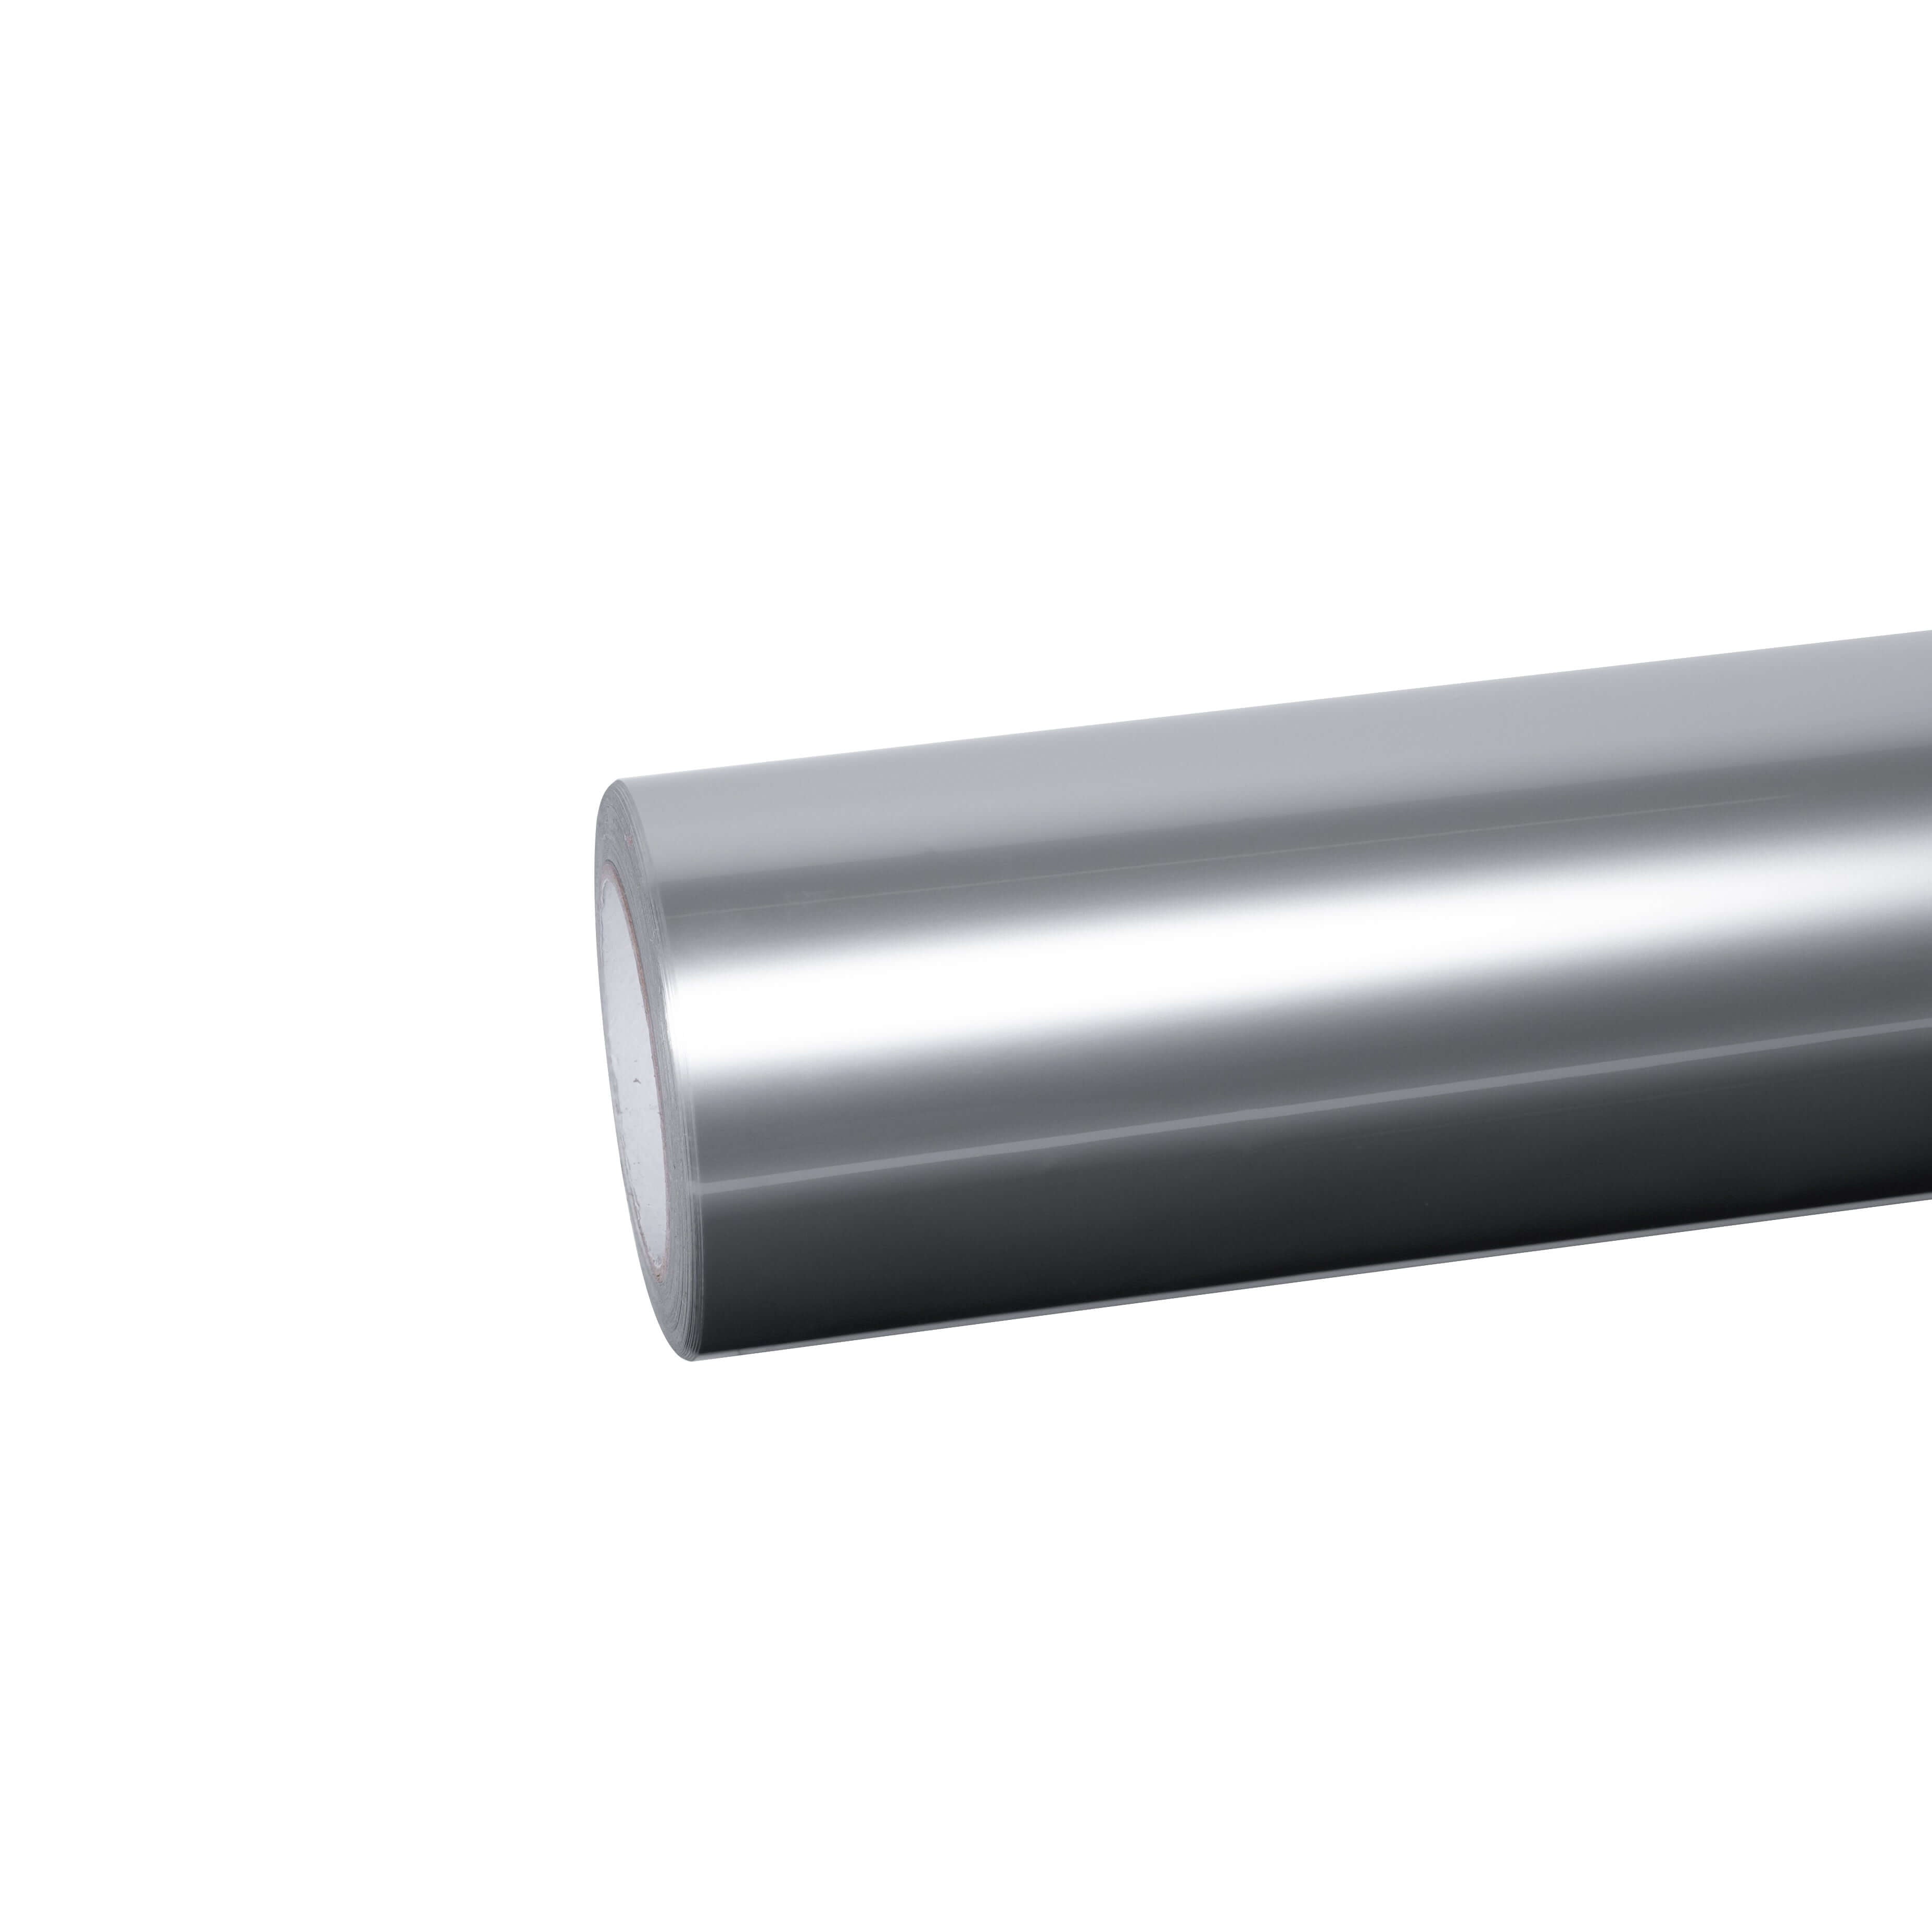
Traditional vinyl wraps are made from polyvinyl chloride (PVC) and are designed primarily for aesthetic transformation. Our extensive car vinyl wrap collection at Sailifilm includes everything from metallic vinyl wraps and crystal vinyl wraps to specialized 3D carbon fiber wraps, offering virtually unlimited customization possibilities.
Popular Vinyl Wrap Styles Include:
- Ultra Matte Wraps: Non-reflective, sophisticated finishes perfect for understated elegance
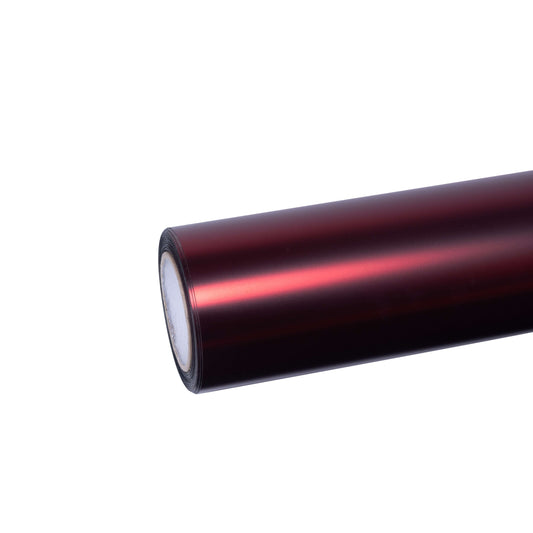
- Liquid Chrome Wraps: Mirror-like finishes that create stunning visual impact
- Rainbow Laser Vinyl Wraps: Holographic effects that change with lighting and viewing angles
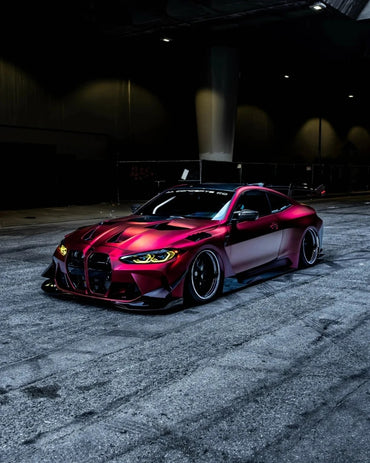
- Dual Color Dream Wraps: Multi-tone finishes for unique, eye-catching designs
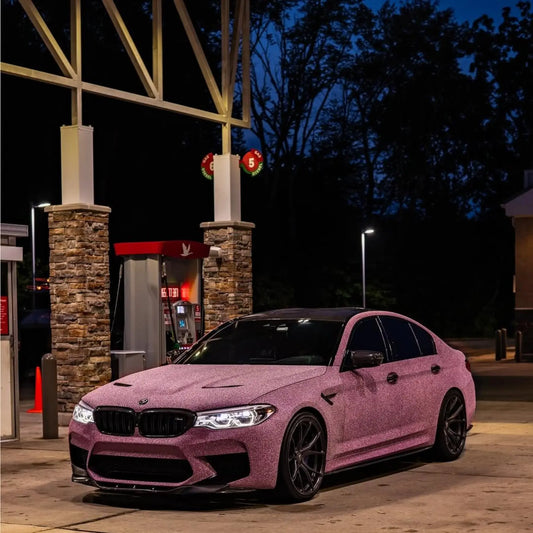
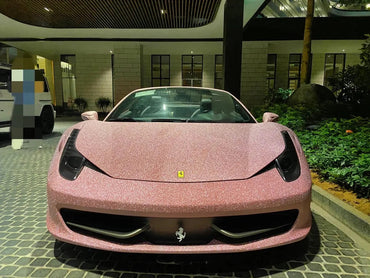
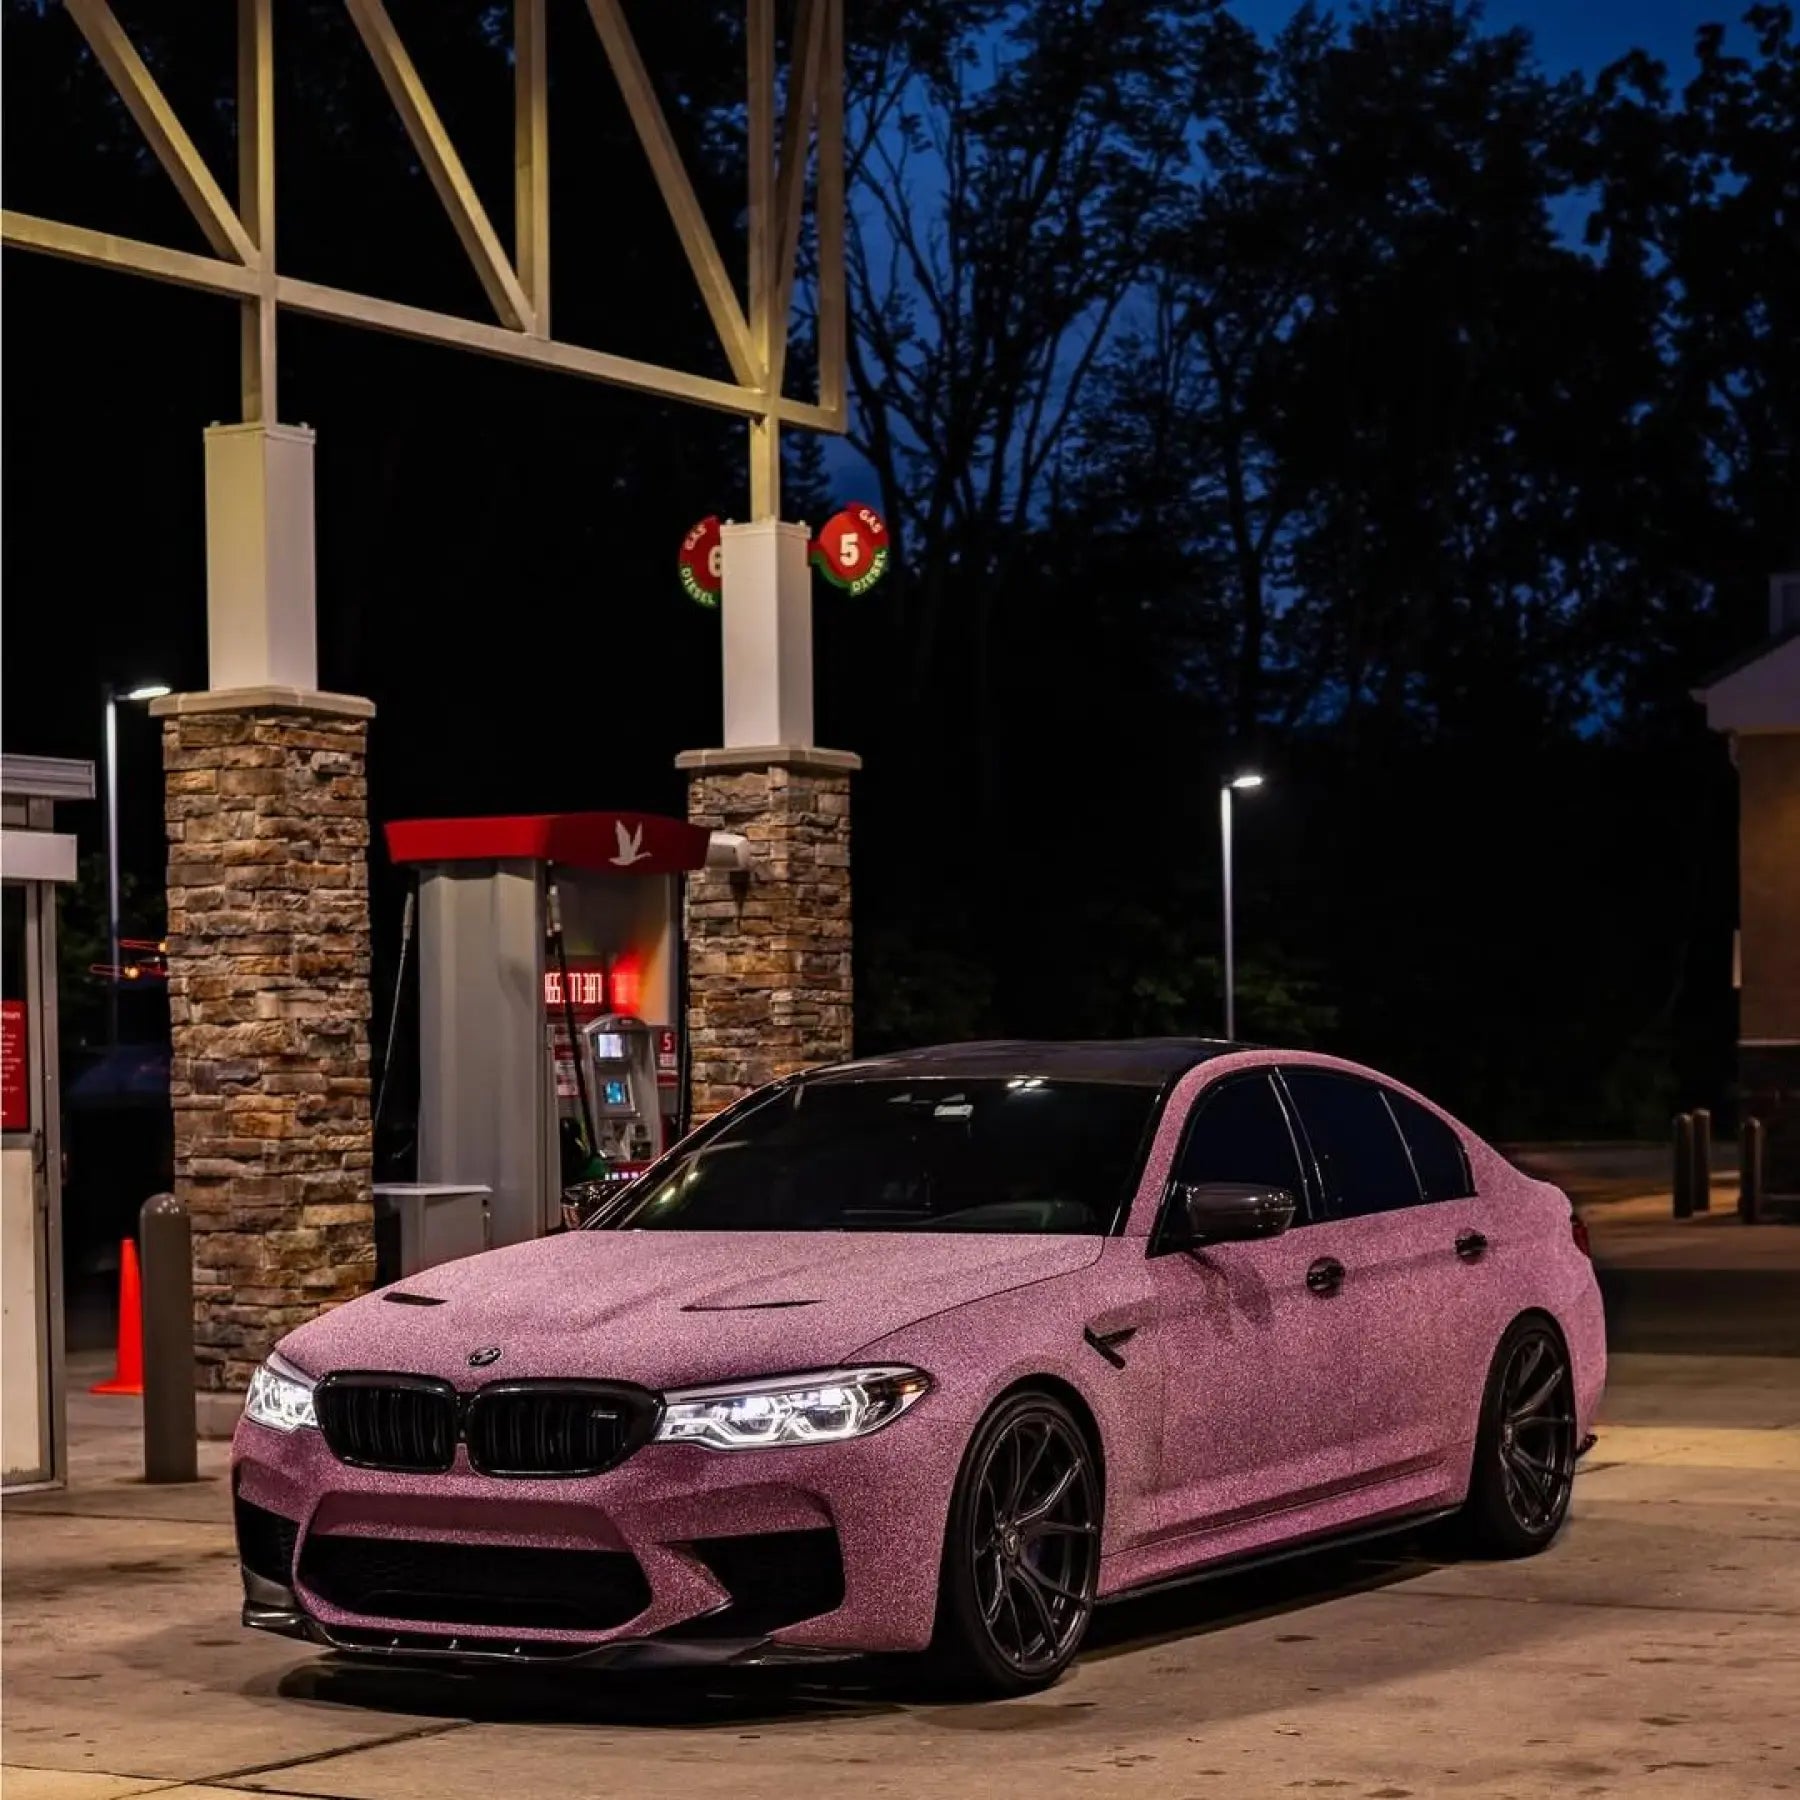
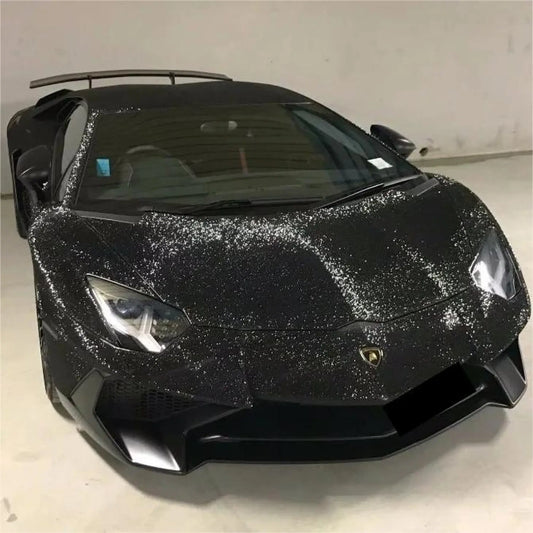
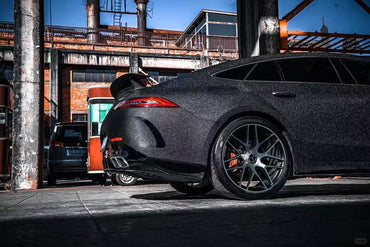
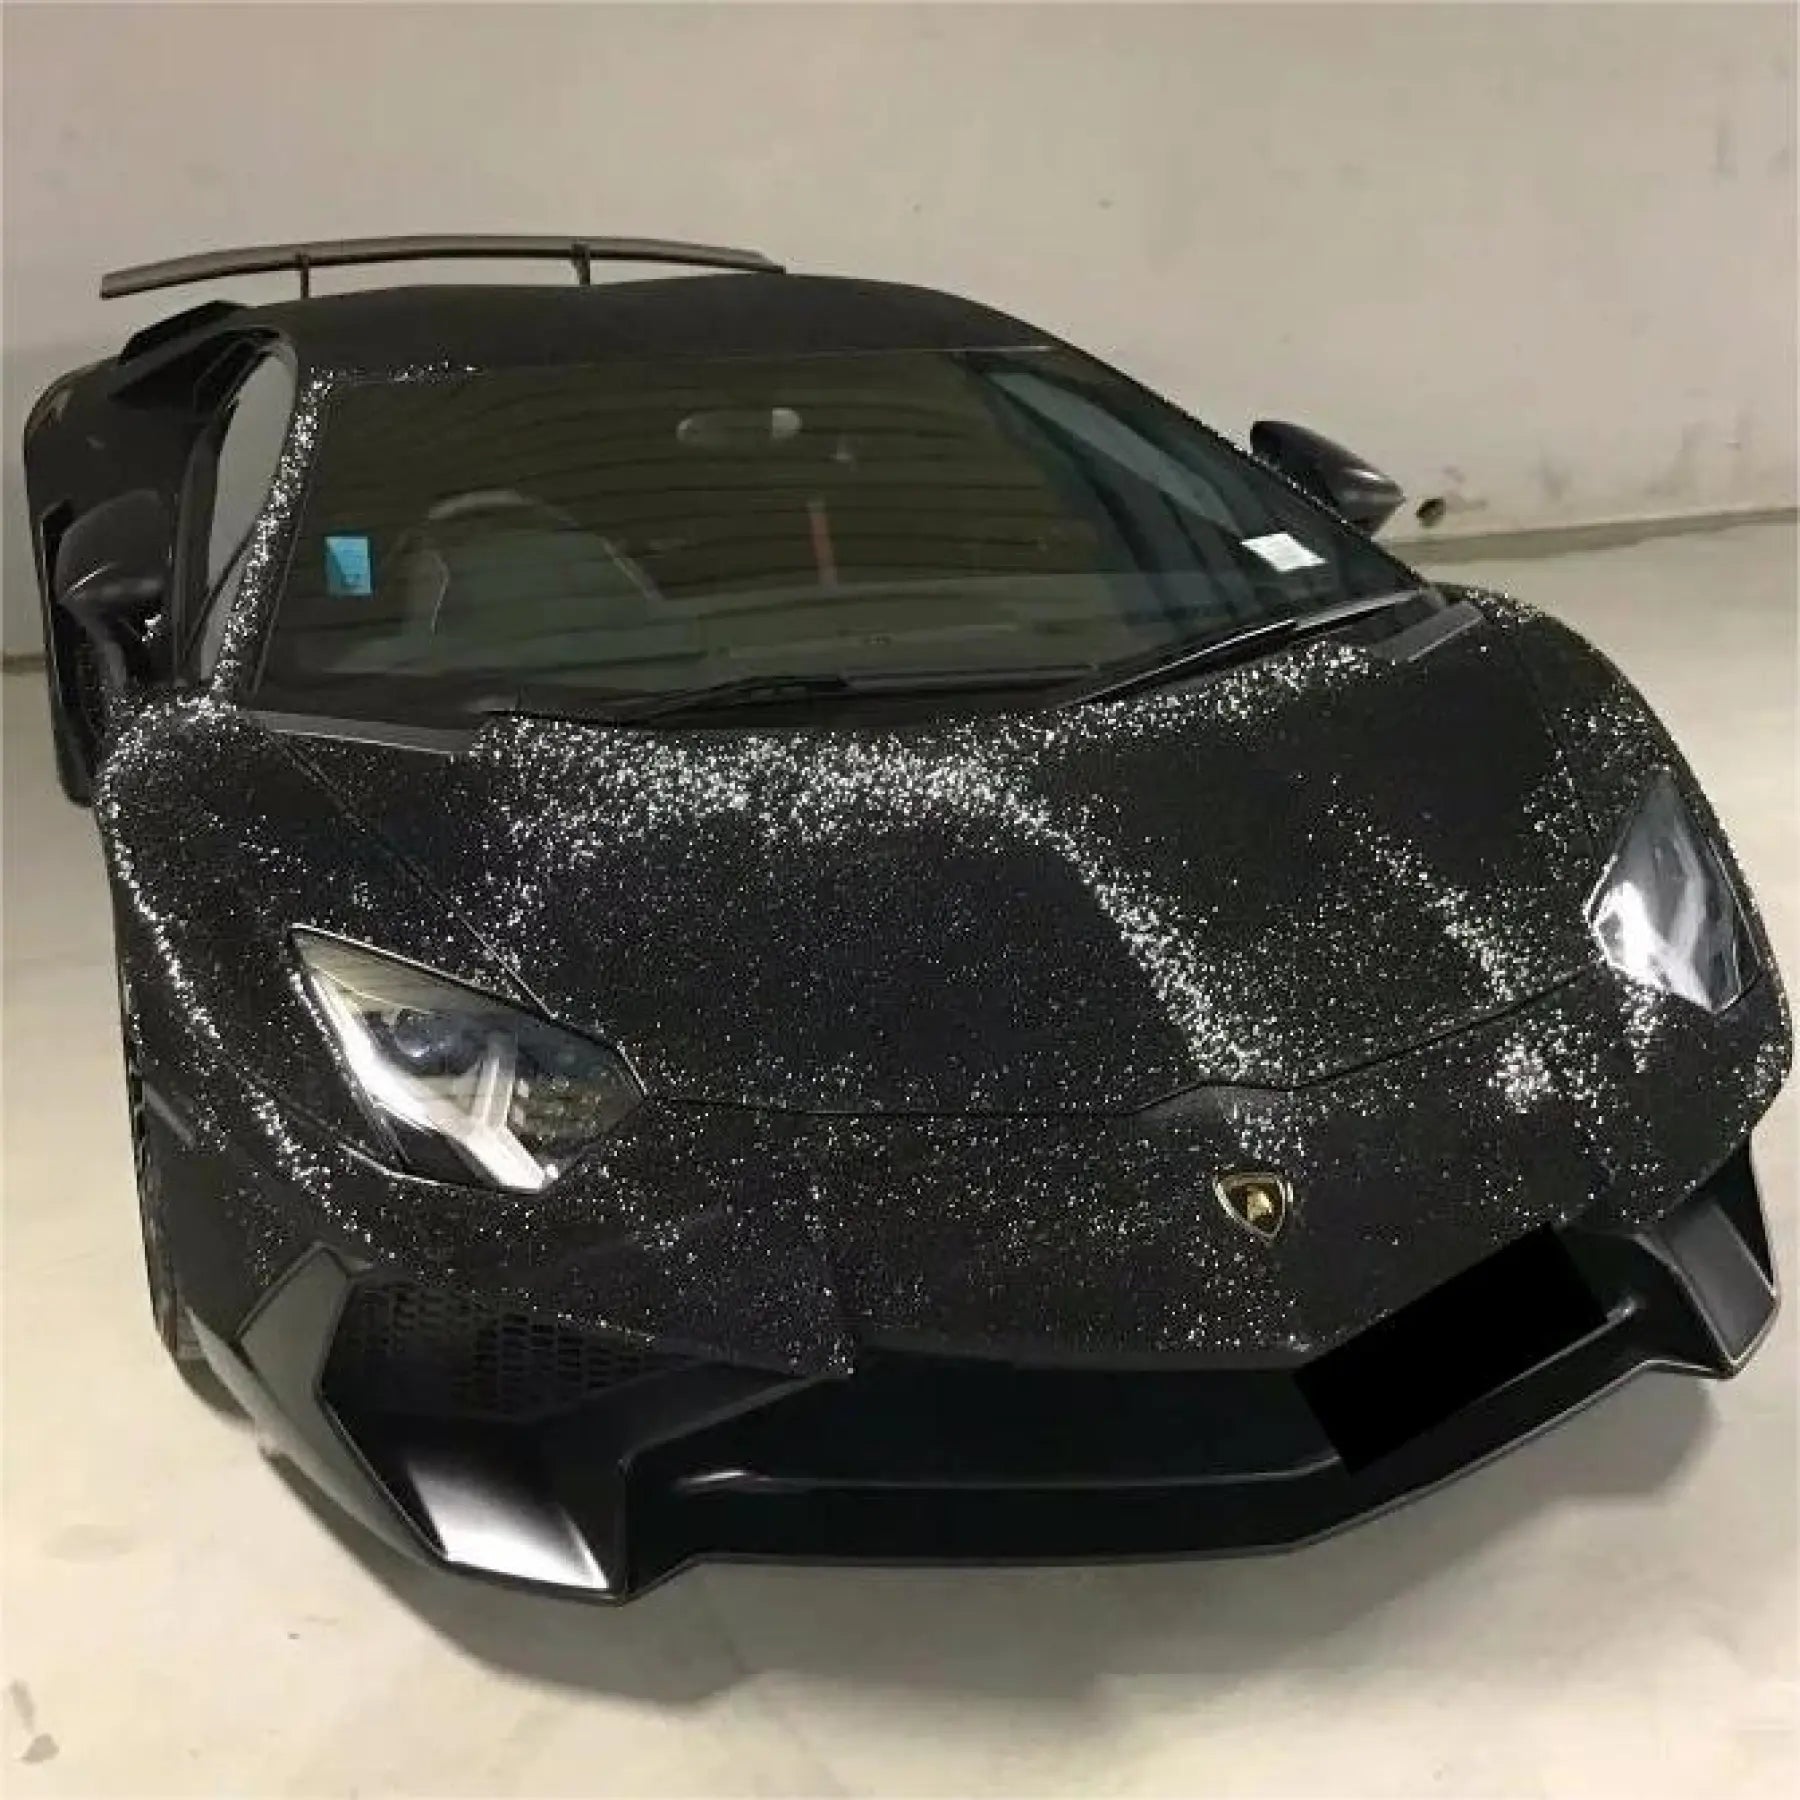
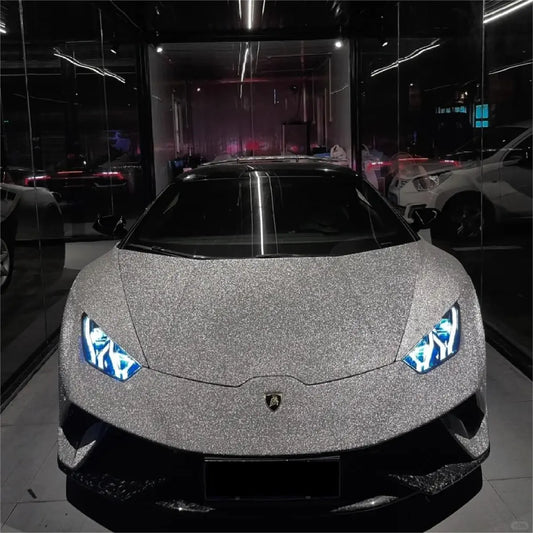
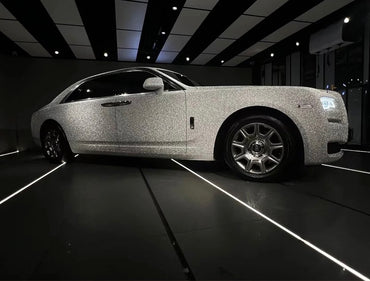
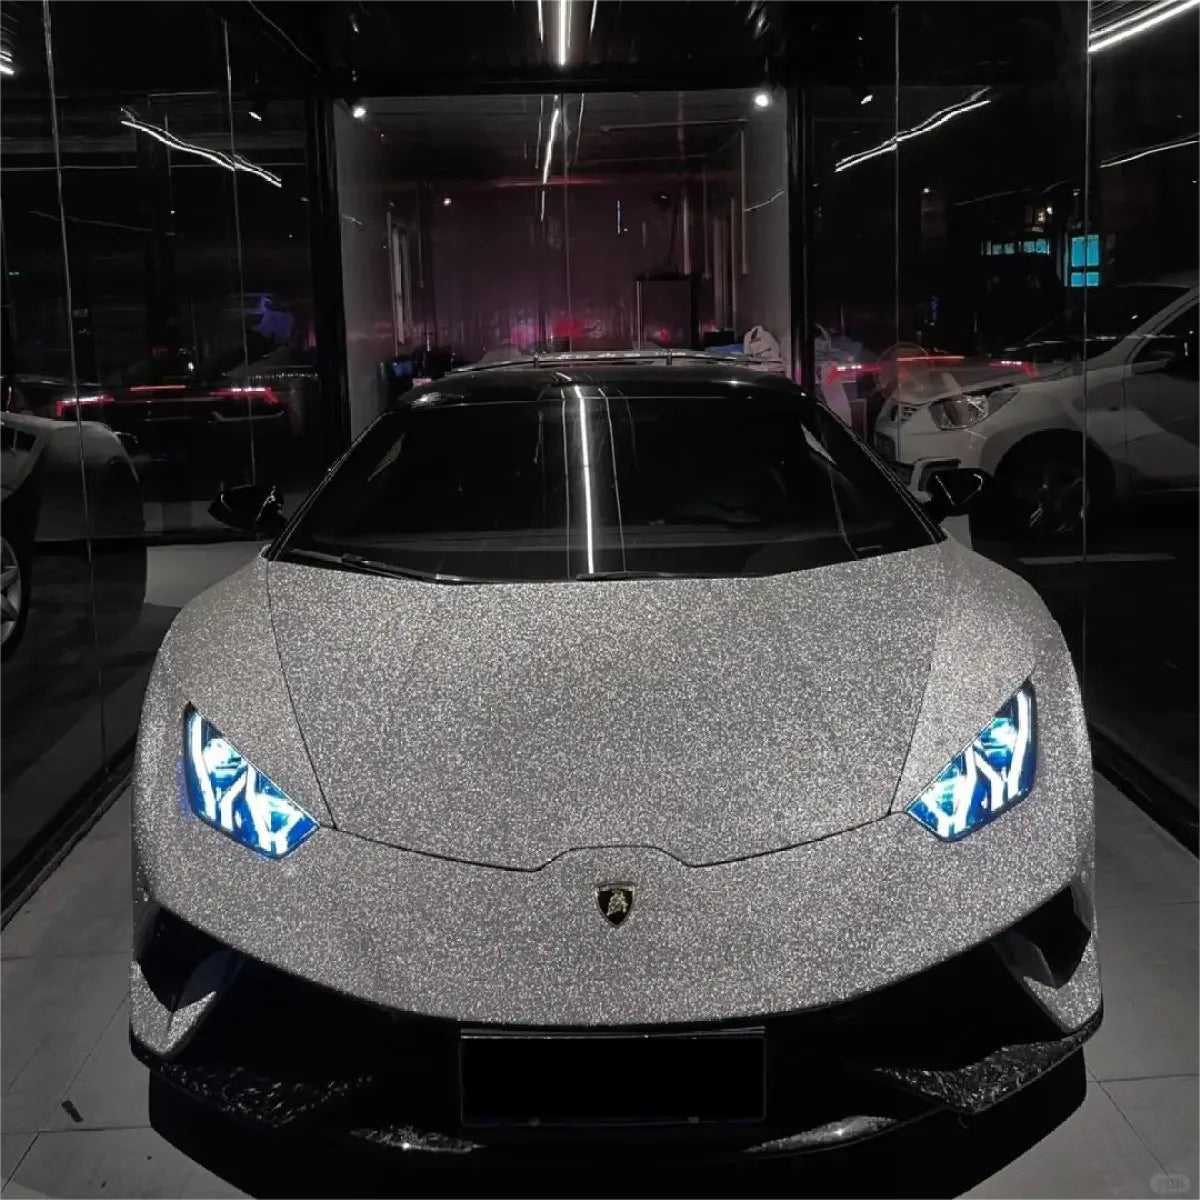
- Glitter Sparkle Wraps: Metallic flake finishes that shimmer in sunlight
- 3D Carbon Fiber Wraps: Textured patterns mimicking genuine carbon fiber
TPU Paint Protection Film: The Protective Powerhouse
TPU (Thermoplastic Polyurethane) wraps offer superior durability, self-healing properties, and long-term protection compared to traditional vinyl wraps. These films are engineered for maximum paint protection while maintaining optical clarity.
Key TPU Advantages:
- Self-healing properties that repair minor scratches with heat application
- Superior thickness (6-10 mil vs. 2-4 mil for vinyl)
- Enhanced impact resistance against road debris and rock chips
- UV protection preventing paint oxidation and fading
- Extended lifespan of 5-10 years with proper maintenance
DIY Car Wrap Installation: Realistic Assessment
Is DIY Car Wrapping Feasible?
The answer depends on several critical factors. Professional installers spend serious time cleaning, decontaminating, and prepping your vehicle's surface before they even think about applying vinyl, as a successful wrap job is maybe 60% preparation and 40% actual installation.
DIY Is Realistic When:
- You have experience with precision work requiring patience and attention to detail
- Your vehicle has simple, relatively flat panels (sedans are easier than SUVs)
- You're willing to invest 20-40 hours for a full vehicle wrap
- You have a clean, temperature-controlled workspace (68°F/20°C ideal)
- You can accept a learning curve and potential material waste
- You're wrapping smaller sections first to build skills
Professional Installation Is Recommended When:
- You're wrapping a high-value luxury or exotic vehicle
- The vehicle has complex curves, deep recesses, or intricate bodywork
- You need a flawless, showroom-quality finish
- Time constraints prevent a multi-day DIY project
- You want warranty coverage for installation defects
Common DIY Challenges
Learning from others' mistakes can save you time, money, and frustration. The most common mistake is inadequate surface prep, leading to bubbles, peeling, and adhesion failure. Other frequent issues include:
- Overstretching vinyl: Creates thinning, visible lines, and bubbles
- Incorrect heat application: Too little prevents proper conforming; too much damages material
- Rushing the process: Installation demands time and patience
- Poor planning: Insufficient material measurements leading to shortages
- Contamination: Fingerprints, dust, or oils affecting adhesive properties
Essential Tools for DIY Car Wrap Installation
Success in DIY car wrapping depends heavily on having the right equipment. Here's your complete professional toolkit:
Core Installation Tools
1. High-Quality Vinyl or TPU Film
- Measure your vehicle carefully: sedans typically require 50-60 feet of 60-inch wide material
- Choose between decorative vinyl wraps or TPU paint protection film based on your goals
- Always order 10-15% extra material to account for mistakes and complex areas
2. Heat Gun (Critical)
- Adjustable temperature settings between 140-250°F (60-120°C)
- Digital temperature display for precision
- Multiple heat settings for different vinyl types
- The Furno 500 Multi-Temperature heat gun is recommended for versatility
3. Squeegee Collection
- Felt-edged squeegees prevent scratching during application
- Magnetic squeegees for metal panels
- Wing-shaped squeegees for curves and complex contours
- Different firmness levels for various vinyl types
4. Cutting Tools
- Premium 30-degree blade utility knives (Olfa brand recommended)
- Multiple spare blades (change frequently for clean cuts)
- Knifeless tape for precise cuts without blade contact
- Reduces risk of cutting into vehicle paint
5. Temperature Monitoring
- Non-contact infrared thermometer essential for monitoring vinyl temperature
- Prevents overheating damage and ensures proper adhesive activation
- Both vehicle and vinyl should be at similar temperatures
Surface Preparation Essentials
Cleaning Solutions:
- Automotive-grade wax and grease remover
- 70% or 90% isopropyl alcohol for final decontamination
- pH-neutral car soap for initial washing
- Clay bar for removing embedded contaminants
Preparation Supplies:
- Lint-free microfiber towels (avoid leaving fibers behind)
- Tack cloths for final dust removal
- Masking tape for edge protection
- Compressed air for blowing out crevices
Workspace Requirements
Your installation environment significantly impacts results:
- Temperature-controlled space: 68-75°F (20-24°C) ideal range
- Clean, dust-free environment: Garage with sealed concrete floor preferred
- Adequate lighting: Bright, even illumination reveals imperfections
- Sufficient space: Ability to walk completely around vehicle
- Helper availability: Second pair of hands essential for large panels
Step-by-Step DIY Installation Process
Phase 1: Surface Preparation (Most Critical)
Vinyl car wrap sticks best to smooth factory paints and smooth rigid plastic surfaces. It won't bond well to poor paint jobs, orange peel, deep scratches, gouges, rust, chipped paint, flaking paint, or textured surfaces.
Detailed Preparation Steps:
- Initial Inspection: Document all existing damage with photos
- Thorough Washing: Use pH-neutral soap, rinse completely, dry thoroughly
- Clay Bar Treatment: Remove embedded contaminants and industrial fallout
- Surface Decontamination: Apply wax and grease remover to entire vehicle
- Alcohol Wipe Down: 70% isopropyl alcohol as final cleaning step
- Hardware Removal: Remove badges, trim pieces, door handles where possible
- Final Inspection: Use bright lighting to verify perfectly clean surface
Phase 2: Material Preparation and Planning
Measure twice, cut once - this carpentry principle is crucial for vehicle graphics success. Measure each panel separately, adding 3 inches on all sides for tucking.
Planning Strategy:
- Create a panel-by-panel installation sequence
- Start with flat, simple panels (roof, hood) to build confidence
- Save complex areas (bumpers, mirrors) for when you've developed skills
- Pre-cut pieces slightly oversized with adequate overlap margins
- Keep detailed notes on measurements for future reference
Phase 3: Application Technique
Proper Application Method:
- Initial Positioning: Loosely position vinyl over panel without removing backing
- Center Anchor: Remove small section of backing, anchor vinyl at panel center
- Heat and Stretch: Apply gentle heat (200-250°F) while working outward
- Squeegee Technique: Use overlapping strokes at 45-degree angle
- Edge Tucking: Heat edges, stretch carefully, tuck into panel gaps
- Post-Heating: Apply final heat pass to activate adhesive fully
- Trimming: Use sharp blades for clean cuts along natural body lines
Critical Application Tips:
- Never stretch vinyl more than 5-10% to prevent thinning and distortion
- Apply heat in 6-8 inch sections, keeping gun moving constantly
- Work slowly and methodically - rushing guarantees poor results
- If bubbles appear, carefully lift vinyl, reheat, and reapply
- Allow 24-48 hours of settling time before exposure to elements
Professional Installation: What You're Paying For
The Professional Advantage
Professional installers bring skills, tools, and experience that you just can't replicate in your garage over a weekend. A professionally installed wrap can last anywhere from three to seven years, while DIY installations often start showing problems within the first year.
What Professionals Provide:
1. Expert Surface Preparation
- Professional-grade decontamination equipment
- Paint correction services when necessary
- Identification and remediation of problematic areas
2. Advanced Installation Techniques
- Seamless panel transitions and minimal visible seams
- Complex bodywork expertise (deep recesses, compound curves)
- Proper tension management preventing premature failure
3. Specialized Tools and Equipment
- Industrial-grade heat guns with precise temperature control
- Professional-grade squeegees designed for specific vinyl types
- Cutting systems ensuring no damage to underlying paint
4. Quality Assurance
- Installation warranties (typically 1-3 years on workmanship)
- Free repairs for installation-related defects
- Professional photography documentation
Cost Analysis: DIY vs. Professional
DIY Installation Costs:
- Material: $500-$2,000 (depending on vehicle size and vinyl quality)
- Tools (first-time investment): $200-$500
- Potential material waste: $100-$300
- Time investment: 20-40 hours
- Total: $800-$2,800
Professional Installation Costs:
- Material and labor: $2,500-$6,000 for standard vehicles
- Luxury/exotic vehicles: $5,000-$10,000+
- Includes warranty and insurance protection
- Total: $2,500-$10,000+
Long-Term Value Consideration: When you factor in the cost of materials, tools, and the time involved in DIY installation—not to mention the risk of having to redo the job if it goes wrong—professional installation often represents better value than it might initially appear.
Choosing the Right Wrap Material for Your Project
Sailifilm Product Collections Breakdown
Understanding your options helps you select the perfect wrap for your goals:
For Maximum Customization
Rainbow Laser Vinyl Wraps
- Holographic, color-shifting effects
- Creates stunning visual depth and dimension
- Perfect for show vehicles and attention-grabbing designs
- Requires skilled installation due to reflective properties
Liquid Chrome Wraps
- Ultra-reflective, mirror-like finish
- Most challenging material to install (professional recommended)
- Highest visual impact for special events and shows
- Requires flawless surface preparation
Dual Color Dream Wraps
- Multi-tone color transitions
- Unique appearance from every angle
- Moderate installation difficulty
- Excellent balance of uniqueness and accessibility
For Paint Protection
Colored Paint Protection Film
- Combines TPU protection with color customization
- Self-healing properties repair minor scratches
- Superior durability (5-10 year lifespan)
- Ideal for high-value vehicles requiring protection
TPU Paint Protection Wrap
- Clear protective layer maintaining original paint
- Maximum impact resistance against road debris
- Professional installation highly recommended for optimal results
- Best long-term investment for paint preservation
For Specialty Finishes
Ultra Matte Wraps
- Non-reflective, sophisticated appearance
- Requires special care (no waxing, gentle cleaning only)
- Shows fingerprints easily during installation
- Moderate DIY difficulty with proper techniques
Metallic Vinyl Wraps
- Vibrant metallic flake finishes
- Good balance of visual impact and installation ease
- Forgiving material for first-time installers
- Wide color range available
Crystal Vinyl Wraps
- Sparkle and shimmer effects
- Similar to metallic but with enhanced depth
- DIY-friendly with standard installation techniques
3D Carbon Fiber Wraps
- Textured pattern mimicking real carbon fiber
- Air-release technology simplifies installation
- Excellent for accent pieces (hoods, mirrors, spoilers)
- Budget-friendly alternative to real carbon fiber
Maintenance and Longevity
Extending Your Wrap's Lifespan
Proper maintenance dramatically affects wrap longevity:
Essential Care Practices:
- Hand Washing Only: Avoid automatic car washes with harsh brushes
- pH-Neutral Products: Use wrap-safe cleaning solutions
- No Pressure Washing: High pressure can lift edges and damage material
- Covered Parking: Protect from prolonged UV exposure when possible
- Immediate Spot Treatment: Clean bird droppings, tree sap, and bug splatter promptly
Expected Lifespan by Material:
- Standard Vinyl Wraps: 3-5 years
- Premium Vinyl Wraps: 5-7 years
- TPU Paint Protection Film: 5-10 years
- Specialty Chrome/Holographic: 2-4 years (less durable)
When to Replace or Remove
Signs your wrap needs attention:
- Peeling or lifting edges
- Significant fading or discoloration
- Bubbling or delamination
- Cracking in high-flex areas
- Loss of adhesion
Professional removal is recommended to prevent paint damage, especially for wraps older than 3-5 years where adhesive has fully cured.
Sample Kits and Testing: Smart First Steps
Before committing to a full vehicle wrap, consider starting with sample kits from Sailifilm. These allow you to:
- Test installation techniques on small sections
- Verify color and finish in natural lighting
- Practice heat application and squeegee techniques
- Assess material quality and working properties
- Experiment with different finishes risk-free
Starting with accent pieces (mirror caps, roof panels, door handles) builds skills and confidence before tackling complete vehicle wraps.
Regional Considerations and Climate Impact
The cost of wrapping a car varies widely depending on region, type of wrap, design complexity, vehicle size, and installer experience. Climate also significantly impacts material selection and installation:
Hot, Sunny Climates (Southwest, California):
- UV-resistant films essential
- Covered parking highly recommended
- Lighter colors reflect heat better
- TPU films offer superior UV protection
Cold, Harsh Winter Climates (Northeast, Midwest):
- Premium adhesives withstand temperature extremes
- Salt-resistant properties important
- Covered parking prevents ice damage
- Professional installation ensures proper edge sealing
Humid, Coastal Environments (Southeast, Gulf Coast):
- Moisture-resistant adhesives critical
- Regular washing prevents salt buildup
- Ventilated storage prevents moisture accumulation
Making Your Decision: DIY or Professional?
Choose DIY Installation If:
✓ You have previous experience with precision automotive work
✓ Budget constraints make professional installation prohibitive
✓ You're wrapping smaller sections or accent pieces
✓ You have adequate time (20-40+ hours) and proper workspace
✓ You're willing to accept imperfections as part of the learning process
✓ The vehicle has relatively simple, flat body panels
✓ You're using forgiving materials (standard matte or gloss vinyl)
Choose Professional Installation If:
✓ You're wrapping a high-value, luxury, or exotic vehicle
✓ You need a flawless, showroom-quality finish
✓ Time constraints prevent multi-day DIY projects
✓ The vehicle has complex curves, deep recesses, or intricate bodywork
✓ You're using challenging materials (chrome, holographic, color-shifting)
✓ You want installation warranty and insurance protection
✓ Budget allows for professional expertise ($2,500-$6,000+)
Conclusion: Transform Your Vehicle with Confidence
Car wrap installation in 2025 offers unprecedented opportunities for vehicle customization and protection. Whether you choose the DIY route or professional installation, understanding the process, tools, and realistic expectations ensures a successful outcome.
DIY car wrapping can be incredibly rewarding when approached with proper preparation, quality materials, and patience. The key to success lies in gathering necessary tools, preparing surfaces meticulously, choosing the right vinyl, and proceeding with attention to detail.
For those ready to transform their vehicle with premium materials, explore Sailifilm's comprehensive collections:
- Colored Paint Protection Film - Maximum protection with color options
- Ultra Matte Wraps - Sophisticated, non-reflective finishes
- Liquid Chrome Wraps - Mirror-like, ultra-reflective designs
- 3D Carbon Fiber Wraps - Textured, lightweight aesthetics
- Wrapping Tools - Professional-grade installation equipment
Remember: every professional installer started as a beginner. Start with small projects, invest in quality tools, and continuously improve your technique. Whether DIY or professional, the right car wrap transforms your vehicle while protecting your investment for years to come.
Frequently Asked Questions
Q: How long does a DIY car wrap installation take?
A complete vehicle wrap typically requires 20-40 hours for first-time installers, spread across multiple days to allow for proper curing and settling.
Q: Can I wrap a car with existing paint damage?
Minor scratches are acceptable, but chips, rust, dents, and flaking paint must be repaired first, as wraps accentuate rather than hide defects.
Q: What's the biggest mistake DIY installers make?
Inadequate surface preparation accounts for 60% of wrap failures. Clean, degrease, and decontaminate thoroughly before installation.
Q: Are car wraps removable without damaging paint?
Yes, when professionally applied to factory paint and removed within the material's lifespan (typically 3-7 years). Older wraps or improper removal can cause damage.
Q: Can I wash a wrapped car normally?
Hand washing with pH-neutral products is recommended. Avoid automatic car washes, pressure washing, and harsh chemicals that can degrade vinyl.
Ready to start your car wrap project? Visit Sailifilm.com to explore our complete collection of premium vinyl wraps, TPU paint protection films, and professional installation tools. Transform your vehicle today with materials trusted by enthusiasts and professionals worldwide.
Related Topics:


