





What Makes Liquid Chrome Wrap Different
Our Liquid Series sits in a category of its own. Unlike standard cast films, each roll layers a premium polymeric vinyl base with a chrome-mirrored topcoat, a pressure-sensitive acrylic adhesive, and air-channel technology engineered for bubble-free installation. The reflective top layer is what gives the finish its signature wet-metal depth, but it is also what demands respect during application. Overstretch the film and the mirror layer can micro-fracture, creating a milky haze called whitewashing that no amount of post-heating will repair.
Compared to a 3D Carbon Fiber Wrap or a forgiving Ultra Matte Wrap, the Liquid Series shows every fingerprint, dust speck, and squeegee mark under direct sunlight. That is exactly why preparation determines 80% of the final result. To understand the broader category, the Wikipedia entry on vehicle vinyl wraps offers helpful background on how polymeric films behave on automotive surfaces.
Tools You Need Before You Start
Walking into a Liquid Chrome install without the right kit is the fastest way to ruin a $99 roll. Stock your station with the following from our wrapping tools collection:
- A felt-edge soft squeegee (never a bare plastic one, which leaves scratch trails)
- Heat-resistant wrap gloves
- A temperature-controlled heat gun
- Sharp snap-off blades and knifeless tape for trimming
- 70/30 isopropyl alcohol surface cleaner
- Clean lint-free microfiber towels
- Wrap magnets or low-tack tape for hinge positioning
If this is your first chrome project, a sample kit lets you practice tension and heat control on a small panel before committing to a full body wrap.
Surface Preparation: The Step Most People Rush
Liquid Chrome amplifies every flaw beneath it. A pinhead of dust shows up like a crater under reflection. Wash the vehicle with pH-neutral soap, decontaminate with clay bar to remove embedded grit, then wipe every panel with 70/30 isopropyl alcohol immediately before laying film. Pay obsessive attention to seams, around badges, behind rubber trim, and along fuel-door edges where wax buildup hides.
Where possible, remove badges, door handles, mirror caps, and trim pieces. Wrapping parts off the vehicle delivers cleaner edges than working around obstacles. Make sure the panel temperature sits between 65°F and 80°F (18°C to 27°C). Cold metal weakens adhesive grab, while overheated panels can pre-activate the glue and cause premature lock-down before you can position the film.
Cutting and Positioning Liquid Chrome Vinyl
Measure each panel, then add 4 to 6 inches of overhang on all sides. Liquid Series film stretches up to roughly 30%, but the closer you stay to its relaxed state, the better the mirror finish holds. Generous overhang gives room to reposition without forcing the material.
Lay the panel flat. Peel back the release liner from the center, hinge the film with magnets or low-tack tape, and begin squeegeeing outward from the centerline in slow, overlapping strokes at a low 25 to 35 degree angle. A high squeegee angle is the number-one cause of corner scratches on chrome film, so keep the blade flat and travel smoothly.
For curved surfaces, apply heat gently. Set the heat gun no higher than 195°F to 200°F during initial application and keep the nozzle six to eight inches away while moving constantly. Localized heat over 300°F is where hazing begins, and on Liquid Chrome that damage is permanent.
Handling Curves, Corners, and Recesses
Body lines, mirror caps, and bumper corners are where most installs go sideways. Three habits separate clean work from amateur work:
Use enclosed relief cuts rather than standard relief cuts. A traditional straight cut can split and run into your installed area, ruining hours of work. Enclosed cuts terminate in a small punched hole that stops the tear cold.
Plan your stretch. Never pull the film into a recess all at once. Tack one anchor point, work outward in small segments, and post-heat each segment to 195°F to lock the conformation. The Liquid Series has visual memory: if you stretch it back to flat, it will try to shrink there later, which is what causes edge lifting weeks down the road.
Wrap and post-heat 1/8 to 1/4 inch of film around every panel edge. This wrapping technique, used by professional installers worldwide, is the single biggest defense against the dreaded edge lift that plagues poorly installed chrome wraps. For a deeper procedural walkthrough, our team maintains the DIY Car Wrap Installation Guide with photo references.
Trimming Like a Professional
Never run a blade directly across Liquid Chrome film. Knifeless tape laid down before installation gives you a clean pull-cut that never touches the finish. Where a blade is unavoidable, use a fresh snap-off segment for every cut and keep the blade angle low. Even a slight nick into the chrome top layer reveals the dark base beneath and is impossible to disguise.
Post-Heating: The Step That Determines Longevity
Once every panel is squeegeed and trimmed, go back over the entire wrap with the heat gun at roughly 195°F. Focus on stretched zones, body line transitions, and every wrapped edge. Post-heating relaxes molecular memory in the film and tells the adhesive to bond permanently in its new shape. Skip this step and you will see edges curling within three months.
After post-heating, let the vehicle cure undisturbed for at least 24 hours. Avoid washing, parking under heavy dew, or exposing the wrap to rain for the first 72 hours, since the adhesive needs that window to reach full bond strength.
Liquid Chrome Wrap Maintenance: Keeping the Mirror Alive
A flawless install is only half the story. Liquid Chrome film rewards consistent care and punishes neglect more visibly than any other finish in our car vinyl wrap catalog.
Hand wash only. Automatic car washes with rotating brushes will scuff the chrome layer within a single visit. Use pH-balanced shampoo, a soft microfiber wash mitt, and the two-bucket method. Rinse with a steady low-pressure stream, never a needle-tip pressure washer at close range.
Dry immediately. Air-drying leaves mineral spotting on reflective surfaces. Pat dry with a clean plush microfiber towel right after rinsing. A leaf-blower on cool setting clears water from panel gaps and emblem recesses where towels cannot reach.
Handle contaminants fast. Bird droppings, tree sap, road tar, and bug residue contain acids and solvents that can etch chrome film if left for days. Rinse them off the same day. For stubborn spots, use a vinyl-safe citrus pre-cleaner, never acetone, gasoline, or aggressive degreasers.
Store smart. Park in shade or a garage whenever possible. Prolonged UV exposure shortens the life of any wrap, and reflective finishes are slightly more sensitive than gloss colors. A breathable car cover protects against pollen, sap, and grit during long parking periods.
Wax sparingly, and only the right product. Avoid carnauba paste waxes and abrasive polishes. A wash-free vinyl sealant designed for wrapped vehicles adds a dust-repelling barrier without dulling the chrome. Apply every three to four months.
With this regimen, a Sailifilm Liquid Series wrap routinely stays vivid for 3 to 5 years on daily-driven vehicles. Detailed checklists live in our Car Film Maintenance Guide.
Adding Paint Protection Under or Over Chrome
A growing number of installers now layer Liquid Chrome over TPU paint protection film to add an extra shield against rock chips on hoods and front bumpers. This stacked approach extends both the wrap and the underlying paint, and it is especially popular for show cars and high-mileage daily drivers. For owners who want color and protection in one layer, our colored paint protection film offers a complementary route.
Common Liquid Chrome Mistakes to Avoid
- Squeegeeing dry without proper glove glide, which drags micro-scratches across the mirror layer
- Stretching the film past 15% in visible zones, where reflectivity loss becomes obvious
- Using a high squeegee angle, the leading cause of corner scratches on chrome wraps
- Skipping enclosed relief cuts and watching a tear run across a clean panel
- Pressure-washing the cured wrap within the first three days
- Driving through automatic washes with brush systems
Choosing Your Color from the Liquid Series
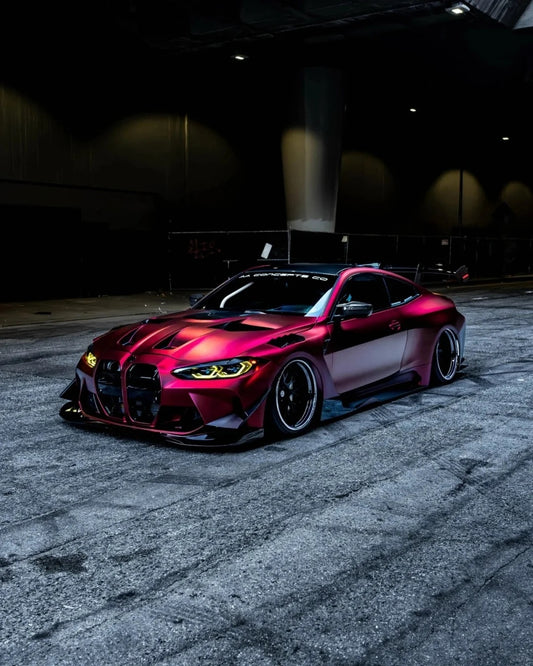
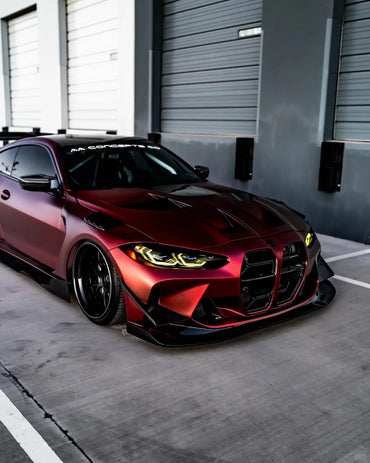
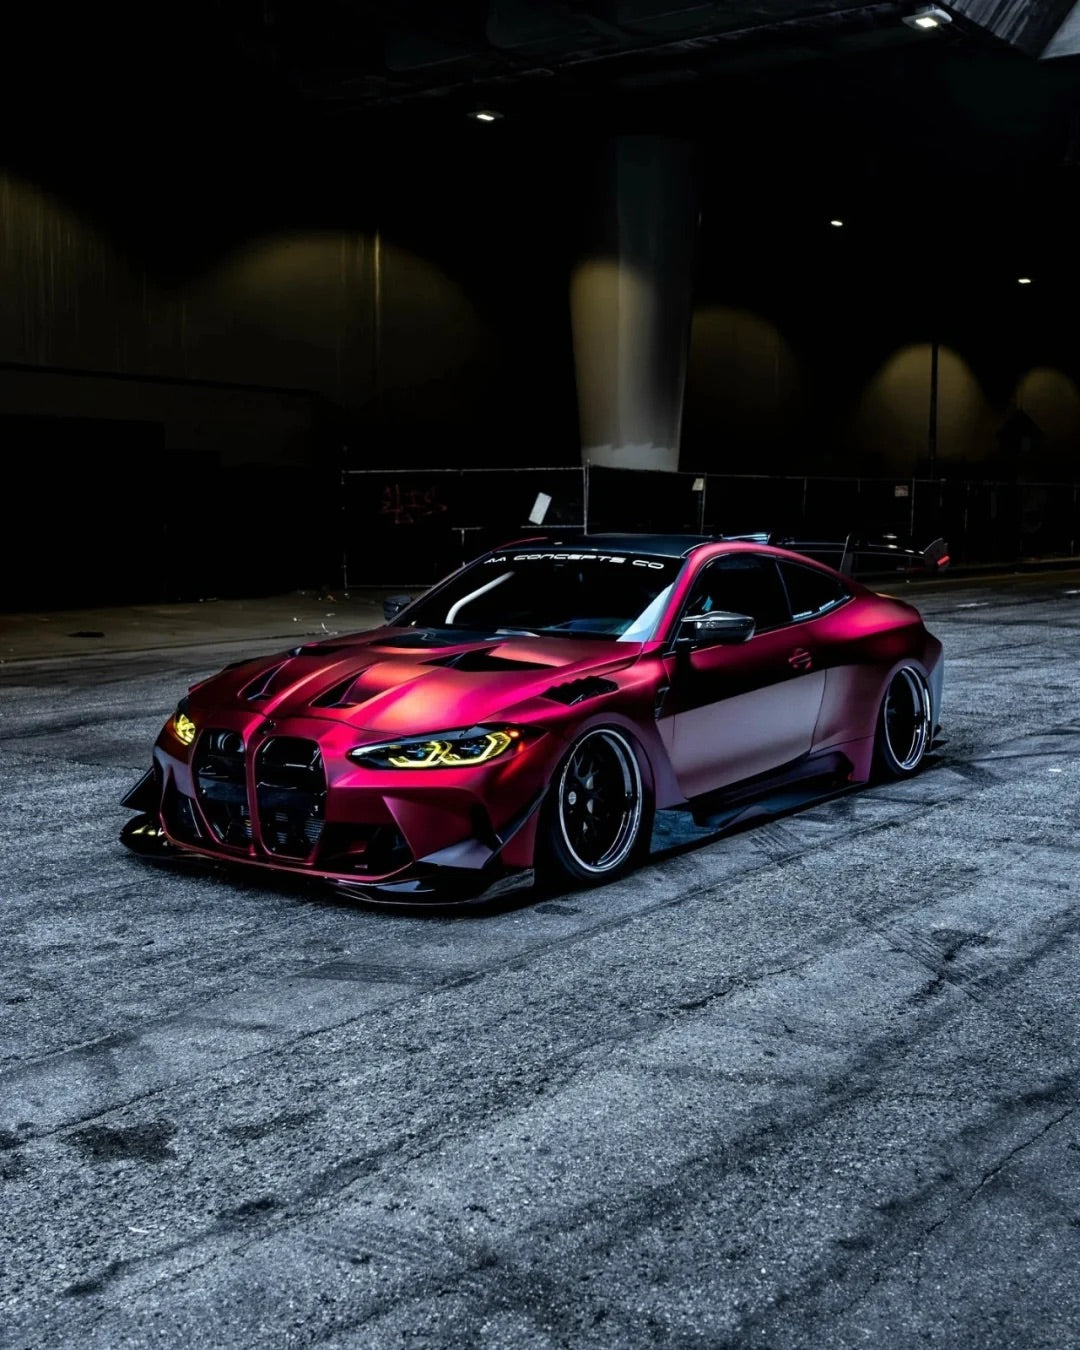
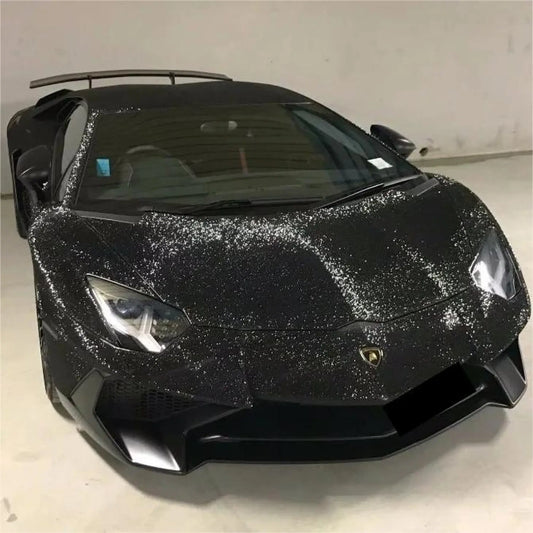
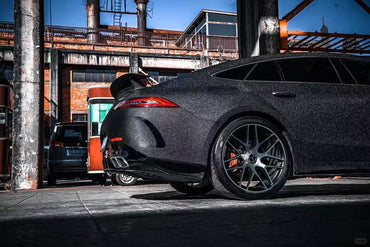
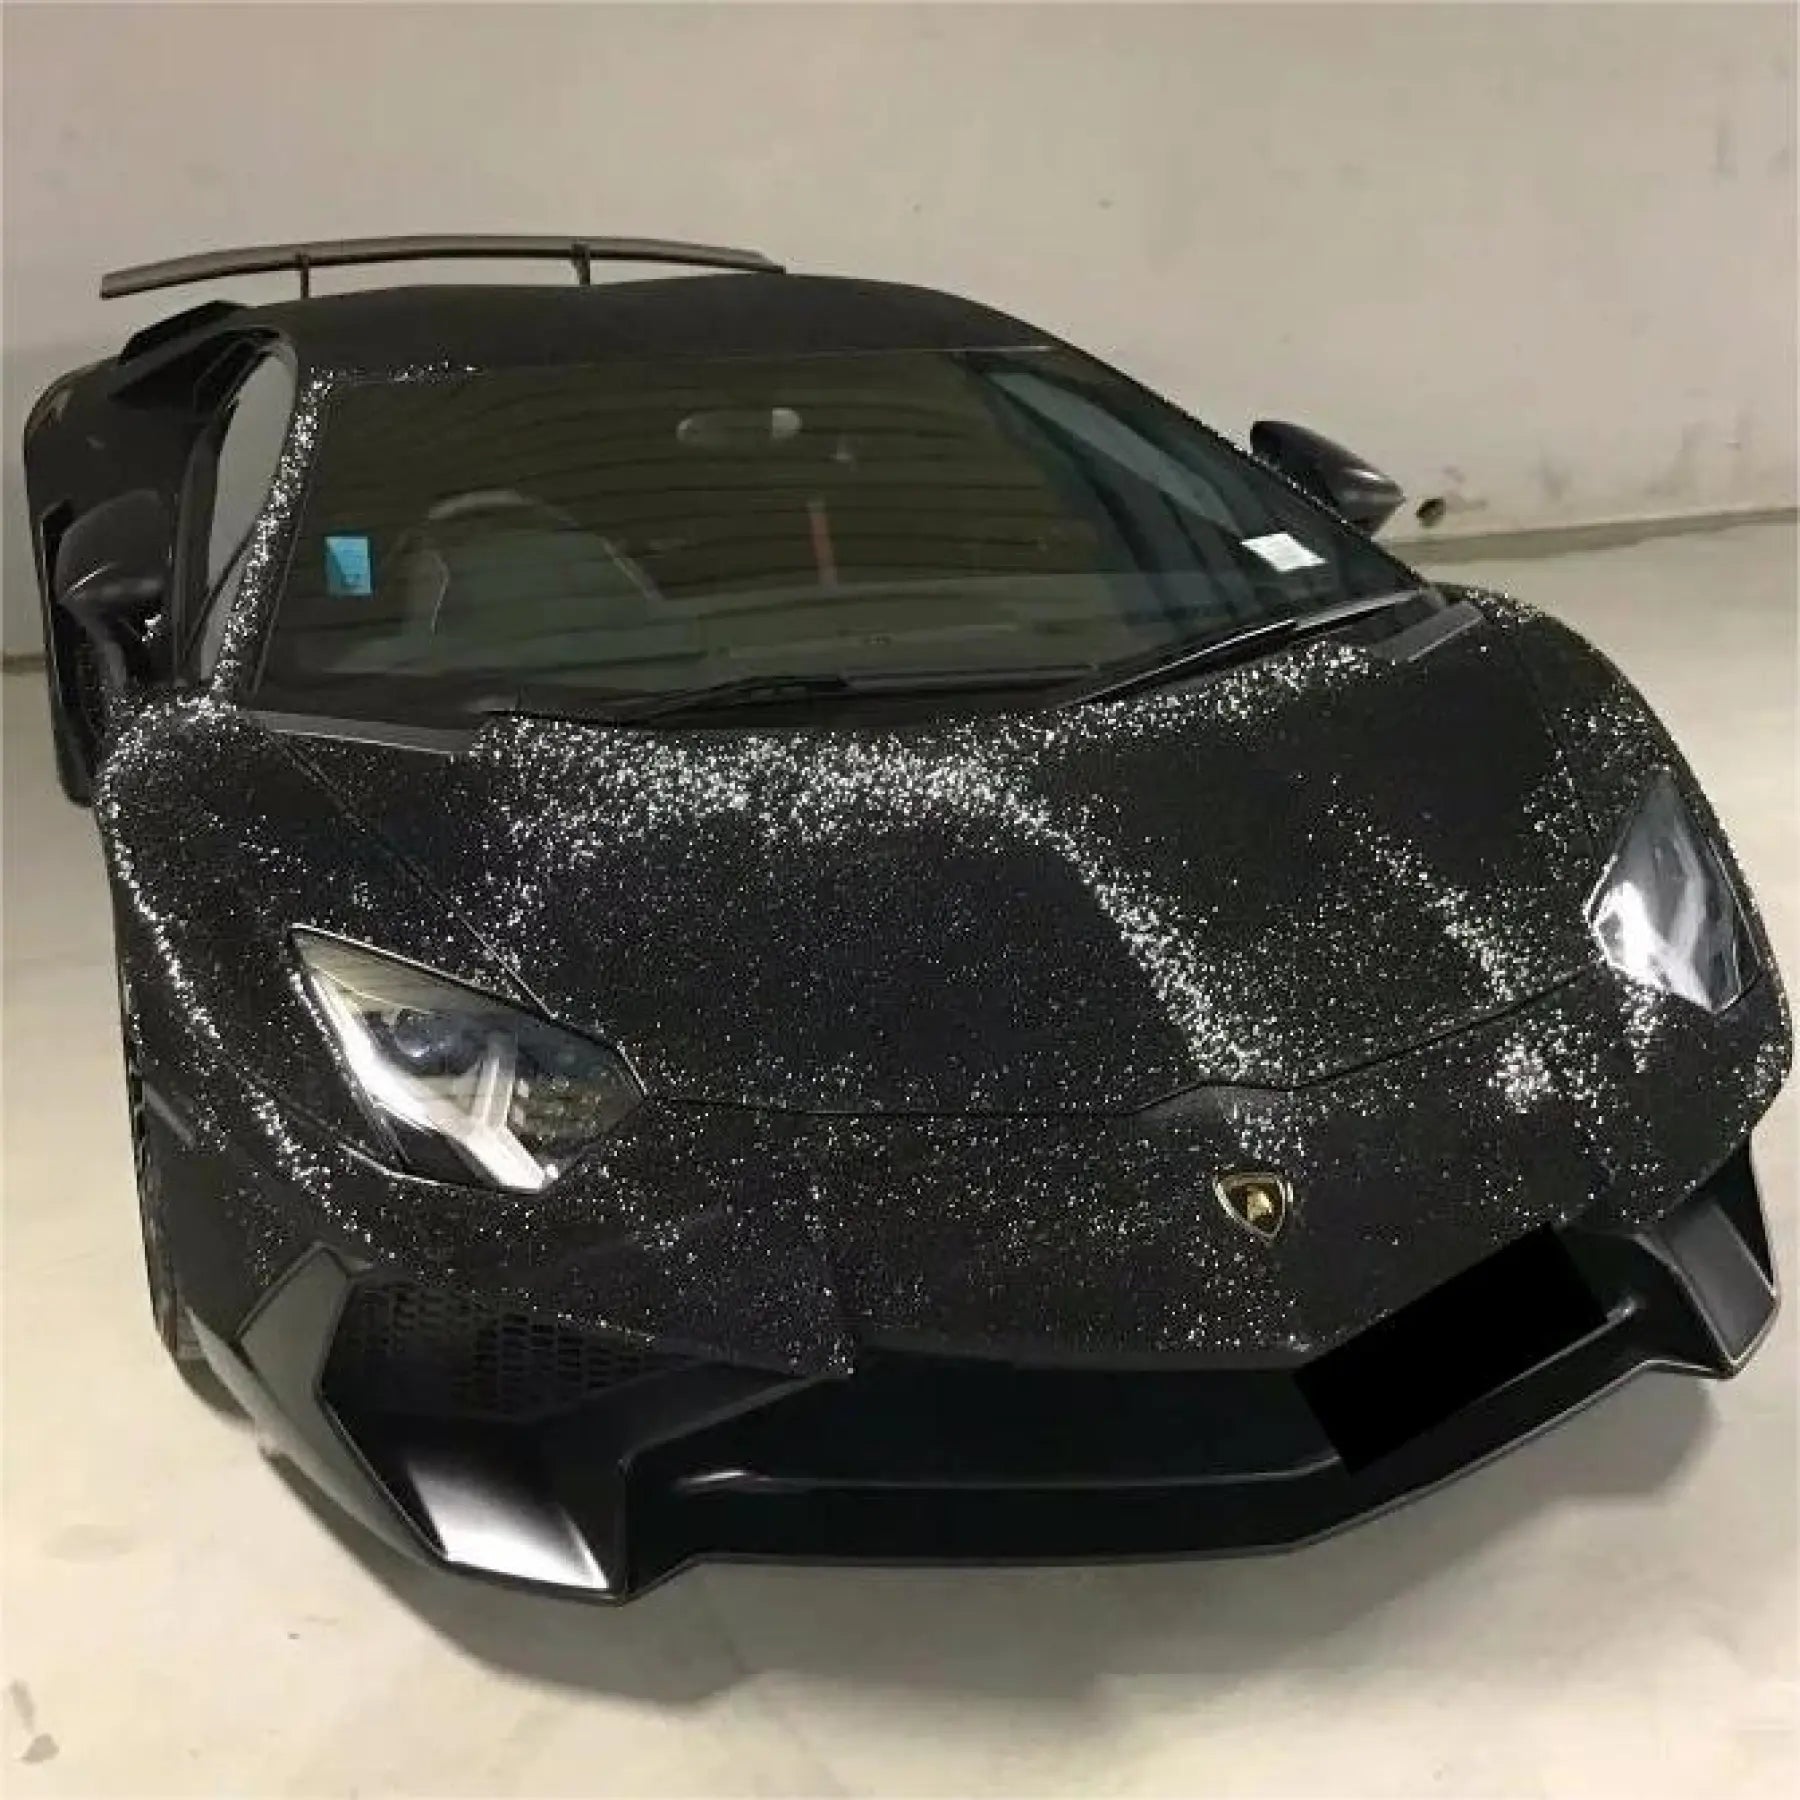
Inside our Liquid Chrome Wrap collection, 36 shades cover every aesthetic direction. Liquid Silver and Liquid Metal Gentian Blue lead the bestseller list, while Galaxy Purple, Plum Purple, and Antarctic Star Blue serve enthusiasts chasing dramatic depth. Racing Orange and Black Magic Red appeal to motorsport-inspired builds. For collectors comparing finishes side by side, our best sellers page shows real-vehicle photography, and our metallic series, crystal series, rainbow laser series, dual-color dream series, and glitter sparkle car wrap categories offer alternative looks if you want flake, color-shift, or holographic effects instead of mirror depth.
Final Word
Liquid Chrome rewards installers who slow down, prep meticulously, manage heat with discipline, and treat the cured wrap like the showpiece it is. The same surface that turns parking lots into spotlights can turn dull under careless hands, but with the techniques above, our Liquid Series delivers a poured-metal finish that lasts. For installation videos, color demos, and behind-the-scenes builds from real customers, follow Sailifilm on YouTube where new project walkthroughs drop weekly. To see what the broader wrapping community is building right now, the SEMA Show news feed regularly features chrome-finished vehicles and trend reports worth bookmarking.
Whether you are a professional installer adding a new revenue stream or a car enthusiast taking on your first chrome project, the Liquid Series is engineered to make your work look like flowing metal poured straight from the foundry.

