Understanding the Complexity of Vinyl Wrap Installation
Vehicle wrapping has evolved from a niche customization technique into a mainstream automotive transformation method. Modern vinyl wraps offer unprecedented design possibilities, but successful installation requires far more than simply applying adhesive film to metal surfaces.
The process involves precise surface preparation, accurate measurement and cutting, strategic heat application, expert stretching techniques, and meticulous edge work. Each step presents opportunities for costly mistakes that can compromise both aesthetics and durability.
The True Cost Analysis: Initial Investment vs Long-Term Value
DIY Installation Costs
At first glance, DIY car wrapping appears budget-friendly. Material costs for a full vehicle wrap typically range from $500 to $1,500, depending on the type and quality of vinyl selected. Our Car Vinyl Wrap collection offers premium materials at competitive prices, making DIY projects more accessible.
However, the total DIY investment extends beyond materials. Essential tools add $100 to $700 to your project budget:
- Professional-grade heat gun ($80-$150)
- Multiple squeegees in various sizes ($30-$80)
- Precision cutting tools and blades ($40-$100)
- Application solutions and cleaning supplies ($25-$50)
- Infrared thermometer for temperature monitoring ($30-$60)
- Magnets and positioning aids ($20-$40)
Our Wrapping Tools collection provides everything needed for successful DIY installation, though these represent one-time investments that can be used across multiple projects.
Professional Installation Costs
Professional installation typically ranges from $2,500 to $6,000 for standard vehicles, with luxury or complex vehicles commanding $5,000 to $10,000 or more. This pricing reflects comprehensive service including expert consultation, precision installation, quality assurance, and warranty protection.
Installation labor accounts for approximately 60-70% of professional costs, typically calculated at $3-$4 per square foot. The average vehicle requires 250-300 square feet of coverage, translating to substantial labor charges that reflect years of specialized training and hundreds of installation hours.
The Hidden Cost Factor
DIY installations carry significant hidden costs that many enthusiasts overlook. Material waste from incorrect cuts, measurement errors, or application mistakes can easily add $200-$500 to your project. One misaligned panel or stretched section may require purchasing replacement material for an entire vehicle section.
Time investment represents another crucial consideration. Professional installers complete full wraps in two to four days. DIY projects frequently extend across multiple weekends, consuming 20-40 hours or more, especially for first-time installers navigating the learning curve.
Paint damage from improper removal techniques, adhesive residue, or aggressive installation methods can cost thousands to repair—far exceeding professional installation fees. Our TPU Paint Protection Wrap provides additional protection, but only when properly installed.
Skill Requirements and Learning Curve
Professional Expertise
Professional installers bring invaluable expertise developed through extensive training and real-world experience. Most certified installers have completed manufacturer-specific training programs and accumulated hundreds of installation hours across diverse vehicle types.
This expertise translates to critical capabilities including understanding how different vinyl types behave under heat, recognizing optimal stretching limits for various materials, mastering complex curves and body lines, achieving seamless panel alignment, and troubleshooting installation challenges in real-time.
Professional experience extends to material selection. Expert installers can recommend the best wrap type for your specific vehicle, climate, and usage patterns. They understand that our Liquid Chrome Wrap requires different handling techniques than our Ultra Matte Wrap collection.
DIY Skill Development
DIY installation demands patience, precision, and manual dexterity. Success requires developing multiple competencies: surface preparation expertise, heat management proficiency, material handling skills, spatial awareness for alignment, and problem-solving abilities.
The learning curve is steep. Common beginner mistakes include overheating vinyl, causing discoloration or warping; insufficient heating, resulting in poor adhesion and wrinkles; overstretching material, leading to thinning and premature failure; trapping air bubbles that compromise appearance; and improper edge work causing peeling within weeks.
Our Sample Kits provide excellent practice opportunities, allowing DIY enthusiasts to develop skills on smaller surfaces before attempting full vehicle installations. Testing techniques on sample pieces minimizes expensive mistakes on actual projects.
Surface Preparation: The Foundation of Success
Surface preparation represents approximately 60% of installation success, yet DIY enthusiasts frequently underestimate its importance. Professional installers follow rigorous multi-stage preparation protocols that ensure optimal adhesion and longevity.
Professional Preparation Standards
Professional preparation begins with comprehensive inspection, identifying existing paint damage, rust, or imperfections that could telegraph through the wrap. Installers then execute thorough decontamination including clay bar treatment to remove embedded particles, chemical degreasing to eliminate oils and waxes, iron remover application for industrial fallout, and multiple-stage washing with pH-neutral solutions.
Surface smoothing addresses minor imperfections through wet sanding when necessary, while temperature stabilization ensures both vehicle and vinyl reach optimal installation range. Final alcohol wiping removes any remaining contaminants immediately before application.
This meticulous preparation creates the ideal bonding surface, maximizing adhesive strength and preventing common failure modes like edge lifting and bubble formation.
DIY Preparation Challenges
DIY installers often rush preparation, eager to begin the visible installation phase. Common shortcomings include inadequate cleaning that leaves contaminants under vinyl, skipped decontamination steps allowing embedded particles to cause bubbles, improper drying leaving moisture that compromises adhesion, and insufficient panel smoothing causing visible imperfections.
Temperature control presents another challenge. Professional shops maintain controlled environments between 68°F and 77°F with regulated humidity. Home garage installations face variable conditions that affect vinyl pliability and adhesive performance. Cold conditions make vinyl brittle and adhesives less effective, while excessive heat causes premature tacking and positioning difficulties.
Heat Application and Material Manipulation
Heat management separates professional results from amateur attempts. Vinyl wrap installation requires precise temperature control to activate adhesives and allow material conforming to complex curves.
Professional Heat Mastery
Professional installers use infrared thermometers to monitor surface temperatures constantly, ensuring optimal ranges for different vinyl types. They understand that our Metallic Vinyl Wrap collection requires different heat application than our 3D Carbon Fiber Wrap series.
Expert technique involves continuous heat gun movement to prevent hot spots, graduated heating for complex curves, strategic cooling for positioning, and post-heating to activate memory properties. This controlled approach ensures vinyl conforms perfectly without damage.
Professional installers also understand material stretch limits. Quality vinyl can stretch 10-15% safely, but exceeding these limits compromises integrity. Overstretching thins both vinyl and adhesive layers, reducing bonding strength by up to 50% and creating conditions for premature failure.
DIY Heat Mistakes
Novice installers frequently struggle with heat management, leading to common errors including overheating that burns or discolors vinyl, underheating causing poor adhesion and wrinkles, uneven heating creating visual inconsistencies, and excessive stretching that thins material dangerously.
Our Rainbow Laser Vinyl Wrap collection features delicate color-shifting properties particularly vulnerable to heat damage. Professional installers recognize these sensitivities and adjust techniques accordingly, while DIY enthusiasts may inadvertently compromise these special effects.
Complex Areas and Challenging Details
Vehicle bodies feature numerous complex areas that test installation skills: compound curves, deep recesses, sharp edges, protruding features, and panel transitions. Professional installers have developed specialized techniques for each challenge.
Professional Solutions for Difficult Areas
Mirrors, door handles, emblems, and trim pieces require partial disassembly for proper wrapping. Professional installers know exactly which components to remove for seamless results, avoiding the "cut around" approach that creates obvious seams and peeling edges.
Complex curves demand relief cuts, strategic stretching, and advanced bridging techniques. Professionals master these approaches through years of experience, achieving smooth, seamless finishes even on challenging body lines.
Recessed areas like door handles and fuel doors require precise material manipulation. Insufficient material in these areas causes pulling and peeling, while excess material creates unsightly bunching. Professionals strike the perfect balance through experience and technique.
DIY Struggles with Complexity
Beginners often attempt wrapping around features rather than removing components, creating visible seams and compromising longevity. They may resort to "patchwork" solutions, covering mistakes with additional vinyl pieces that look unprofessional.
Corner and edge work proves particularly challenging. Proper technique requires specific folding, tucking, and trimming approaches that prevent lifting. DIY installers frequently cut too deep, damaging paint, or leave insufficient material for proper edge sealing.
Our Dual Color Dream Vinyl Wrap collection creates stunning visual effects but demands precise alignment across panels. Achieving seamless color transitions requires professional-level skill and experience.
Quality Assurance and Finishing
Professional installations include comprehensive quality control that DIY projects often lack. This attention to detail differentiates showroom-quality results from amateur attempts.
Professional Quality Standards
Professional installers perform multiple inspection stages including initial dry-fitting to verify measurements and alignment, progressive checking during application, comprehensive bubble and wrinkle assessment, edge verification for proper sealing, and final inspection under various lighting conditions.
Post-heating represents a critical finishing step that many DIY installers skip. This process uses controlled heat to relax vinyl memory, enhance adhesive bonding, smooth minor surface imperfections, and ensure long-term durability. Professional shops dedicate significant time to this phase, recognizing its impact on wrap longevity.
Trim work and edge finishing demonstrate professional expertise. Clean, precise cuts around badges, lights, and trim pieces create polished appearances. Proper edge wrapping and sealing prevents the premature lifting that plagues amateur installations.
DIY Quality Limitations
Without professional equipment and experience, DIY installers struggle to achieve comparable quality levels. Common issues include visible bubbles and wrinkles, inconsistent texture and appearance, alignment imperfections, rough edge work, and trapped contaminants.
These quality shortcomings affect not only aesthetics but also durability. Imperfect installations begin showing problems within months rather than maintaining appearance for years. Our Best Sellers collection features premium materials engineered for long-term performance, but only when properly installed.
Warranty and Long-Term Protection
Professional Installation Guarantees
Professional installations typically include 3-5 year warranties covering installation defects, premature peeling or lifting, bubble formation, and adhesive failure. These warranties provide peace of mind and financial protection against installation-related issues.
Material warranties from manufacturers often require professional installation to remain valid. DIY installations may void material warranties, eliminating recourse for defective vinyl. Professional installers maintain certifications with manufacturers, ensuring warranty compliance.
If installation issues arise, professional shops address problems quickly without additional charges. They have relationships with material suppliers for warranty claims and possess the expertise to diagnose and resolve issues efficiently.
DIY Risk Exposure
DIY installations carry all risk personally. Material waste, time investment, and potential paint damage fall entirely on the installer. Without professional backup, mistakes require complete do-overs at full material cost.
Insurance considerations also factor into this equation. Some vehicle insurance policies have specific requirements regarding modifications. Professional installations typically meet these requirements, while DIY modifications may affect coverage.
Material Selection and Optimization
Professional Material Expertise
Professional installers maintain extensive experience with diverse vinyl types, understanding the handling characteristics and optimal applications for each. They can guide material selection based on vehicle type, climate conditions, usage patterns, and aesthetic goals.
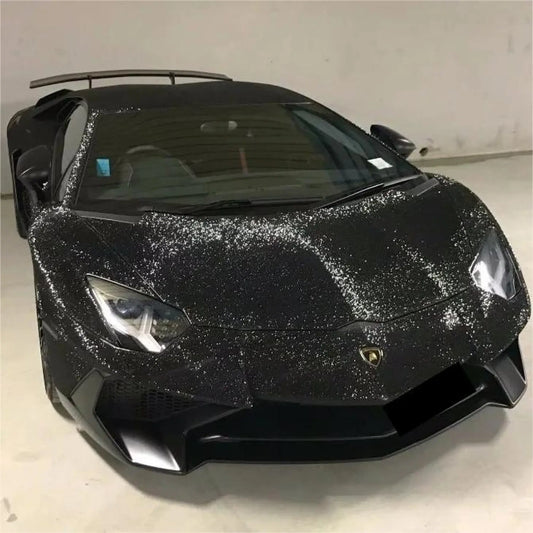
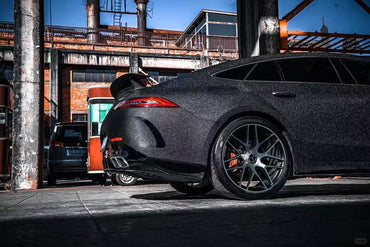
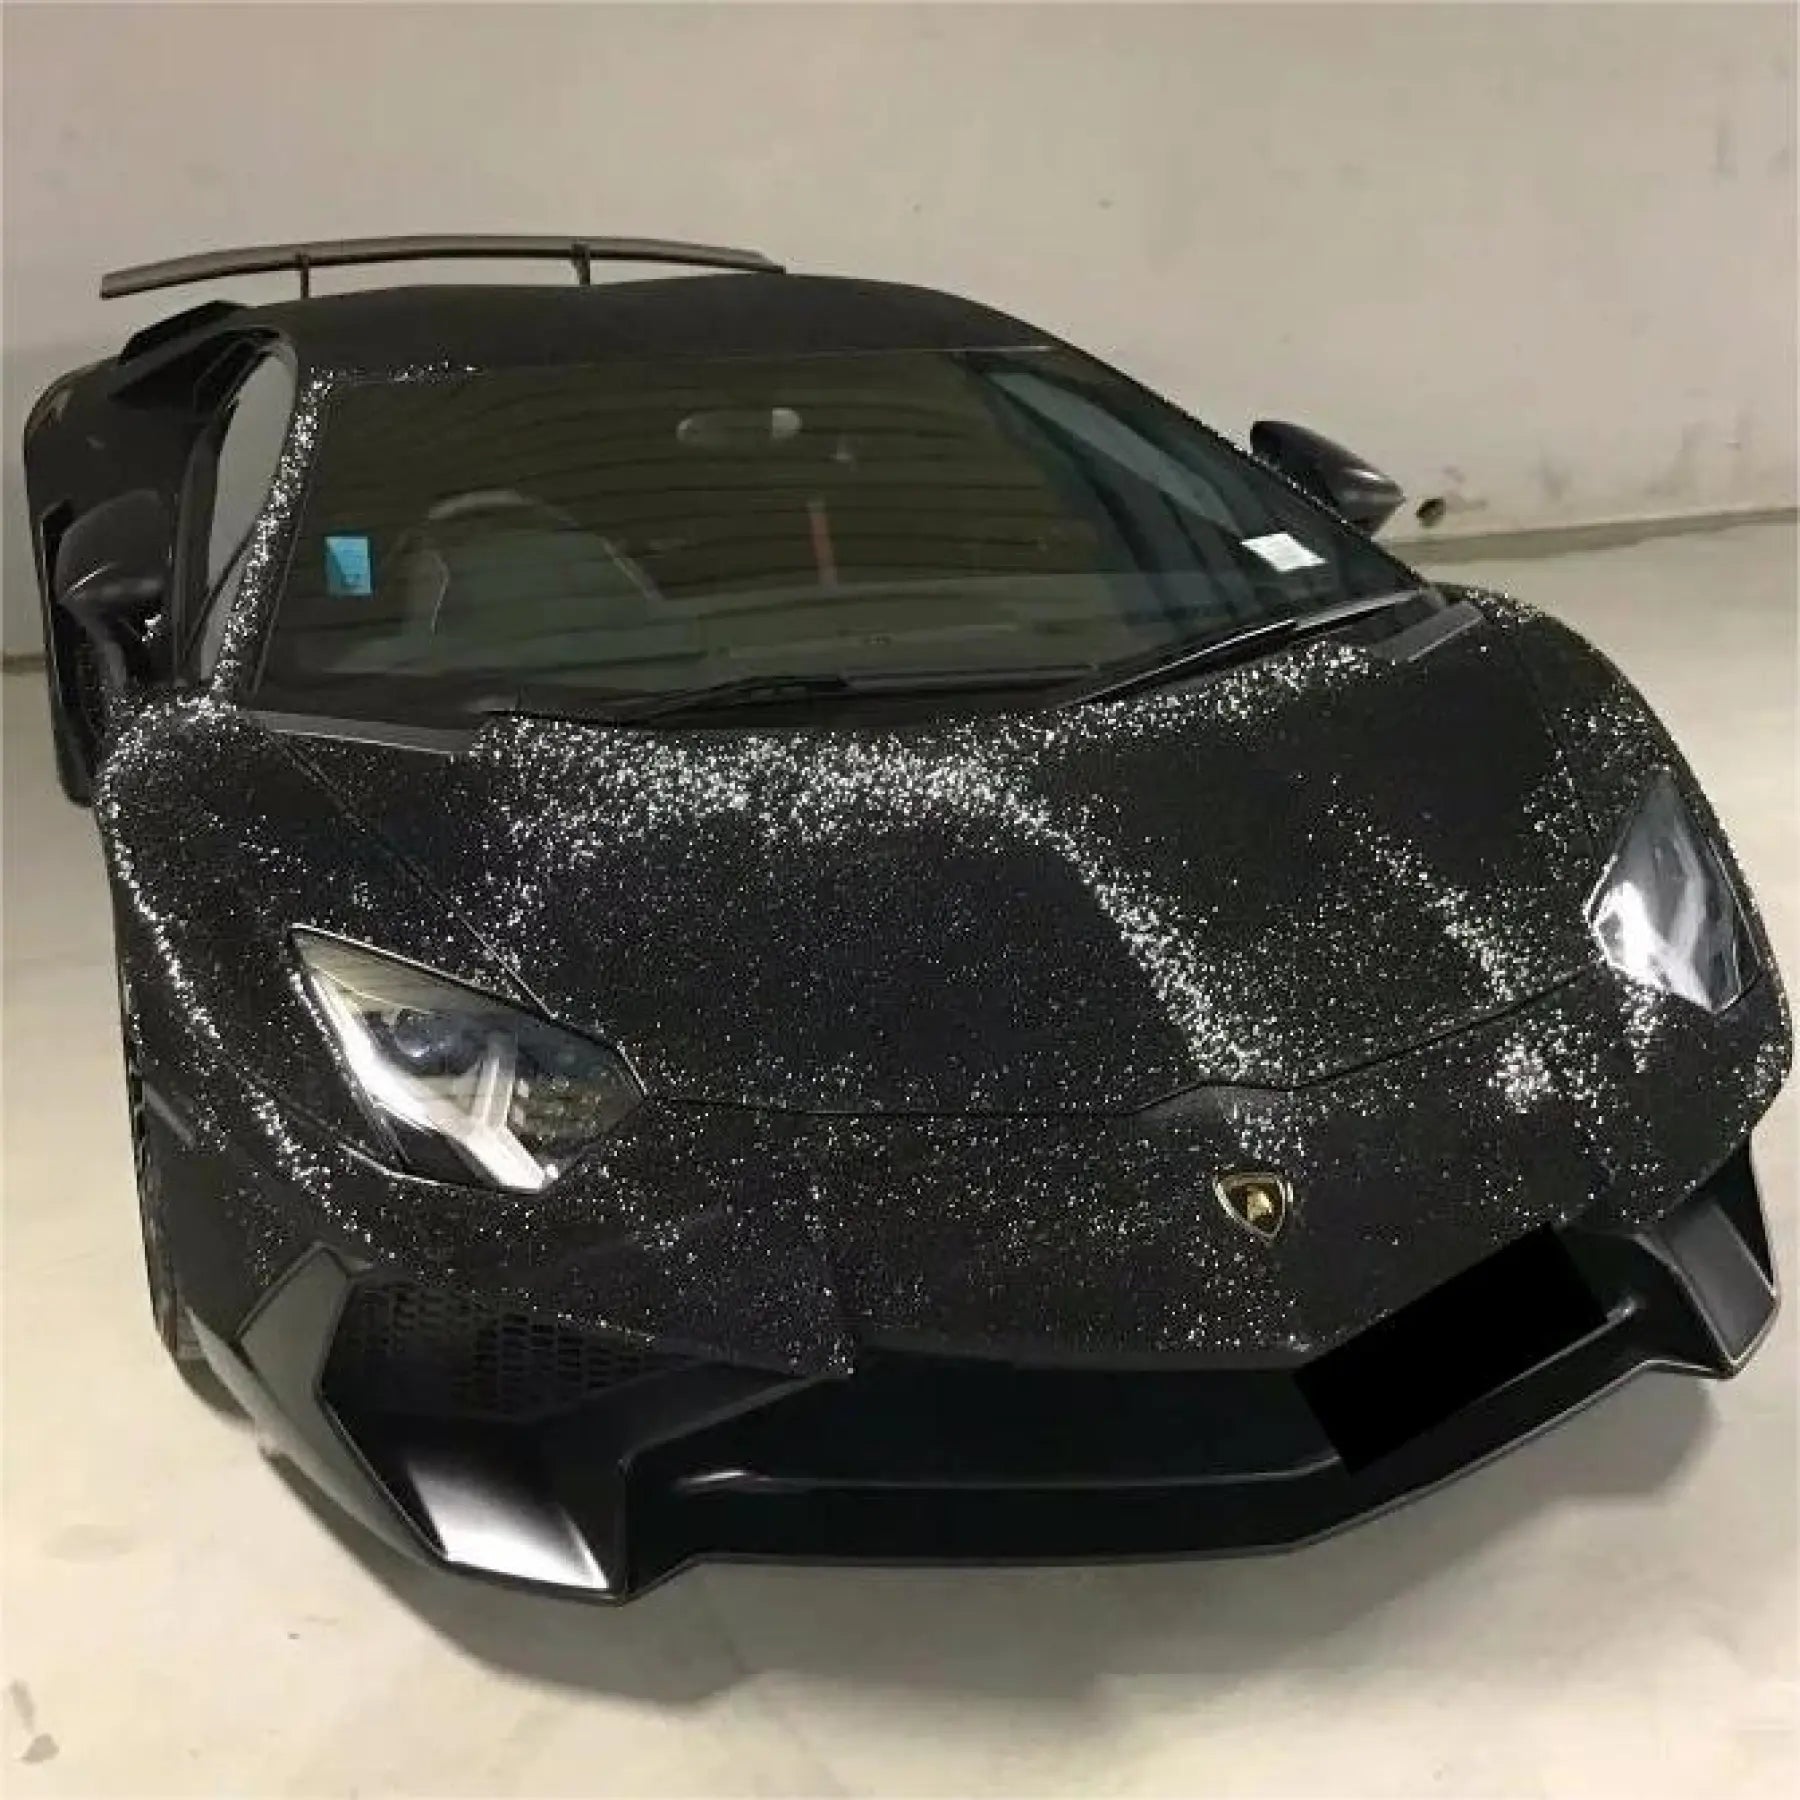
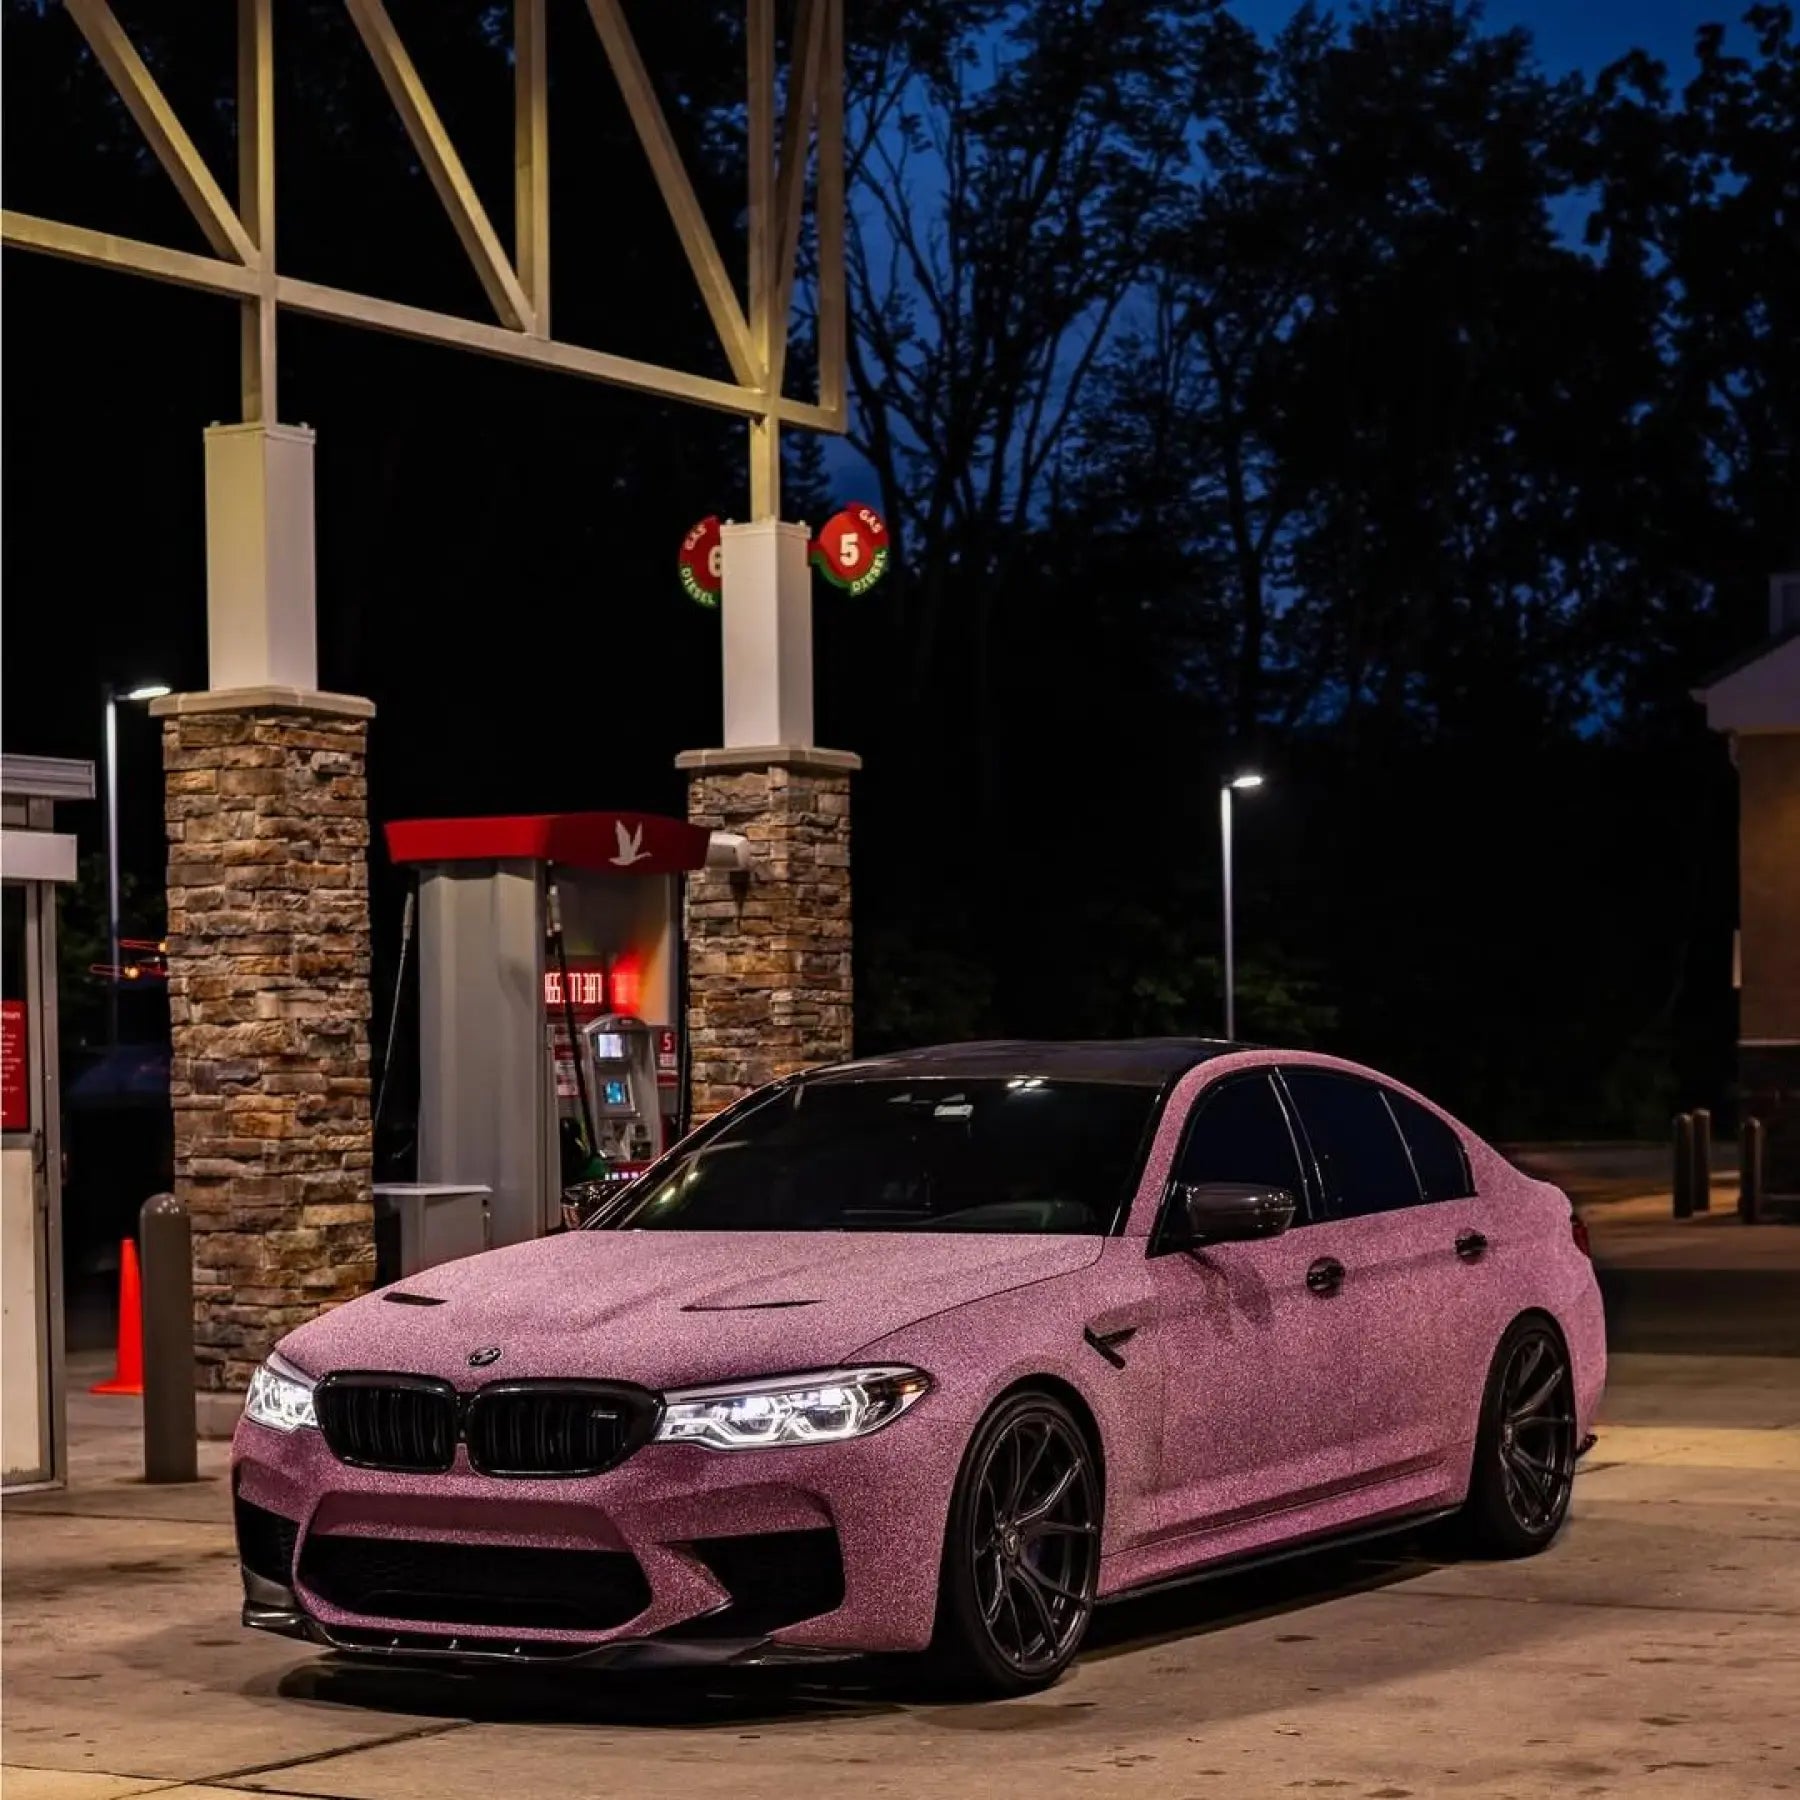
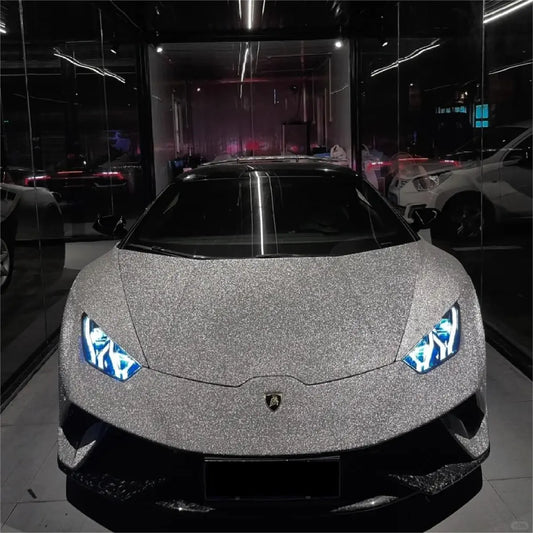
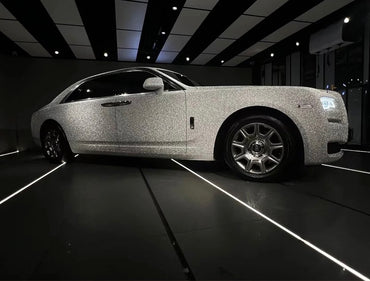
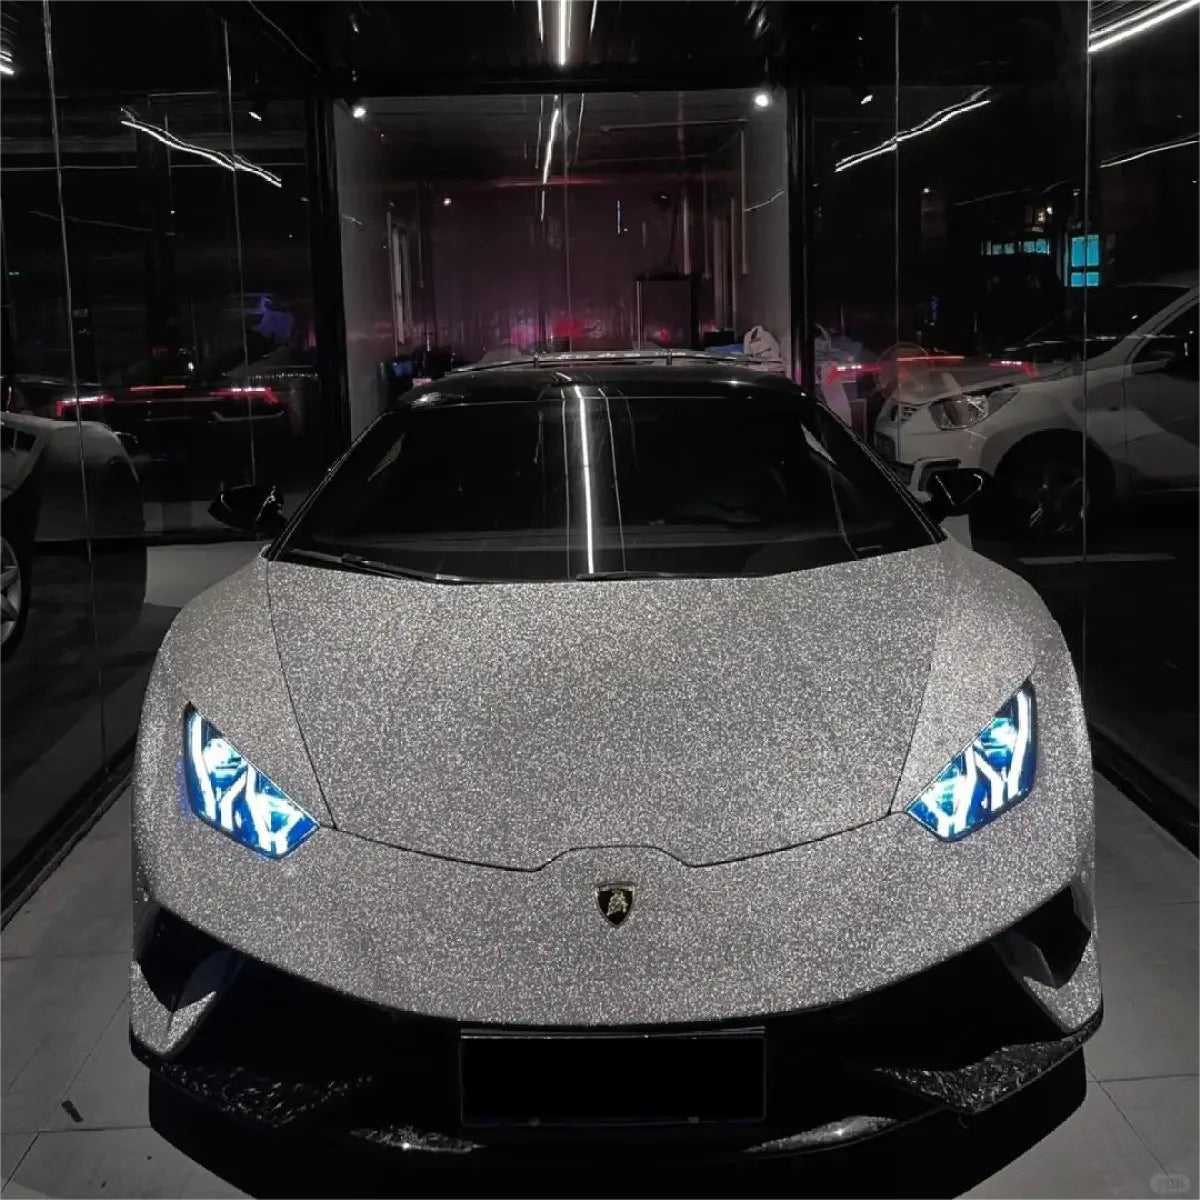
This expertise proves particularly valuable for specialized materials. Our Liquid Chrome Wrap series demands expert handling due to its rigidity and visibility of imperfections. Our Glitter Sparkle Car Wrap collection requires specific techniques to maintain sparkle distribution.
Professionals also optimize material usage, minimizing waste through strategic cutting and panel planning. Their experience allows precise calculations, ensuring adequate material without excessive overage.
DIY Material Challenges
Without professional guidance, DIY installers may select inappropriate materials for their skill level or vehicle type. Chrome wraps rank among the most difficult to install, yet beginners often choose them for their dramatic appearance, leading to disappointing results.
Material calculations prove challenging for novices. Underestimating requirements necessitates mid-project ordering, potentially resulting in color variations between batches. Overestimating creates unnecessary expense.
Our Colored Paint Protection Film collection combines aesthetics with protection, but requires understanding of thickness, flexibility, and application techniques that differ from standard vinyl wraps.
Time Investment and Project Timeline
Professional Efficiency
Professional installers complete full vehicle wraps in two to four days, depending on vehicle size and complexity. This timeline includes thorough preparation, precise installation, quality assurance, and post-heating. Small vehicles may require only 6-8 hours, while large SUVs or trucks demand 10-14 hours.
This efficiency stems from optimized workflows, specialized tools and equipment, team collaboration on complex vehicles, and elimination of learning curve delays. Professional shops schedule projects to minimize vehicle downtime, understanding that customers need timely completion.
DIY Time Reality
DIY installations consume significantly more time. First-time installers should expect 20-40 hours spread across multiple weekends. Learning curves, troubleshooting, and mistake correction extend timelines substantially.
This time investment carries opportunity costs. Hours spent struggling with installation could be allocated to professional pursuits, family time, or other activities. The frustration factor also cannot be discounted—challenging installations can become discouraging experiences.
Our Crystal Vinyl Wrap collection creates stunning depth and clarity, but achieving professional results requires patience and precision that may test DIY installer commitment.
When DIY Makes Sense
Despite the challenges, DIY installation proves appropriate in specific circumstances. Understanding these scenarios helps make informed decisions.
Suitable DIY Projects
Partial wraps on flat surfaces like hoods or roofs offer manageable DIY opportunities. These projects provide valuable learning experiences without full-vehicle commitment. Our color collections including White Wraps, Black Wraps, Silver Wraps, and Grey Wraps work well for these beginner projects.
Accent pieces, stripes, and trim applications represent achievable DIY goals. These smaller projects build skills and confidence while delivering visual impact. Practice on these elements before attempting full installations.
Budget-conscious enthusiasts willing to invest significant time and accept learning curve challenges may find DIY rewarding. Our Sample Kits provide affordable practice opportunities, allowing skill development before tackling actual vehicles.
DIY Success Factors
Successful DIY installations require controlled workspace with consistent temperature and humidity, comprehensive tool investment, realistic time allocation, patience and perfectionist tendencies, and willingness to learn from mistakes.
Starting with simpler materials helps build competence. Our Brown Wraps, Orange Wraps, and Yellow Wraps in standard finishes offer more forgiving installation experiences than complex textured or chrome options.
When Professional Installation Is Essential
Certain scenarios demand professional expertise, making DIY attempts inadvisable regardless of budget considerations.
Professional-Only Situations
Full vehicle color changes require seamless panel alignment and consistent appearance that DIY installations rarely achieve. The complexity of wrapping entire vehicles with uniform results demands professional skills.
Complex materials including chrome, color-shift, and textured finishes present heightened challenges. Our Pink Wraps, Purple Wraps, Red Wraps, Green Wraps, and Blue Wraps in metallic or chrome finishes show every imperfection, requiring professional precision.
High-value vehicles merit professional installation to protect substantial investments. Luxury and exotic cars demand flawless results that justify their premium status. Risk of paint damage from DIY attempts outweighs installation cost savings.
Commercial vehicle wraps for business branding require professional quality. These vehicles represent company image, making amateur appearance unacceptable. Professional installations ensure graphics align properly and maintain quality throughout the wrap's lifespan.
Time-sensitive projects benefit from professional efficiency. When vehicle downtime must be minimized, professional completion in days versus weeks proves invaluable.
Professional vs DIY Car Wrap Installation: Making the Right Choice for Your Vehicle
The allure of transforming your vehicle with a stunning vinyl wrap is undeniable. Whether you're eyeing the mesmerizing shimmer of a chrome finish, the sophisticated elegance of matte textures, or the eye-catching brilliance of color-shifting films, the question inevitably arises: should you tackle the installation yourself or invest in professional expertise?
This comprehensive guide examines the critical differences between professional and DIY car wrap installation, helping you make an informed decision that protects your investment and delivers the results you envision.
Understanding the Complexity of Vinyl Wrap Installation
<a href="https://en.wikipedia.org/wiki/Vehicle_vinyl_wrap" target="_blank">Vehicle wrapping</a> has evolved from a niche customization technique into a mainstream automotive transformation method. Modern vinyl wraps offer unprecedented design possibilities, but successful installation requires far more than simply applying adhesive film to metal surfaces.
The process involves precise surface preparation, accurate measurement and cutting, strategic heat application, expert stretching techniques, and meticulous edge work. Each step presents opportunities for costly mistakes that can compromise both aesthetics and durability.
The True Cost Analysis: Initial Investment vs Long-Term Value
DIY Installation Costs
At first glance, DIY car wrapping appears budget-friendly. Material costs for a full vehicle wrap typically range from $500 to $1,500, depending on the type and quality of vinyl selected. Our Car Vinyl Wrap collection offers premium materials at competitive prices, making DIY projects more accessible.
However, the total DIY investment extends beyond materials. Essential tools add $100 to $700 to your project budget:
- Professional-grade heat gun ($80-$150)
- Multiple squeegees in various sizes ($30-$80)
- Precision cutting tools and blades ($40-$100)
- Application solutions and cleaning supplies ($25-$50)
- Infrared thermometer for temperature monitoring ($30-$60)
- Magnets and positioning aids ($20-$40)
Our Wrapping Tools collection provides everything needed for successful DIY installation, though these represent one-time investments that can be used across multiple projects.
Professional Installation Costs
Professional installation typically ranges from $2,500 to $6,000 for standard vehicles, with luxury or complex vehicles commanding $5,000 to $10,000 or more. This pricing reflects comprehensive service including expert consultation, precision installation, quality assurance, and warranty protection.
Installation labor accounts for approximately 60-70% of professional costs, typically calculated at $3-$4 per square foot. The average vehicle requires 250-300 square feet of coverage, translating to substantial labor charges that reflect years of specialized training and hundreds of installation hours.
The Hidden Cost Factor
DIY installations carry significant hidden costs that many enthusiasts overlook. Material waste from incorrect cuts, measurement errors, or application mistakes can easily add $200-$500 to your project. One misaligned panel or stretched section may require purchasing replacement material for an entire vehicle section.
Time investment represents another crucial consideration. Professional installers complete full wraps in two to four days. DIY projects frequently extend across multiple weekends, consuming 20-40 hours or more, especially for first-time installers navigating the learning curve.
Paint damage from improper removal techniques, adhesive residue, or aggressive installation methods can cost thousands to repair—far exceeding professional installation fees. Our TPU Paint Protection Wrap provides additional protection, but only when properly installed.
Skill Requirements and Learning Curve
Professional Expertise
Professional installers bring invaluable expertise developed through extensive training and real-world experience. Most certified installers have completed manufacturer-specific training programs and accumulated hundreds of installation hours across diverse vehicle types.
This expertise translates to critical capabilities including understanding how different vinyl types behave under heat, recognizing optimal stretching limits for various materials, mastering complex curves and body lines, achieving seamless panel alignment, and troubleshooting installation challenges in real-time.
Professional experience extends to material selection. Expert installers can recommend the best wrap type for your specific vehicle, climate, and usage patterns. They understand that our Liquid Chrome Wrap requires different handling techniques than our Ultra Matte Wrap collection.
DIY Skill Development
DIY installation demands patience, precision, and manual dexterity. Success requires developing multiple competencies: surface preparation expertise, heat management proficiency, material handling skills, spatial awareness for alignment, and problem-solving abilities.
The learning curve is steep. Common beginner mistakes include overheating vinyl, causing discoloration or warping; insufficient heating, resulting in poor adhesion and wrinkles; overstretching material, leading to thinning and premature failure; trapping air bubbles that compromise appearance; and improper edge work causing peeling within weeks.
Our Sample Kits provide excellent practice opportunities, allowing DIY enthusiasts to develop skills on smaller surfaces before attempting full vehicle installations. Testing techniques on sample pieces minimizes expensive mistakes on actual projects.
Surface Preparation: The Foundation of Success
Surface preparation represents approximately 60% of installation success, yet DIY enthusiasts frequently underestimate its importance. Professional installers follow rigorous multi-stage preparation protocols that ensure optimal adhesion and longevity.
Professional Preparation Standards
Professional preparation begins with comprehensive inspection, identifying existing paint damage, rust, or imperfections that could telegraph through the wrap. Installers then execute thorough decontamination including clay bar treatment to remove embedded particles, chemical degreasing to eliminate oils and waxes, iron remover application for industrial fallout, and multiple-stage washing with pH-neutral solutions.
Surface smoothing addresses minor imperfections through wet sanding when necessary, while temperature stabilization ensures both vehicle and vinyl reach optimal installation range. Final alcohol wiping removes any remaining contaminants immediately before application.
This meticulous preparation creates the ideal bonding surface, maximizing adhesive strength and preventing common failure modes like edge lifting and bubble formation.
DIY Preparation Challenges
DIY installers often rush preparation, eager to begin the visible installation phase. Common shortcomings include inadequate cleaning that leaves contaminants under vinyl, skipped decontamination steps allowing embedded particles to cause bubbles, improper drying leaving moisture that compromises adhesion, and insufficient panel smoothing causing visible imperfections.
Temperature control presents another challenge. Professional shops maintain controlled environments between 68°F and 77°F with regulated humidity. Home garage installations face variable conditions that affect vinyl pliability and adhesive performance. Cold conditions make vinyl brittle and adhesives less effective, while excessive heat causes premature tacking and positioning difficulties.
Heat Application and Material Manipulation
Heat management separates professional results from amateur attempts. Vinyl wrap installation requires precise temperature control to activate adhesives and allow material conforming to complex curves.
Professional Heat Mastery
Professional installers use infrared thermometers to monitor surface temperatures constantly, ensuring optimal ranges for different vinyl types. They understand that our Metallic Vinyl Wrap collection requires different heat application than our 3D Carbon Fiber Wrap series.
Expert technique involves continuous heat gun movement to prevent hot spots, graduated heating for complex curves, strategic cooling for positioning, and post-heating to activate memory properties. This controlled approach ensures vinyl conforms perfectly without damage.
Professional installers also understand material stretch limits. Quality vinyl can stretch 10-15% safely, but exceeding these limits compromises integrity. Overstretching thins both vinyl and adhesive layers, reducing bonding strength by up to 50% and creating conditions for premature failure.
DIY Heat Mistakes
Novice installers frequently struggle with heat management, leading to common errors including overheating that burns or discolors vinyl, underheating causing poor adhesion and wrinkles, uneven heating creating visual inconsistencies, and excessive stretching that thins material dangerously.
Our Rainbow Laser Vinyl Wrap collection features delicate color-shifting properties particularly vulnerable to heat damage. Professional installers recognize these sensitivities and adjust techniques accordingly, while DIY enthusiasts may inadvertently compromise these special effects.
Complex Areas and Challenging Details
Vehicle bodies feature numerous complex areas that test installation skills: compound curves, deep recesses, sharp edges, protruding features, and panel transitions. Professional installers have developed specialized techniques for each challenge.
Professional Solutions for Difficult Areas
Mirrors, door handles, emblems, and trim pieces require partial disassembly for proper wrapping. Professional installers know exactly which components to remove for seamless results, avoiding the "cut around" approach that creates obvious seams and peeling edges.
Complex curves demand relief cuts, strategic stretching, and advanced bridging techniques. Professionals master these approaches through years of experience, achieving smooth, seamless finishes even on challenging body lines.
Recessed areas like door handles and fuel doors require precise material manipulation. Insufficient material in these areas causes pulling and peeling, while excess material creates unsightly bunching. Professionals strike the perfect balance through experience and technique.
DIY Struggles with Complexity
Beginners often attempt wrapping around features rather than removing components, creating visible seams and compromising longevity. They may resort to "patchwork" solutions, covering mistakes with additional vinyl pieces that look unprofessional.
Corner and edge work proves particularly challenging. Proper technique requires specific folding, tucking, and trimming approaches that prevent lifting. DIY installers frequently cut too deep, damaging paint, or leave insufficient material for proper edge sealing.
Our Dual Color Dream Vinyl Wrap collection creates stunning visual effects but demands precise alignment across panels. Achieving seamless color transitions requires professional-level skill and experience.
Quality Assurance and Finishing
Professional installations include comprehensive quality control that DIY projects often lack. This attention to detail differentiates showroom-quality results from amateur attempts.
Professional Quality Standards
Professional installers perform multiple inspection stages including initial dry-fitting to verify measurements and alignment, progressive checking during application, comprehensive bubble and wrinkle assessment, edge verification for proper sealing, and final inspection under various lighting conditions.
Post-heating represents a critical finishing step that many DIY installers skip. This process uses controlled heat to relax vinyl memory, enhance adhesive bonding, smooth minor surface imperfections, and ensure long-term durability. Professional shops dedicate significant time to this phase, recognizing its impact on wrap longevity.
Trim work and edge finishing demonstrate professional expertise. Clean, precise cuts around badges, lights, and trim pieces create polished appearances. Proper edge wrapping and sealing prevents the premature lifting that plagues amateur installations.
DIY Quality Limitations
Without professional equipment and experience, DIY installers struggle to achieve comparable quality levels. Common issues include visible bubbles and wrinkles, inconsistent texture and appearance, alignment imperfections, rough edge work, and trapped contaminants.
These quality shortcomings affect not only aesthetics but also durability. Imperfect installations begin showing problems within months rather than maintaining appearance for years. Our Best Sellers collection features premium materials engineered for long-term performance, but only when properly installed.
Warranty and Long-Term Protection
Professional Installation Guarantees
Professional installations typically include 3-5 year warranties covering installation defects, premature peeling or lifting, bubble formation, and adhesive failure. These warranties provide peace of mind and financial protection against installation-related issues.
Material warranties from manufacturers often require professional installation to remain valid. DIY installations may void material warranties, eliminating recourse for defective vinyl. Professional installers maintain certifications with manufacturers, ensuring warranty compliance.
If installation issues arise, professional shops address problems quickly without additional charges. They have relationships with material suppliers for warranty claims and possess the expertise to diagnose and resolve issues efficiently.
DIY Risk Exposure
DIY installations carry all risk personally. Material waste, time investment, and potential paint damage fall entirely on the installer. Without professional backup, mistakes require complete do-overs at full material cost.
Insurance considerations also factor into this equation. Some vehicle insurance policies have specific requirements regarding modifications. Professional installations typically meet these requirements, while DIY modifications may affect coverage.
Material Selection and Optimization
Professional Material Expertise
Professional installers maintain extensive experience with diverse vinyl types, understanding the handling characteristics and optimal applications for each. They can guide material selection based on vehicle type, climate conditions, usage patterns, and aesthetic goals.
This expertise proves particularly valuable for specialized materials. Our Liquid Chrome Wrap series demands expert handling due to its rigidity and visibility of imperfections. Our Glitter Sparkle Car Wrap collection requires specific techniques to maintain sparkle distribution.
Professionals also optimize material usage, minimizing waste through strategic cutting and panel planning. Their experience allows precise calculations, ensuring adequate material without excessive overage.
DIY Material Challenges
Without professional guidance, DIY installers may select inappropriate materials for their skill level or vehicle type. Chrome wraps rank among the most difficult to install, yet beginners often choose them for their dramatic appearance, leading to disappointing results.
Material calculations prove challenging for novices. Underestimating requirements necessitates mid-project ordering, potentially resulting in color variations between batches. Overestimating creates unnecessary expense.
Our Colored Paint Protection Film collection combines aesthetics with protection, but requires understanding of thickness, flexibility, and application techniques that differ from standard vinyl wraps.
Time Investment and Project Timeline
Professional Efficiency
Professional installers complete full vehicle wraps in two to four days, depending on vehicle size and complexity. This timeline includes thorough preparation, precise installation, quality assurance, and post-heating. Small vehicles may require only 6-8 hours, while large SUVs or trucks demand 10-14 hours.
This efficiency stems from optimized workflows, specialized tools and equipment, team collaboration on complex vehicles, and elimination of learning curve delays. Professional shops schedule projects to minimize vehicle downtime, understanding that customers need timely completion.
DIY Time Reality
DIY installations consume significantly more time. First-time installers should expect 20-40 hours spread across multiple weekends. Learning curves, troubleshooting, and mistake correction extend timelines substantially.
This time investment carries opportunity costs. Hours spent struggling with installation could be allocated to professional pursuits, family time, or other activities. The frustration factor also cannot be discounted—challenging installations can become discouraging experiences.
Our Crystal Vinyl Wrap collection creates stunning depth and clarity, but achieving professional results requires patience and precision that may test DIY installer commitment.
When DIY Makes Sense
Despite the challenges, DIY installation proves appropriate in specific circumstances. Understanding these scenarios helps make informed decisions.
Suitable DIY Projects
Partial wraps on flat surfaces like hoods or roofs offer manageable DIY opportunities. These projects provide valuable learning experiences without full-vehicle commitment. Our color collections including White Wraps, Black Wraps, Silver Wraps, and Grey Wraps work well for these beginner projects.
Accent pieces, stripes, and trim applications represent achievable DIY goals. These smaller projects build skills and confidence while delivering visual impact. Practice on these elements before attempting full installations.
Budget-conscious enthusiasts willing to invest significant time and accept learning curve challenges may find DIY rewarding. Our Sample Kits provide affordable practice opportunities, allowing skill development before tackling actual vehicles.
DIY Success Factors
Successful DIY installations require controlled workspace with consistent temperature and humidity, comprehensive tool investment, realistic time allocation, patience and perfectionist tendencies, and willingness to learn from mistakes.
Starting with simpler materials helps build competence. Our Brown Wraps, Orange Wraps, and Yellow Wraps in standard finishes offer more forgiving installation experiences than complex textured or chrome options.
When Professional Installation Is Essential
Certain scenarios demand professional expertise, making DIY attempts inadvisable regardless of budget considerations.
Professional-Only Situations
Full vehicle color changes require seamless panel alignment and consistent appearance that DIY installations rarely achieve. The complexity of wrapping entire vehicles with uniform results demands professional skills.
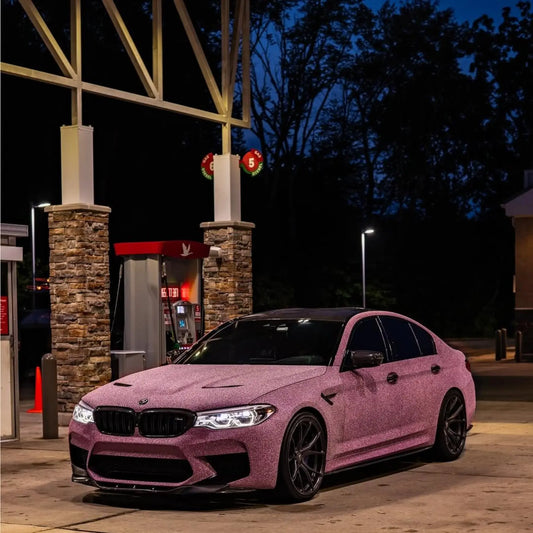
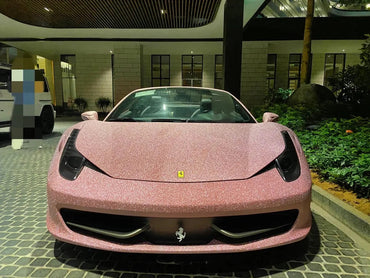
Complex materials including chrome, color-shift, and textured finishes present heightened challenges. Our Pink Wraps, Purple Wraps, Red Wraps, Green Wraps, and Blue Wraps in metallic or chrome finishes show every imperfection, requiring professional precision.
High-value vehicles merit professional installation to protect substantial investments. Luxury and exotic cars demand flawless results that justify their premium status. Risk of paint damage from DIY attempts outweighs installation cost savings.
Commercial vehicle wraps for business branding require professional quality. These vehicles represent company image, making amateur appearance unacceptable. Professional installations ensure graphics align properly and maintain quality throughout the wrap's lifespan.
Time-sensitive projects benefit from professional efficiency. When vehicle downtime must be minimized, professional completion in days versus weeks proves invaluable.
Making Your Decision: Practical Considerations
Evaluate Your Situation
Consider these factors when deciding between professional and DIY installation:
Skill Assessment: Honestly evaluate manual dexterity, attention to detail, patience level, previous similar project experience, and willingness to accept imperfect results.
Resource Availability: Consider budget for materials and tools, suitable workspace, available time, and access to guidance or support.
Project Scope: Assess vehicle complexity, material difficulty, desired quality level, and timeline requirements.
Risk Tolerance: Evaluate comfort with potential mistakes, financial capacity to absorb losses, and importance of warranty protection.
Hybrid Approaches
Some enthusiasts choose middle-ground solutions. Professional installation of complex areas like bumpers, mirrors, and curves combined with DIY work on simpler panels can reduce costs while ensuring quality where it matters most.
Professional consultation services offer guidance for DIY projects. Some installers provide instruction, tool recommendations, and troubleshooting support for self-installers, improving DIY success rates.
Starting with professional installation on a primary vehicle while practicing DIY skills on a secondary vehicle allows skill development without risking valued possessions.
Maximizing Success Regardless of Choice
For DIY Installers
Invest in quality materials from our collections rather than bargain-basement alternatives. Premium vinyl forgives minor technique imperfections better than cheap materials. Our comprehensive product range ensures appropriate options for skill levels.
Practice extensively before attempting final installation. Use sample pieces to develop heat management skills, stretching techniques, and squeegee proficiency. Perfect these fundamentals before working on actual vehicles.
Work in optimal conditions with controlled temperature, good lighting, and clean environments. Avoid rushing—schedule adequate time for each phase. Watch multiple installation tutorials focusing on your specific vinyl type and vehicle style.
Accept limitations and know when to seek help. If a section proves too challenging, professional assistance on difficult areas prevents compromising the entire project.
For Professional Installation Clients
Research installers thoroughly, reviewing portfolios and customer feedback. Verify certifications from vinyl manufacturers and professional organizations. Request references and inspect previous installations when possible.
Communicate clearly about expectations, timeline, and budget. Discuss material options and understand installer recommendations. Professional expertise in material selection proves invaluable for optimal results.
Understand warranty terms completely. Know what's covered, duration, and claim processes. Clarify maintenance requirements to maintain warranty validity.
Budget appropriately, recognizing that professional installation represents significant investment in vehicle appearance and protection. Quality workmanship justifies premium pricing through superior results and longevity.
Conclusion: Choosing Your Path
The decision between professional and DIY car wrap installation ultimately depends on individual circumstances, skills, and priorities. Neither option is universally superior—each serves different needs and situations.
Professional installation offers peace of mind through expert results, warranty protection, and efficient timelines. It represents the wisest choice for full vehicle transformations, complex materials, valuable vehicles, and situations where quality cannot be compromised.
DIY installation provides cost savings and personal satisfaction for those with appropriate skills, resources, and realistic expectations. It works best for partial wraps, practice projects, and situations where budget constraints outweigh quality considerations.
Whatever path you choose, Sailifilm provides premium materials engineered for both professional and DIY success. Our extensive collections spanning from Rainbow Laser Vinyl Wrap to TPU Paint Protection Wrap ensure you have access to the quality materials necessary for achieving your vision.
The vinyl wrap industry continues evolving with improved materials, enhanced installation techniques, and innovative tools that make successful installation more achievable than ever. Whether you choose professional expertise or embrace the DIY challenge, understanding the true scope of installation requirements empowers informed decisions that lead to satisfying results.
Transform your vehicle with confidence, knowing you've chosen the approach that aligns with your skills, resources, and goals. With proper planning, quality materials, and realistic expectations, both professional and DIY installations can deliver the stunning transformation you envision.
