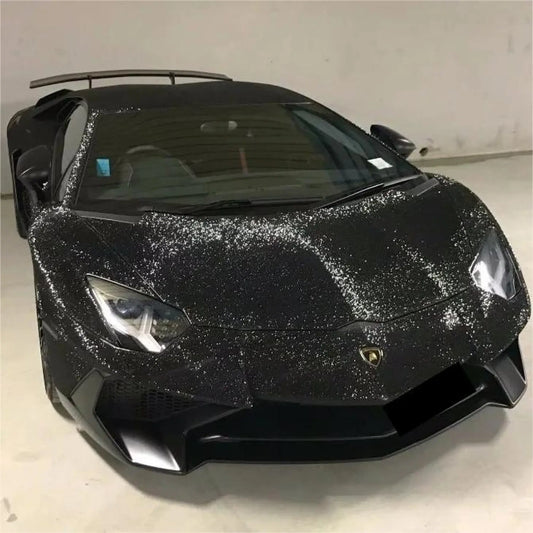
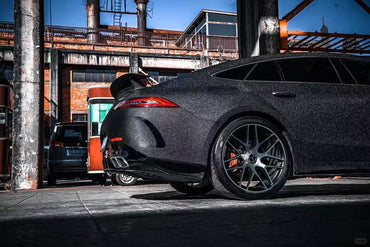
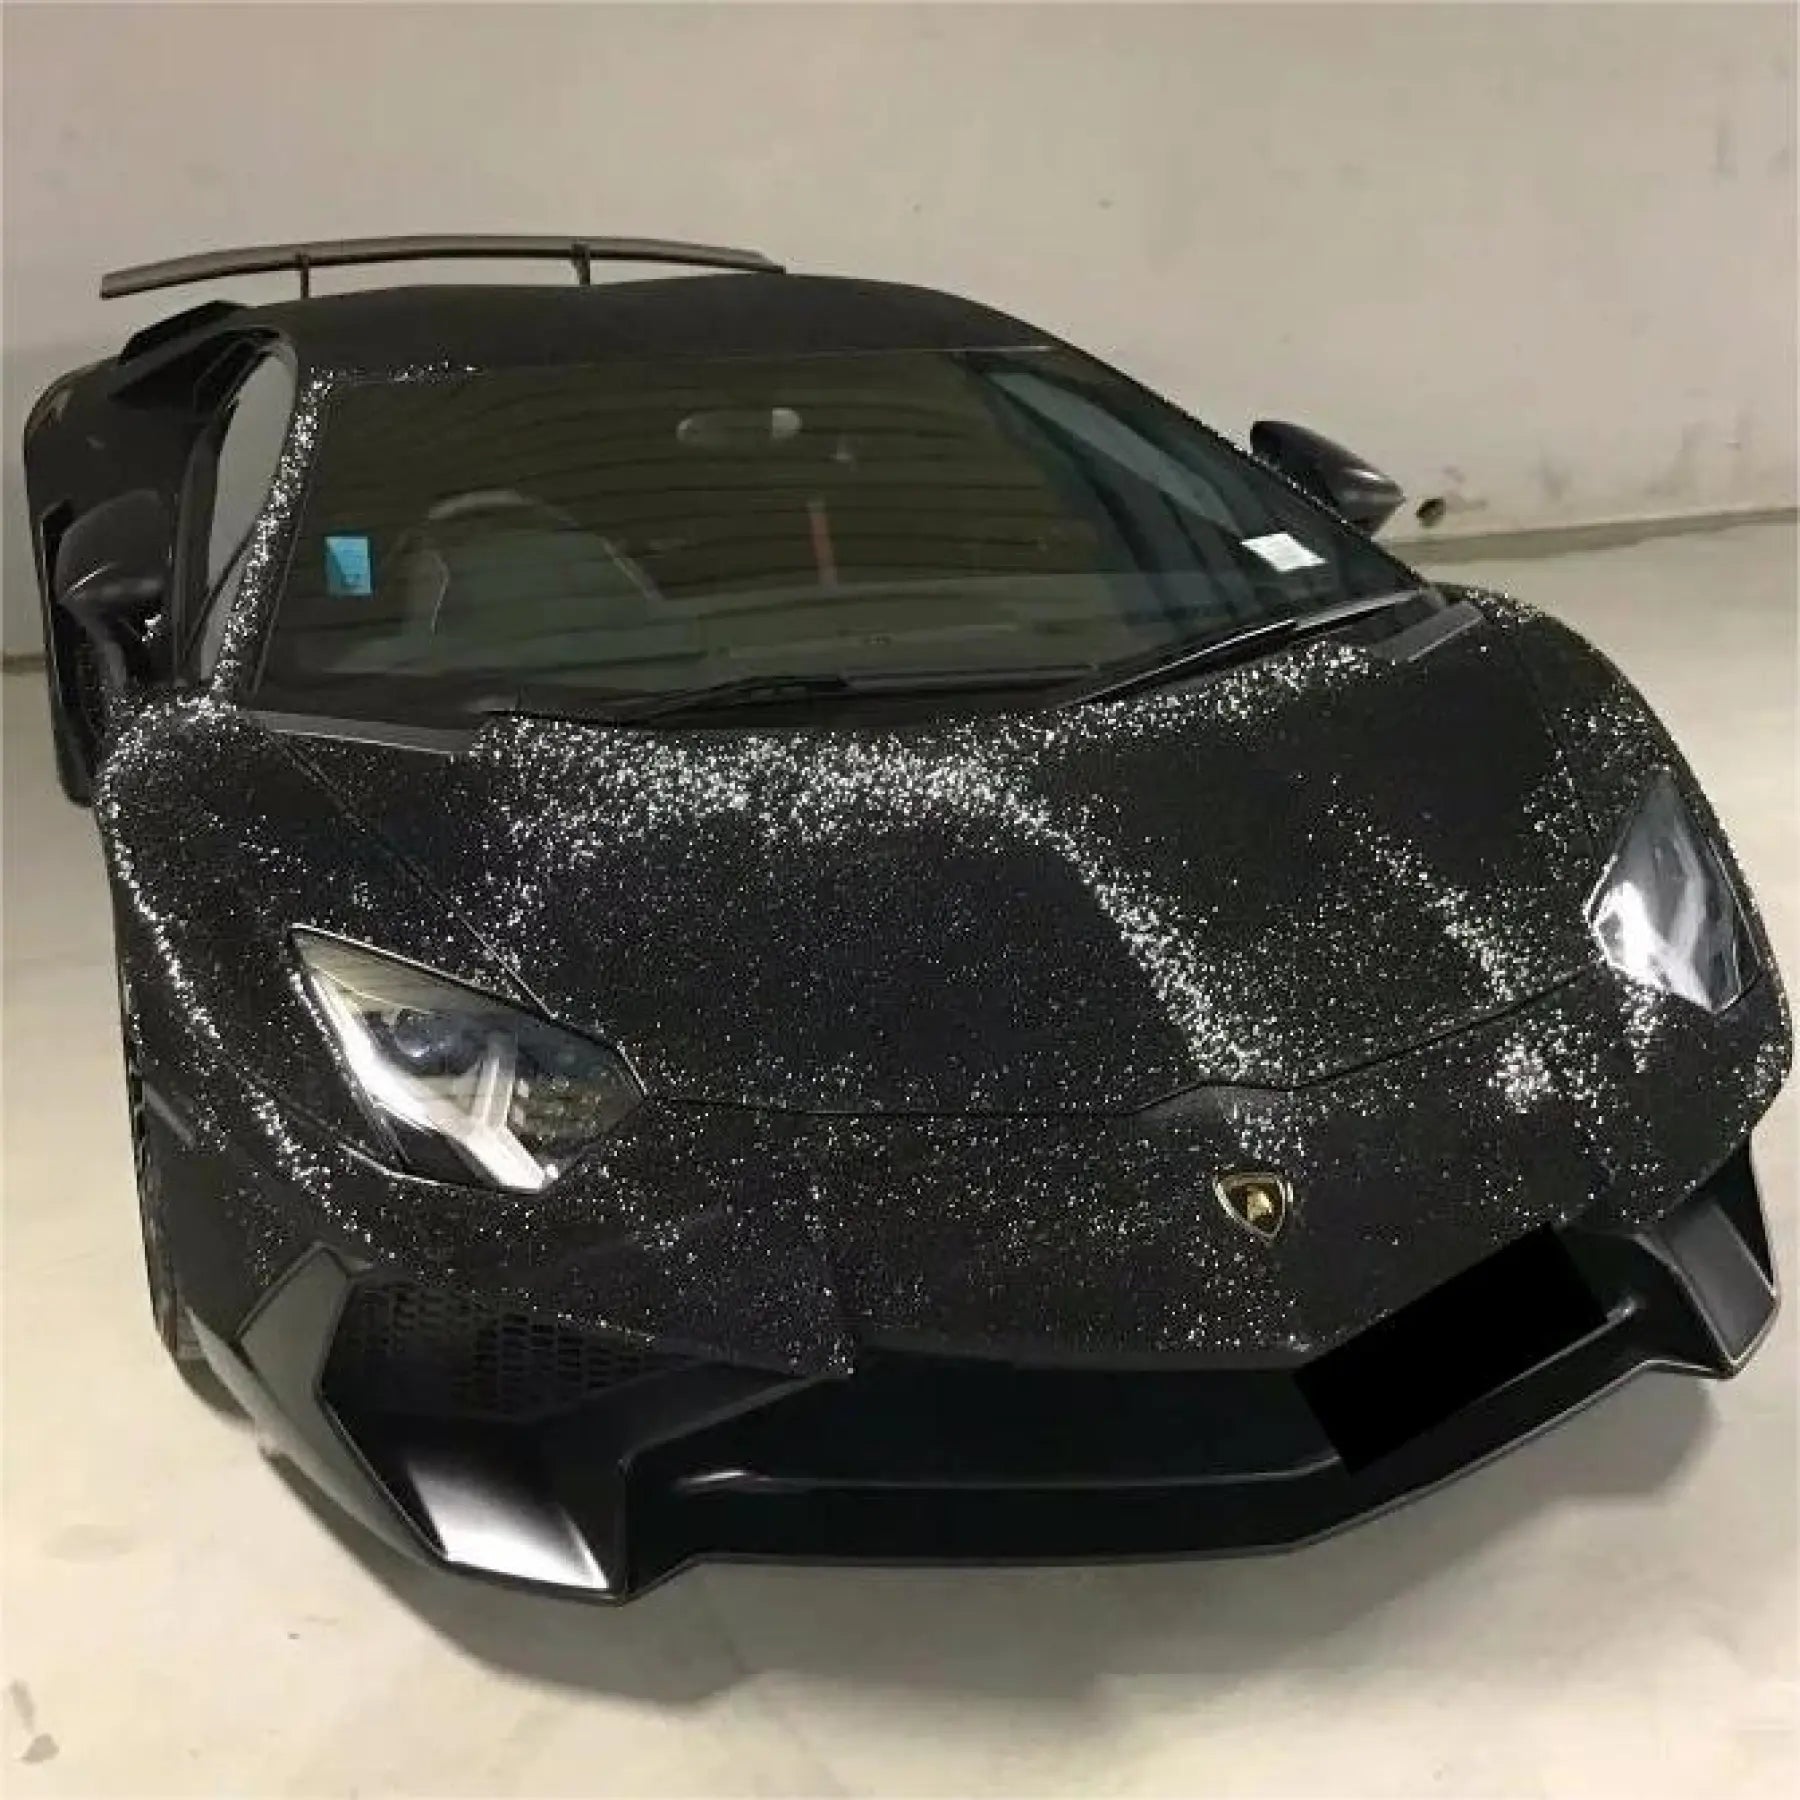
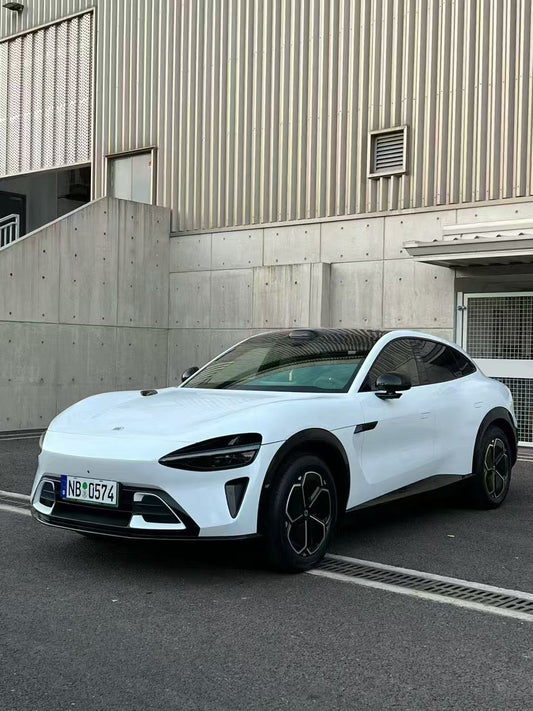
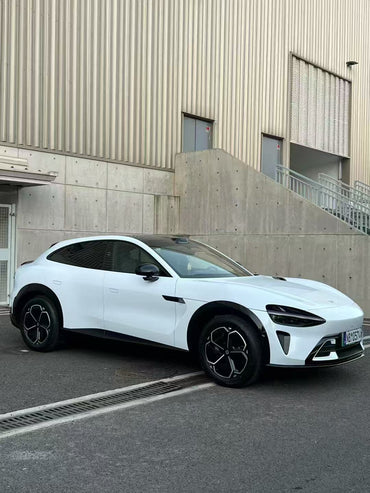
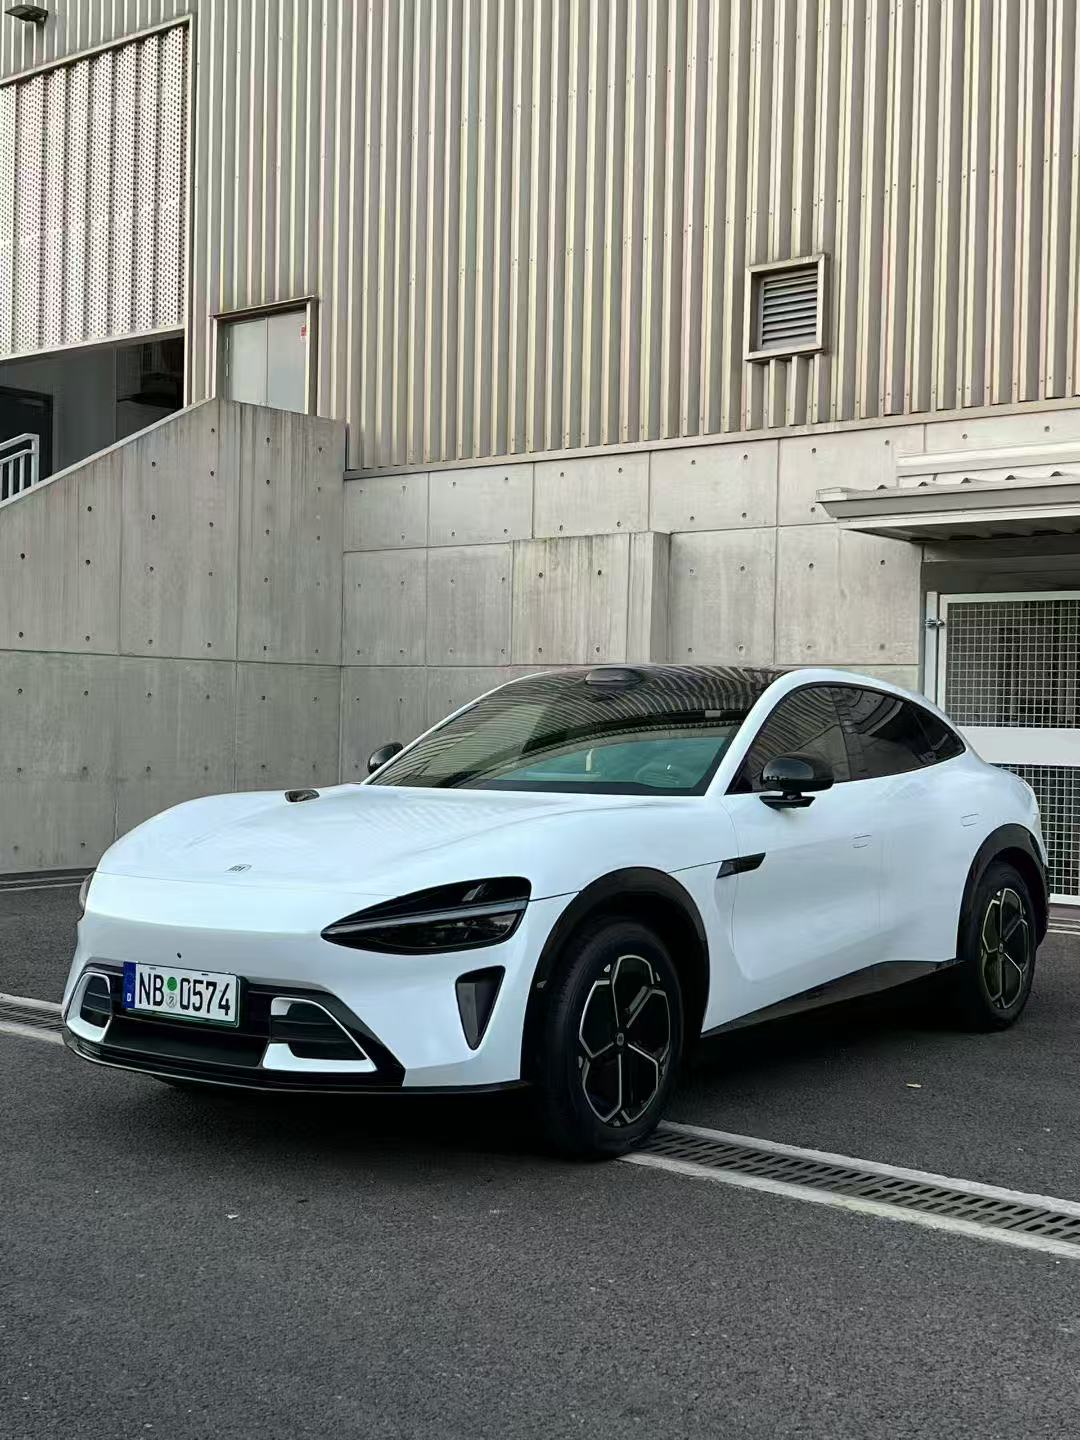
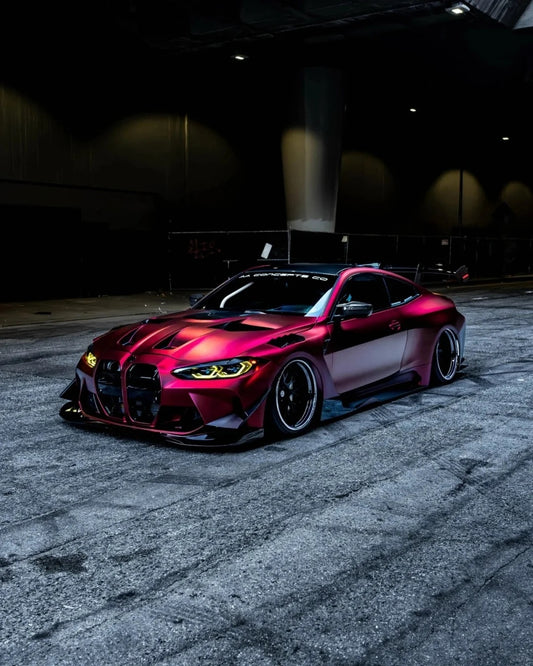
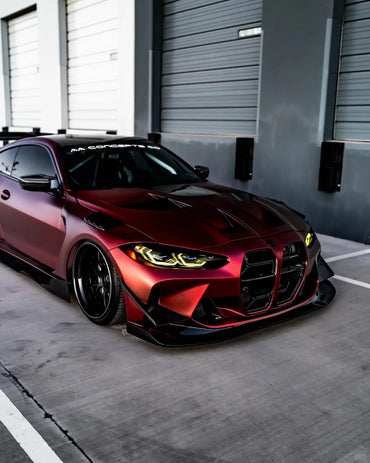
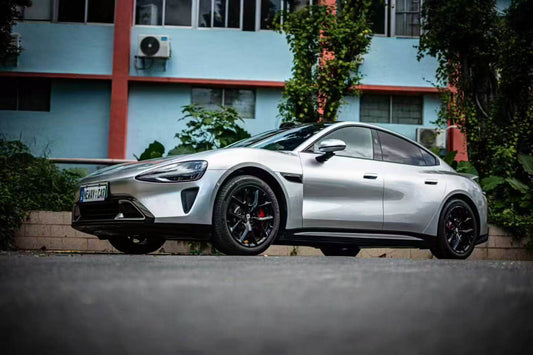
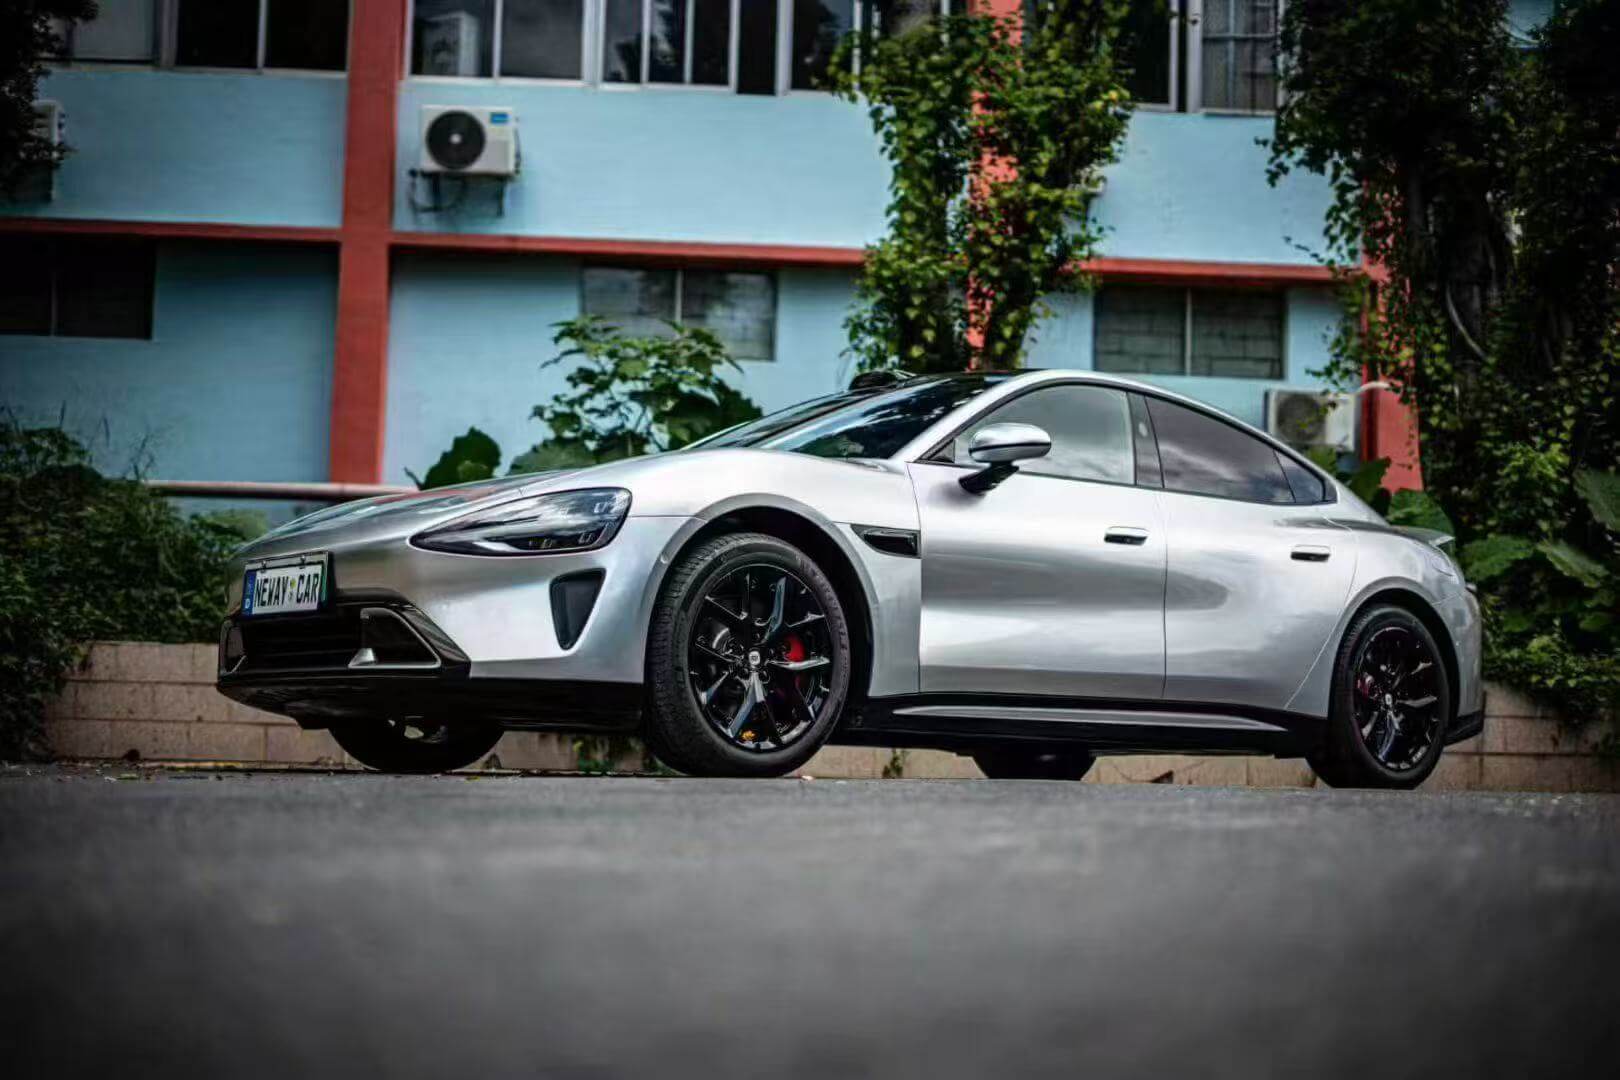
Whether you've chosen a stunning Ultra Matte Wrap, eye-catching Rainbow Laser Vinyl, or premium Paint Protection Film, knowing how to avoid and address potential issues will maximize your investment and keep your vehicle looking spectacular.
Understanding Car Wrap Durability: How Long Should a Vinyl Wrap Last?
Before diving into specific problems, it's important to understand that high-quality car vinyl wraps typically last between five to seven years with proper care and maintenance. Premium materials like those in Sailifilm's collections can even exceed this timeframe when installed correctly and maintained properly.
However, several factors affect wrap longevity:
- Quality of vinyl material and adhesive
- Professional vs. amateur installation
- Climate and environmental exposure
- Regular maintenance and care routines
- Vehicle usage and storage conditions
Understanding these factors helps you prevent problems before they start. The key to long-lasting results lies in choosing quality materials and following proper care guidelines.
Problem #1: Bubbling and Air Pockets in Vinyl Wraps
Vinyl wrap bubbling is one of the most common and frustrating issues that can occur during or after installation. Air bubbles trapped under the wrap create unsightly bumps that compromise both appearance and adhesive integrity.

What Causes Bubbles in Car Wraps?
Poor Surface Preparation: The most frequent cause of bubbling is inadequate surface cleaning before installation. Dirt, grease, wax residue, or even microscopic debris can prevent proper adhesion, creating spaces where air becomes trapped. Every surface must be thoroughly cleaned and degreased with isopropyl alcohol before applying vinyl.
Improper Installation Technique: Rushing the installation process or failing to use proper squeegee techniques leads to trapped air. Professional installers use specific patterns and pressure to push air out from the center toward the edges, ensuring bubble-free application.
Insufficient Heat Application: Quality vinyl wraps require heat activation to conform properly to curved surfaces and complex contours. Without adequate heat from a professional heat gun, the vinyl won't stretch and adhere correctly, leaving gaps that become air pockets.
Low-Quality Vinyl Materials: Cheaper vinyl often lacks proper air-release channels built into the adhesive. Premium materials like those in Sailifilm's Liquid Chrome Collection and Metallic Series feature advanced adhesive technology designed to prevent bubble formation.
How to Prevent Bubbles in Your Car Wrap
Choose Premium Quality Vinyl: Start with high-quality materials. Sailifilm's complete range of Car Vinyl Wraps features superior adhesive formulations with air-release technology that allows repositioning during installation and prevents bubble formation.
Ensure Thorough Surface Preparation: Clean every inch of the vehicle's surface with automotive-grade degreaser and isopropyl alcohol. Remove all wax, polish, dirt, and contaminants. The surface should be completely dry before wrap application begins.
Professional Installation Matters: While DIY installation is possible for experienced individuals, professional installation significantly reduces bubble risk. Professionals have the tools, environment, and expertise to achieve flawless results. Consider professional installation especially for specialty finishes like 3D Carbon Fiber Wraps or Color-Shift Wraps.
Use Proper Tools: Quality installation requires proper Wrapping Tools including squeegees, heat guns, and cutting tools. These professional-grade implements ensure proper technique and prevent damage during application.
Work in Controlled Environment: Install wraps in a clean, dust-free, climate-controlled environment. Ideal temperature range is 68-77°F (20-25°C). Avoid outdoor installations where wind can introduce dust particles.
Fixing Small Bubbles
If you notice small bubbles after installation, they can often be fixed:
- Use a pin or needle to carefully puncture the bubble
- Gently press the air out through the hole
- Apply light heat to re-activate the adhesive
- Smooth the area with a squeegee
For larger bubbles or extensive bubbling, professional repair or panel replacement may be necessary.
Problem #2: Peeling and Lifting at Edges
Car wrap peeling typically starts at edges, seams, and high-touch areas like door handles and mirrors. Edge lifting not only looks unprofessional but also allows moisture and contaminants underneath, accelerating damage to both wrap and paint.

What Causes Vinyl Wrap Peeling?
Inadequate Edge Sealing: Edges are the most vulnerable part of any wrap installation. Without proper edge sealing techniques and edge sealant products, edges begin lifting almost immediately after installation.
Poor Surface Adhesion: Similar to bubbling, insufficient surface cleaning creates weak adhesion points. Oil residue, wax, or contaminants prevent the adhesive from bonding properly, leading to premature peeling.
Extreme Temperature Exposure: Prolonged exposure to extreme heat or cold causes vinyl to expand and contract. This constant movement weakens adhesive bonds, especially at edges and seams. Chrome finishes and specialty wraps are particularly susceptible to temperature-related peeling.
Moisture Penetration: Water seeping under the wrap—whether from rain, car washes, or humidity—weakens the adhesive bond over time. This is especially problematic in areas with frequent precipitation or high humidity.
High-Pressure Washing: Using pressure washers, especially at close range or directly on edges, can forcefully lift vinyl from the surface. The powerful water jets literally blast the wrap away from vulnerable edges.
Improper Installation Stretch: Over-stretching vinyl during installation creates tension that pulls edges away from the surface over time. Quality materials like Sailifilm's Crystal Series have controlled stretch properties, but even premium vinyl has limits.
How to Prevent Car Wrap Peeling
Professional Edge Sealing: Proper installation includes careful edge sealing techniques. Professionals wrap edges around door jambs, trunk edges, and other transitions, then seal them with specialized edge sealant products for maximum durability.
Choose Durable Materials: Premium vinyl with strong adhesive systems resists peeling better than budget alternatives. The TPU Paint Protection Wrap collection offers superior adhesive strength and self-healing properties that resist edge lifting.
Proper Post-Installation Heating: Post-installation heating is crucial for long-term adhesion. Heat reactivates the adhesive and helps it bond more permanently to the vehicle surface, especially at curves and edges.
Avoid High-Pressure Washing: Hand wash your wrapped vehicle using gentle cleaning methods. If using a pressure washer, maintain distance (minimum 12 inches) and never direct the stream at edges, seams, or lifted areas.
Regular Edge Inspection: Check edges monthly for any signs of lifting. Early detection allows simple fixes—gently heating and pressing edges back down can prevent small lifts from becoming major problems.
Climate-Appropriate Storage: When possible, park in garages or covered areas to minimize exposure to extreme temperatures and weather. This is especially important for Chrome Wraps and other specialty finishes.
Apply Edge Sealant: For additional protection, especially in harsh climates, apply automotive edge sealant to vulnerable areas. This creates a barrier against moisture and provides extra adhesive strength.
Addressing Existing Peeling
If you notice peeling:
- Clean the area thoroughly
- Apply gentle heat with a heat gun
- Press the vinyl back down firmly
- Apply edge sealant to prevent recurrence
- For extensive peeling, consider professional panel replacement
Learn more about preventing wrap damage in extreme weather in our comprehensive climate protection guide.
Problem #3: Fading and Color Degradation
Vinyl wrap fading occurs when prolonged UV exposure breaks down the vinyl's color pigments and protective layers. Fading not only diminishes aesthetic appeal but also indicates material degradation that affects protection capabilities.

What Causes Car Wrap Fading?
UV Ray Exposure: Ultraviolet radiation from sunlight is the primary cause of vinyl wrap fading. UV rays penetrate the vinyl surface and break down color molecules over time. This is particularly problematic for darker colors and certain finish types.
Low-Quality Vinyl Materials: Budget vinyl often lacks adequate UV inhibitors and protective coatings. These cheaper materials fade significantly faster than premium alternatives, sometimes showing noticeable color loss within just 1-2 years.
Chrome and Specialty Finishes: Chrome wraps and metallic finishes are more susceptible to UV damage than standard matte or gloss finishes. The reflective layers in chrome wraps can deteriorate faster without proper protection.
Lack of Protective Laminate: Vinyl wraps without UV-protective overlaminate lose their color vibrancy much faster. Quality manufacturers include protective top coats specifically designed to block harmful UV rays.
Poor Maintenance Practices: Failure to clean wraps regularly allows contaminants like road salt, bird droppings, and tree sap to sit on the surface. These substances accelerate color degradation, especially when combined with heat from the sun.
Environmental Pollutants: Urban environments with high pollution levels expose wraps to chemicals and particles that accelerate fading. Industrial fallout and acid rain contribute to premature color loss.
How to Prevent Vinyl Wrap Fading
Choose UV-Resistant Materials: Start with quality vinyl featuring built-in UV protection. All Sailifilm collections, including the vibrant Red Wraps, Blue Wraps, and Green Wraps, incorporate UV-resistant formulations designed for long-lasting color retention.
Park in Shade When Possible: Minimize direct sunlight exposure by parking in garages, under carports, or in shaded areas. This single practice can dramatically extend your wrap's color vibrancy and overall lifespan.
Apply Ceramic Coating: Consider professional ceramic coating specifically formulated for vinyl wraps. These coatings provide an additional UV-protective layer while making cleaning easier and enhancing gloss. Ceramic coating is especially beneficial for Gloss Wraps and Metallic Finishes.
Regular Cleaning Prevents Damage: Wash your wrapped vehicle every 1-2 weeks to remove contaminants before they cause damage. Use pH-neutral, vinyl-safe cleaning products—never harsh detergents or solvents that can strip protective coatings.
Immediate Contaminant Removal: Remove bird droppings, tree sap, bug splatter, and road salt immediately. These substances become more damaging the longer they remain on the wrap, especially when heated by the sun.
Consider Color Choices: While any color can fade, lighter colors and certain finishes show fading less noticeably than others. White Wraps, Silver Wraps, and Grey Wraps tend to maintain appearance longer than very dark or vibrant colors.
Use Paint Protection Film: For maximum protection, consider Sailifilm's Colored Paint Protection Film. These premium films combine color change with superior UV resistance and self-healing properties, offering the best long-term protection against fading.
Addressing Faded Wraps
Once significant fading occurs, restoration options are limited:
- Minor discoloration may respond to vinyl-safe polish (gloss wraps only)
- Polymer-based vinyl sealants can temporarily revive color
- Heavily faded sections require panel or full wrap replacement
- Prevention is far more effective than attempted restoration
Check our guide on choosing fade-resistant wrap colors for more information on selecting colors that maintain vibrancy longer.
Problem #4: Cracking and Material Deterioration
Vinyl wrap cracking represents serious material failure where the vinyl develops splits, tears, or brittle areas. Cracking usually occurs after extended exposure to harsh conditions or indicates poor-quality material.

What Causes Vinyl Wrap Cracking?
Material Age and Degradation: All vinyl has a finite lifespan. After 5-7 years, even premium materials begin breaking down. The plasticizers that keep vinyl flexible gradually evaporate, making the material brittle and prone to cracking.
Extreme Temperature Cycles: Repeated exposure to extreme heat and cold causes vinyl to expand and contract continuously. Over time, this thermal cycling fatigues the material, leading to cracks, especially at stress points and complex curves.
Low-Quality Materials: Budget vinyl lacks the plasticizers and UV stabilizers needed for long-term flexibility. These inferior materials can crack within just 2-3 years, particularly in harsh climates.
Improper Installation Stress: Over-stretching vinyl during installation creates permanent tension in the material. These stressed areas are much more likely to crack over time as the vinyl tries to return to its original dimensions.
Lack of Maintenance: Failing to clean and condition vinyl allows it to dry out prematurely. Regular maintenance with vinyl-safe products helps maintain flexibility and prevent cracking.
How to Prevent Vinyl Wrap Cracking
Invest in Quality Materials: Premium vinyl formulations remain flexible much longer. Sailifilm's entire product line, from Ultra Matte Wraps to Glitter Sparkle Wraps, uses advanced polymer technology designed for maximum longevity.
Proper Installation Technique: Professional installers understand vinyl's stretch limits and work within them. They avoid over-stretching and use heat appropriately to achieve proper application without inducing stress.
Climate-Controlled Storage: Store vehicles in garages or covered areas when possible. Protection from temperature extremes significantly extends wrap life and prevents premature cracking.
Regular Vinyl Conditioning: Use vinyl-safe conditioners periodically to maintain material flexibility. These products replace plasticizers lost through aging and UV exposure, keeping vinyl supple.
Timely Replacement: Don't push wraps beyond their recommended lifespan. When a wrap reaches 5-7 years old, plan for replacement before cracking begins. Trying to extend wrap life too long often results in damage during removal.
Choose Appropriate Finishes for Climate: Some finishes handle extreme conditions better than others. Matte finishes and standard gloss wraps generally prove more durable than chrome or ultra-thin specialty finishes in harsh climates.
Addressing Cracked Vinyl
Unfortunately, cracked vinyl cannot be repaired:
- Small cracked areas require panel replacement
- Extensive cracking indicates full wrap replacement is necessary
- Attempting to patch cracked vinyl is ineffective and unprofessional
- Prevention through quality materials and maintenance is the only solution
Problem #5: Wrinkles and Improper Conformity
Vinyl wrap wrinkles occur when the material doesn't properly conform to the vehicle's contours, creating unsightly folds and creases that trap air and compromise adhesion.

What Causes Wrinkles in Car Wraps?
Rushed Installation: Wrinkles almost always result from hasty installation. Vinyl needs time and proper technique to conform to complex curves and recessed areas without creating folds.
Insufficient Heat Application: Heat makes vinyl pliable and allows it to stretch around curves and contours. Without adequate heating, vinyl fights against complex shapes, resulting in wrinkles and bridging.
Inexperienced Installation: DIY installations by inexperienced individuals frequently result in wrinkles. Complex vehicles require specific techniques for different body panels and features.
Wrong Vinyl Type: Some vinyl types have different conformability characteristics. Using the wrong vinyl for complex curves (like mirror covers or bumpers) makes wrinkle-free installation extremely difficult.
Cold Installation Temperature: Installing vinyl in cold conditions makes it stiff and resistant to stretching. Cold vinyl is far more likely to wrinkle and may not achieve proper adhesion even with heat.
How to Prevent Wrinkles
Professional Installation: For best results, especially with specialty finishes like Rainbow Laser Wraps or Dual Color Dream Wraps, invest in professional installation. Experienced installers have the skills to achieve wrinkle-free results on complex contours.
Proper Heat and Technique: Professionals use specific heat gun techniques and stretching methods for different areas. They understand how much heat and stretch each section requires for perfect conformity.
Climate-Controlled Environment: Install wraps in temperature-controlled environments (68-77°F) where vinyl remains pliable and workable. This is particularly important for Chrome wraps and other specialty materials.
Quality Installation Tools: Proper Wrapping Tools including professional-grade heat guns, various squeegees, and precision cutting tools ensure proper technique and prevent wrinkles.
Consider Sample Kits: If attempting DIY installation, order Sample Kits first. Practice on flat panels or small sections to develop technique before tackling complex areas.
Fixing Wrinkles
Small wrinkles can sometimes be corrected:
- Carefully heat the wrinkled area
- Gently pull the vinyl taut while heating
- Re-squeegee the area smooth
- Large or set-in wrinkles require panel removal and reinstallation
Problem #6: Staining and Discoloration
Vinyl wrap staining occurs when contaminants penetrate the wrap's surface or when chemical reactions cause discoloration. Stains diminish appearance and can permanently damage vinyl.
What Causes Stains on Car Wraps?
Bird Droppings and Tree Sap: These organic materials contain acids that etch and stain vinyl, especially when left to bake in sunlight. The longer they remain, the deeper they penetrate.
Road Salt and Chemicals: Winter road salt and de-icing chemicals are highly corrosive. They not only stain but can also accelerate vinyl degradation if allowed to accumulate.
Fuel and Oil Spills: Petroleum products can stain and even dissolve certain vinyl types. Fuel spills at gas stations are a common source of wrap staining.
Harsh Cleaning Products: Using inappropriate cleaning chemicals—especially those containing solvents, bleach, or abrasives—can discolor or permanently damage vinyl wraps.
Metal and Rust Transfer: Contact with rusty surfaces or metal particles can transfer discoloration to wraps. This is particularly problematic for White Wraps and light-colored finishes.
How to Prevent Stains
Immediate Cleaning: Remove contaminants immediately upon noticing them. Quick action prevents deep penetration and permanent staining. Keep microfiber cloths and vinyl-safe cleaning spray in your vehicle for spot cleaning.
Regular Maintenance Washing: Wash your wrapped vehicle weekly or bi-weekly to prevent contaminant buildup. Use pH-neutral automotive shampoos specifically safe for vinyl—never dish soap or household cleaners.
Protective Coatings: Apply ceramic coatings or vinyl-safe sealants that create a protective barrier against staining. These products make cleaning easier and prevent contaminants from bonding to vinyl.
Careful Fueling: Pay attention when fueling to avoid spills on wrapped surfaces. If spills occur, wipe them immediately before they cause staining or damage.
Avoid Automatic Car Washes: Many automatic car washes use harsh chemicals and brushes that can scratch and stain wraps. Hand washing or touchless car washes are safer alternatives.
Protect Light Colors: Light colors like White, Pink, and Yellow Wraps show stains more readily. Extra vigilance with maintenance helps keep these colors pristine.
Removing Stains
For stains that do occur:
- Clean immediately with vinyl-safe cleaners
- Use isopropyl alcohol for stubborn stains
- Specialized vinyl stain removers for difficult cases
- Heavily stained areas may require professional treatment or replacement
Read our complete vinyl wrap cleaning guide for detailed maintenance instructions.
Problem #7: Poor Adhesion to Complex Surfaces
Some vehicle areas prove particularly challenging for wrap adhesion, including deeply recessed areas, complex curves, textured surfaces, and plastic trim pieces.

What Causes Adhesion Problems?
Surface Texture Incompatibility: Vinyl adheres best to smooth surfaces. Textured plastics, rough surfaces, and porous materials don't provide ideal bonding surfaces for standard vinyl adhesives.
Plastic and Rubber Trim: Different materials on vehicles (plastics, rubbers, composite materials) have varying surface energies. Vinyl that bonds well to painted metal may not adhere properly to plastic trim.
Extreme Curves and Recesses: Very tight curves, deep recesses, and complex contours challenge vinyl's ability to maintain adhesion. These areas require expert technique and sometimes specialty adhesives.
Surface Contamination: Any contamination—even microscopic—prevents proper adhesion. Trim pieces and plastic components often have mold-release agents, silicone treatments, or protective coatings that block adhesion.
Preventing Adhesion Issues
Thorough Surface Prep: Clean all surfaces multiple times with different cleaning agents. Use adhesion promoters on problematic plastics and trim pieces to enhance bonding.
Professional Assessment: Experienced installers evaluate vehicle surfaces and determine which areas may need special treatment or whether certain areas should remain unwrapped.
Quality Materials: Premium vinyl like Sailifilm's Best Sellers features advanced adhesive systems designed for various surface types and challenging applications.
Specialty Primers: For difficult surfaces, use adhesion promoter primers before vinyl application. These primers chemically prepare surfaces for maximum bonding.
Realistic Expectations: Understand that some surfaces may never accept vinyl perfectly. Trim pieces, door handles, and deeply textured areas might require alternative finishing solutions.
Problem #8: Damage During Removal
Improper wrap removal can damage your vehicle's original paint, particularly on older vehicles or those with compromised paint finishes.

What Causes Removal Damage?
Aggressive Removal Techniques: Forcefully pulling vinyl at sharp angles or using tools that contact the paint surface can tear paint away with the vinyl, especially if paint adhesion is already weak.
Age-Related Adhesive Bonding: Very old wraps (7+ years) develop extremely strong adhesive bonds. The longer vinyl remains installed, the harder removal becomes and the higher the risk of paint damage.
Poor-Quality Paint: Factory paint defects, previous poor-quality repaints, or degraded paint adhesion make removal risky regardless of technique. Vinyl will only bond as well as the underlying paint.
Cold Weather Removal: Removing vinyl in cold conditions makes both vinyl and adhesive brittle. Cold removal significantly increases paint damage risk.
Safe Removal Practices
Professional Removal: When wrap lifespan ends, consider professional removal, especially for valuable vehicles or complex wraps. Professionals have experience recognizing and avoiding paint damage risks.
Heat Application: Proper removal requires consistent, controlled heat application. Heat reactivates adhesive, allowing vinyl to release cleanly without pulling at paint.
Proper Angle and Speed: Remove vinyl at a low angle (approximately 15-20 degrees) slowly and steadily. Sharp angles and quick pulls increase paint damage risk.
Adhesive Remover: After vinyl removal, adhesive residue remains. Use proper adhesive removers designed for automotive use—never harsh solvents that might damage paint.
Temperature Considerations: Remove wraps in warm conditions (70-80°F) for easiest, safest removal. If necessary to remove in cold weather, work in heated garage or use additional heat application.
Inspect Paint First: Before wrapping, document paint condition. Vehicles with failing paint or improper previous repaints are at risk of removal damage regardless of technique.
Choosing Quality Materials Prevents Most Problems
The single most effective way to prevent car wrap problems is selecting premium quality materials from the start. While budget vinyl might save money initially, it almost always costs more long-term through early failure, extensive maintenance, and premature replacement.
Why Sailifilm Quality Matters
Sailifilm's comprehensive collection represents the highest standards in vinyl wrap manufacturing:
Advanced Adhesive Technology: All Sailifilm products feature premium adhesive systems with air-release channels that prevent bubbles and ensure strong, lasting bonds that resist peeling.
UV Protection: Built-in UV inhibitors and protective coatings maintain color vibrancy and prevent premature fading across all product lines, from Black Wraps to Orange Wraps.
Superior Flexibility: Premium polymers and plasticizers ensure materials remain flexible for years, preventing cracking and material failure even in extreme climates.
Color Consistency: Professional-grade manufacturing ensures consistent color and finish quality, whether choosing Brown Wraps, Purple Wraps, or any finish in the complete lineup.
Comprehensive Selection: From standard colors to specialty finishes, Sailifilm offers solutions for every vehicle and vision, ensuring the right material for your specific needs and climate.
Essential Maintenance Practices for Long-Lasting Wraps
Proper maintenance is crucial for preventing problems and maximizing wrap lifespan. Following these practices ensures your investment remains protected and beautiful:

Regular Washing Schedule
Weekly or Bi-Weekly Cleaning: Establish a regular washing routine to remove contaminants before they cause damage. Consistency prevents buildup that leads to staining and degradation.
Hand Wash Method: Use the two-bucket method with pH-neutral car shampoo. One bucket contains soapy water, the other clean rinse water. This prevents cross-contamination and scratching.
Microfiber Only: Use only soft microfiber cloths and mitts. Never use brushes, sponges, or abrasive materials that can scratch vinyl surfaces.
Immediate Spot Cleaning: Carry cleaning supplies to address bird droppings, bugs, and fuel spills immediately. Quick action prevents permanent staining and damage.
Washing Best Practices
Gentle Water Pressure: If using pressure washers, maintain 12+ inch distance and use wide spray patterns. Never aim high-pressure streams at edges or seams.
Temperature Awareness: Use lukewarm water—never hot water that might affect adhesive or extremely cold water on cold vinyl.
Proper Drying: Dry wraps immediately after washing using clean microfiber towels. Air drying leaves water spots and mineral deposits that dull finish over time.
Avoid Automatic Washes: Skip automatic car washes with brushes. If using automatic washes, choose touchless options only.
Storage and Protection
Indoor Storage: Whenever possible, park in garages or covered areas. Protection from elements dramatically extends wrap life and prevents multiple problem types.
Shade Parking: When outdoor parking is necessary, seek shaded areas. Even tree shade provides significant UV protection compared to direct sunlight.
Cover Use: For long-term outdoor storage, use breathable car covers designed for wrapped vehicles. Ensure covers don't trap moisture against wrap surfaces.

Inspection Routine
Monthly Edge Checks: Inspect all edges, seams, and high-wear areas monthly. Early detection of lifting allows simple repairs before problems spread.

Damage Documentation: Photograph any damage or changes. This helps track progression and informs repair or replacement decisions.
Professional Inspections: Consider annual professional inspections, especially before warranty periods expire. Professionals can identify developing issues you might miss.
Learn more in our seasonal car wrap maintenance guide for climate-specific care recommendations.
When to Seek Professional Help
While many minor issues can be addressed with proper care, some situations require professional intervention:
Extensive Bubbling: Large bubble areas or widespread bubbling indicates installation failure requiring professional correction.
Significant Peeling: Peeling affecting entire panels or multiple areas needs professional assessment and likely panel replacement.
Color Fade: Once significant fading occurs, professional evaluation determines whether partial or full replacement is necessary.
Cracking: Any cracking requires immediate professional assessment. Cracked sections need replacement to prevent expansion.
Adhesion Failure: Wrap lifting from large areas indicates adhesive failure. Professional removal and reinstallation are necessary.
Pre-Purchase Assessment: Before wrapping older or previously damaged vehicles, professional paint inspection helps determine if wrapping is advisable.
Conclusion: Prevention is Key to Long-Lasting Wraps
Understanding common car wrap problems and their prevention is essential for anyone investing in vehicle customization. While issues like bubbling, peeling, fading, and cracking can occur, they're largely preventable through quality material selection, professional installation, and consistent maintenance.
By choosing premium materials from Sailifilm's extensive collections—whether Ultra Matte Wraps, stunning Crystal Vinyl, protective PPF films, or eye-catching Rainbow Laser finishes—you start with a solid foundation for success.
Combined with professional installation and diligent maintenance, your vinyl wrap will provide years of beauty and protection, transforming your vehicle while safeguarding its original paint. The key lies in understanding potential problems, taking preventive action, and addressing issues promptly when they arise.
Ready to transform your vehicle with confidence? Explore the complete Sailifilm Car Vinyl Wrap Collection and discover premium materials designed to prevent problems while delivering stunning results that last.
Related Resources
- Vehicle Vinyl Wrap - Wikipedia - Comprehensive history and technical information
- How to Remove a Car Wrap Safely - Step-by-step removal guide


