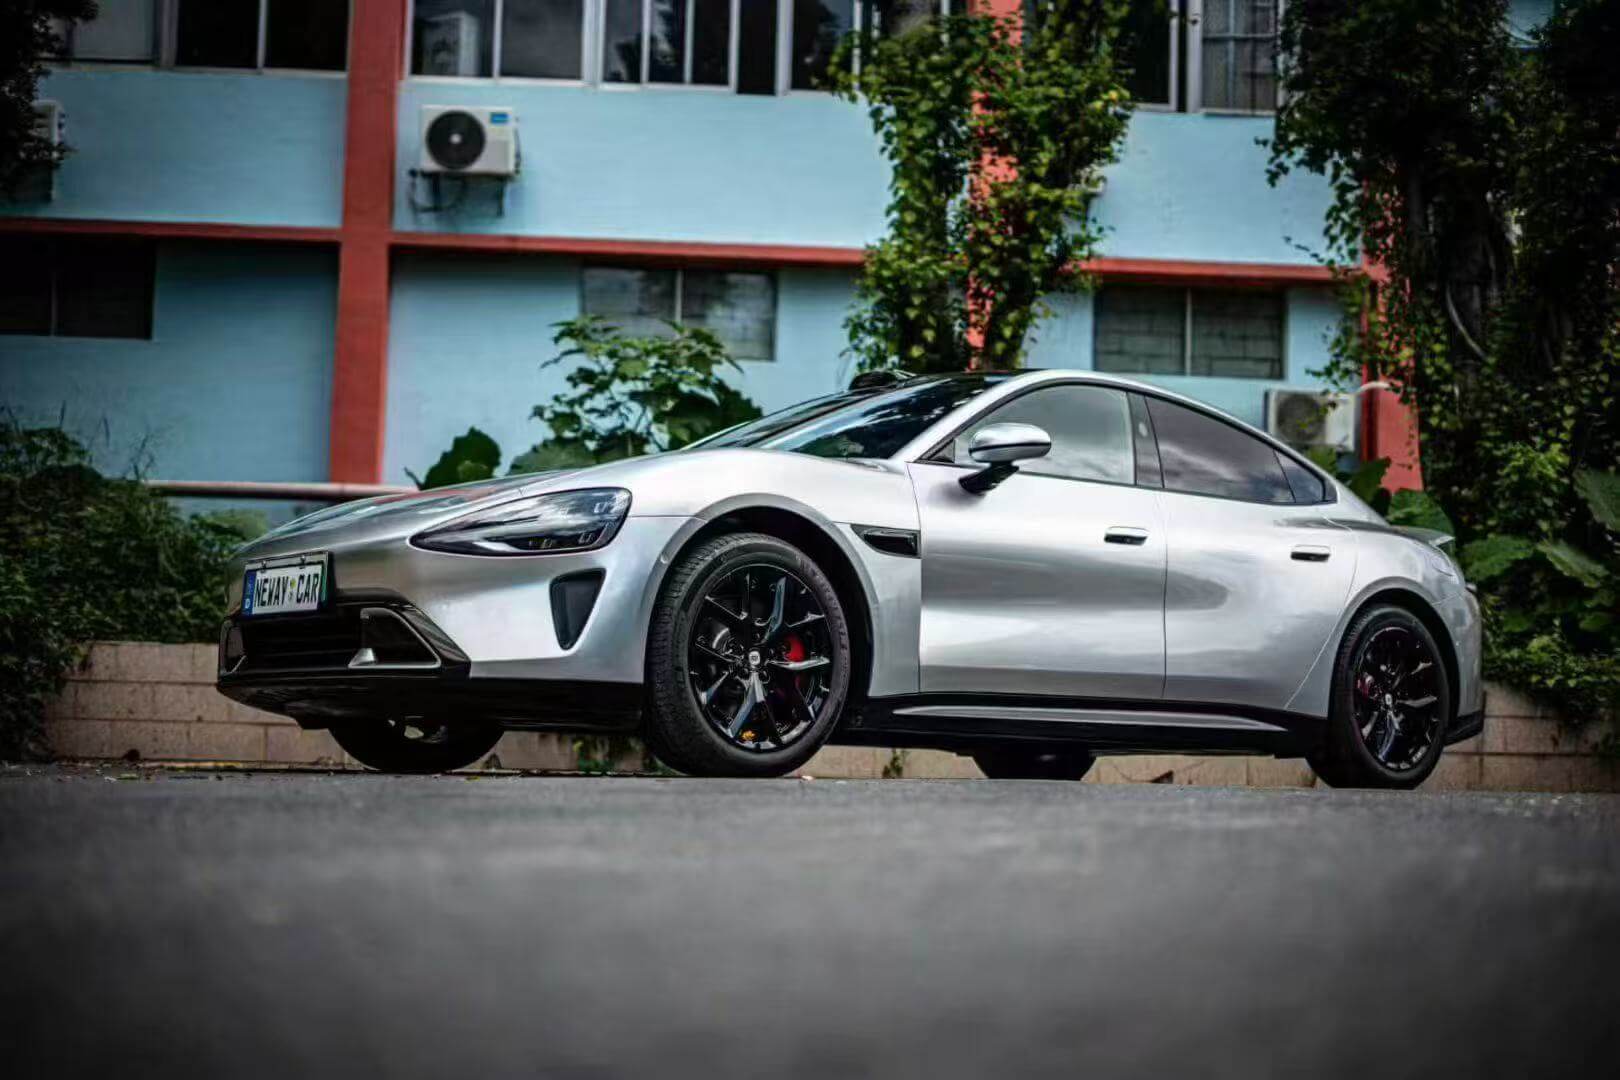
When Is It Time to Remove Your Car Wrap?
Understanding the signs that indicate wrap removal time can save you from more challenging removal processes later. Professional installers and wrap enthusiasts recognize these key indicators:
Visual Deterioration Signs
Fading and Color Changes: Car wraps are poised for even greater success, driven by cutting-edge materials and innovative designs, but even the best materials eventually show wear from UV exposure. When colors lose their vibrancy or shift from their original hue, it's time for removal.
Edge Lifting and Peeling: The edges may be starting to lift, or you can see the original paint peeking through in spots. That's a telltale sign that the wrap is on its last legs.
Cracking and Bubbling: Physical damage like cracks, bubbles, or tears not only affects appearance but also allows moisture and contaminants underneath, potentially damaging your paint.
Age-Based Removal Timeline
The lifespan of a wrap runs from 5 to 7 years—depending on how well you take care of it and variables like weather and where the vehicle is stored. However, removal difficulty increases significantly with age:
- 1 year or less: Easy removal with minimal heat application
- 2-3 years: Moderate difficulty, requires proper technique but manageable
- 4-7 years: More challenging but still achievable with patience and right tools
- Over 7 years: Professional removal recommended due to increased brittleness
Essential Tools for Safe Car Wrap Removal
Success in wrap removal depends heavily on having the right equipment and using proper techniques to protect your vehicle's paint surface.
Primary Removal Tools
- Heat Gun - The most crucial tool for softening adhesive and vinyl material
- Plastic Scrapers and Squeegees - Non-marring tools for lifting edges without scratching paint
- Adhesive Removal Solutions - Professional-grade solvents for eliminating residue
- Microfiber Towels - For cleaning and applying solutions without surface damage
- Protective Equipment - Gloves and safety glasses for personal protection
Supplementary Equipment
- Infrared Thermometer - Monitor surface temperature to prevent overheating
- Spray Bottles - Apply cleaning solutions and adhesive removers effectively
- Hair Dryer - Alternative heat source for smaller areas or detail work
Heat Gun Method: The Professional Standard
The heat gun method remains the gold standard for professional wrap removal, offering controlled temperature application that softens both vinyl and adhesive for clean removal.
Proper Heat Application Technique
Temperature Control: Set your heat gun to a medium heat level, keeping the heat source about 6-8 inches away from the vinyl surface, with optimal temperature around 60-80°C (65°F and up).
Movement Pattern: Never concentrate heat in one spot. Keep moving the heat source consistently, working systematically across small sections at a time.
Safety Precautions: Never hold the heat gun on an area of the vinyl for more than 3-5 seconds without moving along, as this can cause bubbling or burning.
Step-by-Step Heat Removal Process
-
Surface Preparation
- Park vehicle in shaded, temperature-controlled environment
- Avoid direct sunlight as it can make vinyl more difficult to remove and cause paint damage
- Clean surface of debris and dirt
-
Initial Heat Application
- Choose a corner to start peeling from, typically the hood area
- Apply heat in 6-8 inch sections, moving gun back and forth
- As you apply heat, you'll notice the vinyl starting to soften - this is exactly what you want
-
Peeling Technique
- Pull at 45-degree angle while exerting steady, even pressure - never at 90 degrees as it will come off in tiny pieces
- Keep your pulling pressure, angle, and speed consistent while peeling
- If resistance increases, reapply heat to soften adhesive
-
Challenging Areas
- Door jams and sharp contours may require more heat as there are struts welded into the body
- Take extra care around deeply contoured areas and trim pieces
- Never yank or force the material - patience prevents paint damage
Heat Gun Safety Guidelines
- Maintain 6-12 inch distance from surface consistently
- Use back-and-forth motion to prevent overheating particular spots
- Monitor temperature with infrared thermometer when possible
- Take care not to heat areas covering chrome components
Chemical Removal Methods: Alternative Approaches
While heat remains the preferred method, chemical approaches offer alternatives for specific situations or as supplementary techniques.
Professional Adhesive Removers
Rapid Remover: Professional-grade vinyl wrap solvents can speed up the process - Rapid Remover is the best option to help break down adhesive.
Citrus-Based Solutions: Citristrip and similar citrus-based products turn wrap into removable residue without harming paint when used properly.
Application Process:
- Spray solution onto vinyl surface
- Let it sit for 20 to 30 minutes to slacken the adhesive before peeling
- Work in small sections, reapplying as needed
Hot Water Method
For environmentally conscious removal or when heat guns aren't available:
- Pour hot water on vinyl to loosen adhesive, allowing you to pull up wrap edges
- Ideal for recent installations or high-quality wraps
- Less effective on aged or sun-baked materials
- Requires patience and multiple applications
Steam Application
A hairdryer or steamer can be used in place of heat gun for wrap removal, particularly effective for smaller areas.
Advantages:
- Gentler than direct heat gun application
- Reduces risk of overheating sensitive areas
- Effective for detail work around mirrors and trim
Limitations:
- Slower process than heat gun method
- Less effective on heavily aged wraps
- Requires specialized wallpaper steamer attachments for best results
Heat Gun vs. Chemical Methods: Choosing the Right Approach
Understanding when to use each method ensures optimal results while protecting your vehicle's finish.
Heat Gun Method Advantages
- Speed and Efficiency: Fastest removal for most wrap types
- Clean Removal: Properly applied heat minimizes adhesive residue
- Versatility: Works on all wrap ages and types
- Professional Standard: Preferred method by installation professionals
Chemical Method Advantages
- Gentler Process: Reduced risk of overheating paint
- Detailed Work: Excellent for tight spaces and complex contours
- Residue Removal: Specifically designed to dissolve adhesive compounds
- Safety: Lower risk of surface damage when applied correctly
Recommended Combined Approach
Most professional removal processes combine both methods:
- Primary Removal: Use heat gun for main vinyl sheet removal
- Residue Treatment: Apply chemical removers for remaining adhesive
- Final Cleaning: Hot soapy water and microfiber towels for surface preparation
Adhesive Residue Removal: Complete Surface Restoration
Even with perfect removal technique, some adhesive residue typically remains on the surface, requiring specific treatment for complete restoration.
Residue Assessment
After wrap removal, some residue is bound to be left on the body, but this is nothing to be worried about with proper removal techniques.
Common Residue Types:
- Light adhesive film: Easily removed with mild solvents
- Heavy adhesive buildup: Requires professional-grade removers
- Mixed debris: Combination of adhesive and vinyl fragments
Professional Removal Solutions
Automotive-Grade Adhesive Removers: Use solvents specifically designed for automotive applications that won't damage paint.
Popular Professional Options:
- 3M Citrus-based adhesive remover
- Rapid Tac removal solution
- Goo-Gone (slower acting but widely available)
Application Process:
- Let adhesive remover soak into residues, then squeegee excess or scrape adhesive off
- Use plastic scrapers only - never metal tools
- Work in small sections for thorough removal
- Follow manufacturer's instructions for contact time
Gentle Home Remedies
Warm Soapy Water Method: Sometimes all you need is warm, soapy water and patience using soft microfiber towel to work at adhesive gently.
Heat-Assisted Removal:
- Use hairdryer or heat gun on lowest setting to soften adhesive before gentle removal
- Particularly effective for water-soluble adhesives
- Safe for newer paint jobs and sensitive finishes
Post-Removal Paint Care and Restoration
Proper post-removal care ensures your vehicle's paint returns to optimal condition and receives appropriate protection against future damage.
Immediate Post-Removal Steps
Surface Assessment: Inspect carefully for any remaining adhesive residue after removing vinyl wrap.
Complete Cleaning Process:
- Rinse area with clean water and dry with high-absorbency microfiber towel
- Use automotive soap to remove all chemical residues
- Inspect for any remaining spots requiring additional treatment
Paint Restoration Techniques
Color Matching Considerations: Focus on color matching to ensure smooth transition from old to restored areas.
Professional Restoration Process:
- Polish areas showing minor oxidation or dulling
- Apply paint correction compounds if needed
- Use color swatches or consult with professionals for perfect color matching
Protective Coating Application
Immediate Protection: Seal with ceramic coating spray to prevent future grime from bonding to surface.
Long-term Care: Apply protective coatings to provide extra layer of defense against UV rays, pollution, and minor marks.
Advanced Protection Options:
- Protective coatings can enhance color and finish of paint, giving it glossy appearance while extending life
- Consider new TPU paint protection film for superior long-term protection
- Professional ceramic coating for maximum durability
TPU Paint Protection Film vs. Vinyl Wrap Removal {#tpu-protection-benefits}
Understanding the differences between removing TPU paint protection films and decorative vinyl wraps helps you choose the right approach for your specific Sailifilm products.
TPU Film Removal Characteristics
Material Properties: New-generation TPU films have faster self-healing and hydrophobic properties, making them more advanced than traditional vinyl.
Removal Advantages:
- Superior adhesive technology designed for clean removal
- Self-healing properties mean fewer cracks and damage points
- Higher quality materials typically remove in larger pieces
- Reduced risk of paint damage due to premium construction
Vinyl Wrap Removal Characteristics
Standard Vinyl Properties:
- Variety of adhesive strengths depending on quality
- More susceptible to UV degradation over time
- Generally easier initial installation but variable removal experience
Removal Considerations:
- Quality varies significantly between manufacturers
- Age affects removal difficulty more dramatically than TPU
- Requires more careful heat application to prevent tearing
Choosing Your Next Protection
After successful removal, consider upgrading to Sailifilm's premium TPU paint protection films for:
- Enhanced Durability: Longer lifespan than traditional vinyl
- Superior Protection: Better defense against scratches and environmental damage
- Easier Future Removal: Advanced adhesive technology for cleaner removal
- Self-Healing Properties: Minor scratches disappear with heat application
Common Removal Mistakes to Avoid
Learning from common errors helps ensure your removal project succeeds without damaging your vehicle's finish.
Temperature-Related Mistakes
Overheating Problems: Never hold heat gun on area for more than 3-5 seconds without moving, as overheating can cause bubbling, burning, or clear coat peeling.
Underheating Issues: Insufficient heat makes vinyl brittle and prone to tearing in small pieces rather than large sections.
Environmental Factors: Cold temperatures impact effectiveness of removal process, making vinyl rigid and less pliable.
Technique Errors
Wrong Pulling Angle: Pull at 45-degree angle rather than 90 degrees to prevent tiny piece removal.
Excessive Force: Never yank vinyl sheet - steadily pulling gets job done without paint damage risk.
Inconsistent Method: Keep pulling pressure, angle, and speed consistent throughout process.
Tool Selection Problems
Sharp Tool Usage: Never use anything sharp or abrasive like screwdrivers to lift vinyl edges.
Inappropriate Chemicals: Don't use oil-based label removers as they're nearly impossible to remove completely.
Metal Scraper Risk: Don't use razor blades or metal scrapers as they can scratch clear coat and paint.
Professional vs. DIY Removal: Making the Right Choice
Determining whether to tackle removal yourself or hire professionals depends on several key factors affecting both cost and results.
DIY Removal Advantages
Cost Savings: Professional removal typically adds $500-$600 to total wrap ownership cost.
Flexibility: Work on your own schedule without appointment constraints.
Learning Experience: Gain valuable knowledge for future wrap projects.
Professional Removal Benefits
Expertise: Professional removal advised to prevent paint damage, especially for challenging or aged wraps.
Equipment: Access to professional-grade tools and removal solutions.
Warranty Protection: Many professionals offer guarantees against paint damage.
When to Choose Professional Service
- Aged Wraps: Vinyl wraps over 5 years old become very difficult to remove and may break during pulling
- Sun-Baked Materials: Constant sun and heat exposure deteriorates vinyl quality significantly
- Complex Vehicles: Luxury cars, exotic finishes, or valuable classics
- Limited Time: Professional removal typically takes 4-8 hours vs. DIY weekend projects
Trending 2025 Removal Technologies and Techniques
The car wrap industry continues evolving with new removal technologies and techniques that make the process safer and more efficient.
Advanced Heat Management
Smart Temperature Control: AI tools and smart sensors help find curves and edges, helping wraps stick smoothly during installation and remove cleanly.
Infrared Technology: Professional-grade infrared heating systems provide even temperature distribution without hot spots.
Eco-Friendly Solutions
Low-VOC Removers: Low VOC adhesives enhance removal experience by providing strong bonds without harsh chemicals.
Biodegradable Options: Bio-based alternatives derived from plant polymers offer environmentally responsible removal solutions.
Professional Equipment Advances
Precision Tools: Laser cutters and automated systems create precise removal patterns.
Steam Technology: Enhanced steamer attachments designed specifically for automotive wrap removal.
Maintenance Tips to Extend Wrap Life and Ease Future Removal
Proper wrap care during its lifespan significantly impacts removal difficulty and paint preservation.
Regular Maintenance Practices
Cleaning Schedule: Wash vehicle with mild detergent and water regularly, but avoid excessive cleaning that may make vinyl lose shine sooner.
Protective Measures: Consider weather conditions - cold areas help vinyl maintain quality longer than hot climates.
Storage Considerations: Covered parking reduces UV exposure and extends wrap life.
Preparation for Future Removal
Documentation: Keep installation records and material specifications for removal planning.
Regular Inspection: Check for peeling, cracking, or fading signs that indicate approaching removal time.
Quality Investment: High-quality wraps last longer and remove more cleanly than budget alternatives.
Final Thoughts: Successful Car Wrap Removal
Removing car wraps safely requires patience, proper technique, and quality tools, but the results are worth the effort. Whether you're removing TPU paint protection films or decorative vinyl wraps, following professional techniques ensures your vehicle's paint remains pristine for the next application or restoration.
Remember that wrap removal opens opportunities for continuous design changes, allowing you to stay current with trends and personal preferences. With proper removal technique, your vehicle can enjoy unlimited customization potential while maintaining its value and appearance.
For those planning their next wrap installation, consider upgrading to premium TPU protection that combines style with superior paint protection and easier future removal.
The key to successful wrap removal lies in respecting the process, using appropriate tools, and never rushing the job. Your patience and attention to detail will be rewarded with perfectly preserved paint ready for whatever comes next in your vehicle customization journey.
External Resources:


