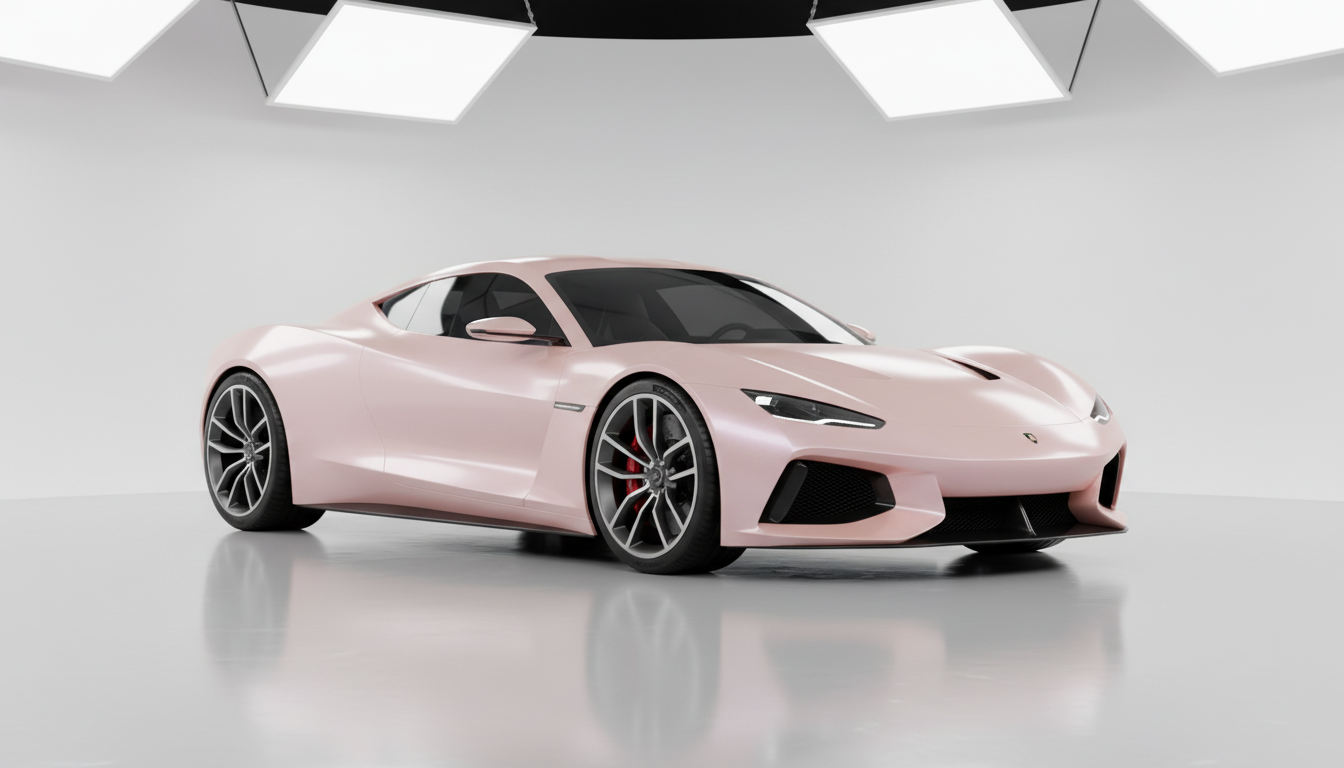
Why Choose Car Wrapping in 2025?
Cars with wraps have 90% less damage and maintain their original appearance 30% longer due to UV protection. Additionally, protected cars can sell for 10-15% more than unwrapped vehicles, making wrapping a smart investment for your vehicle's resale value.
Popular Car Wrap Trends for 2025
The automotive customization industry is experiencing exciting trends:
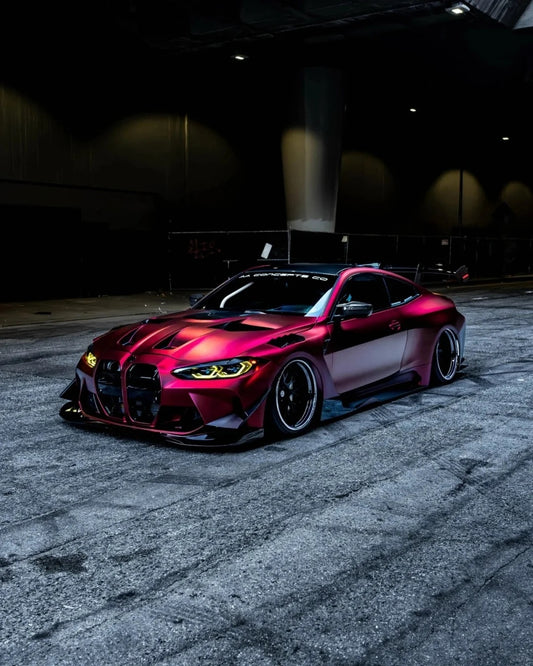
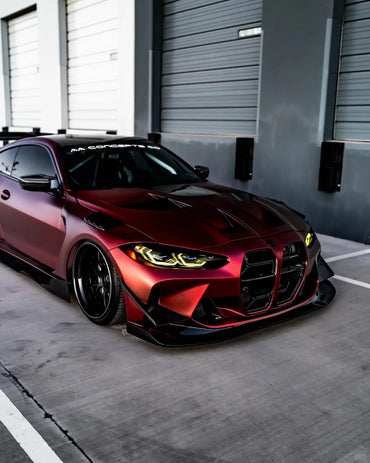
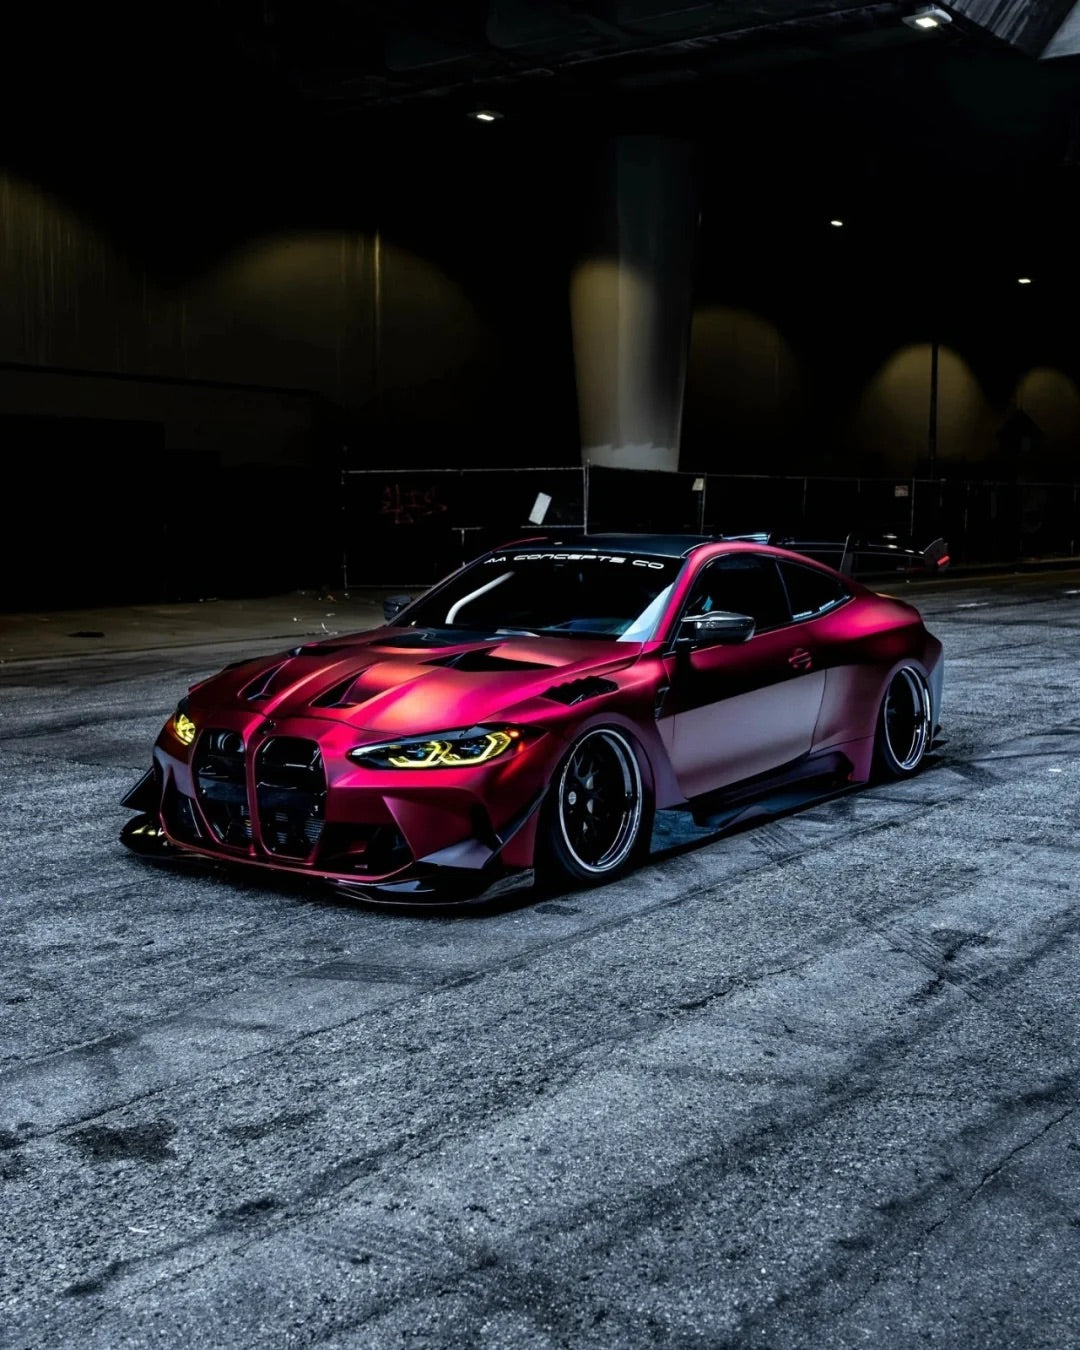
Color-Shifting Wraps: Color-shifting vinyl wraps bring amazing play of light and changing shades, presenting different hues from various angles, creating a truly unique appearance.
Matte and Satin Finishes: Matte car wraps remain popular for their understated elegance and sophisticated non-reflective finish.
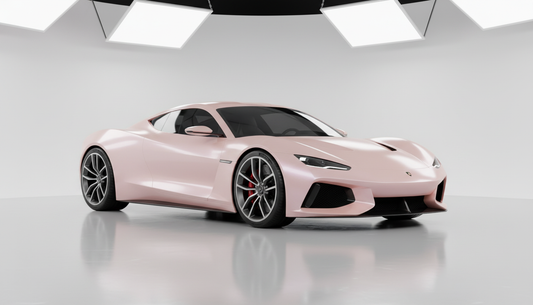
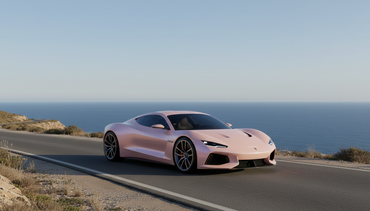
Holographic and Iridescent Options: Iridescent wraps are seeing significant growth in 2025, creating stunning visual effects that change with lighting and angles.
Essential Tools and Materials for DIY Car Wrapping
Success in DIY car wrapping depends heavily on having the right equipment. Here's your complete toolkit:
Core Tools Needed
- High-Quality Vinyl Wrap - Choose between TPU paint protection film or decorative vinyl wraps
- Heat Gun - Essential for making vinyl flexible and activating adhesive, with adjustable temperature settings between 60-80°C
- Squeegee Set - Including felt squeegees, magnetic squeegees, and wing-shaped varieties for different surfaces
- Cutting Tools - Sharp utility knives with 30-degree blades for precise, clean cuts
- Knifeless Tape - Creates precise cuts without blade contact, preventing surface damage
Additional Essential Equipment
- Infrared Thermometer - Monitor vinyl temperature to prevent overheating or underheating
- Measuring Tape - Flexible magnetic measuring tape for calculating panel areas including curves
- Vinyl Gloves - Protect vinyl from fingerprints and oils that affect adhesive properties
- Cleaning Supplies - High-quality car wash soap, degreaser, isopropyl alcohol, and lint-free cloths
- Magnets - Act as a third hand when working solo, holding vinyl in place during positioning
Step-by-Step DIY Car Wrap Installation
Step 1: Surface Preparation (Critical Success Factor)
Proper surface preparation is crucial - any dirt, grease, or debris can cause bubbles, peeling, or adhesion failure.
-
Deep Clean Your Vehicle
- Wash thoroughly with high-quality car wash soap using clean sponges to prevent scratching
- Apply degreasing agent to remove wax, oils, and grease that hinder vinyl adhesion
- Final clean with alcohol-based solution and lint-free cloth
-
Workspace Setup
- Work in a garage with moderate temperature, avoiding direct sunlight and dust
- Optimal temperature range is 68°F (20°C) for both vehicle and vinyl
- Avoid humid or cold conditions that can cause bubbling
Step 2: Measuring and Cutting
Measure twice, cut once - this carpentry principle is crucial for vehicle graphics success.
- Measure each panel separately, adding 3 inches on all sides for tucking
- For rear fender areas, allow an extra 12 inches instead of 3
- Order more vinyl than calculated - mistakes happen even to professionals
Step 3: Vinyl Application Process
-
Initial Positioning
- Use magnets or tack tools to temporarily secure vinyl in proper alignment
- Start with center positioning, maintaining tension on surrounding material
-
Squeegee Technique
- Begin at center and work in overlapping strokes toward edges
- Apply even pressure in sweeping motions to remove trapped air bubbles
-
Heat Application for Complex Curves
- Heat vinyl to 60-80°C, keeping heat gun 10-13 inches away
- Use temperatures up to 120°F (49°C) for conforming to curves
- Never concentrate heat in one area - keep moving for even distribution
Step 4: Edge Tucking and Trimming
- Tuck all edges properly to prevent creasing and lifting
- Use precision knife for clean cuts along vehicle body lines
- Take time with trimming - use sharp blades and wrap-cutting tools for precision
Step 5: Post-Installation Heat Treatment
Use heat gun in 6-8 inch sections at 200-250°F to ensure proper adhesion in all grooves and crevices. Allow wrap to set for 24 hours to fully activate the adhesive.
Common DIY Car Wrap Mistakes to Avoid
Learning from others' mistakes can save you time, money, and frustration:
Top Installation Mistakes
- Inadequate Surface Prep - The most common mistake leading to bubbles, peeling, and adhesion failure
- Overstretching Vinyl - Stretching vinyl too much causes thinning and creates visible lines or bubbles
- Incorrect Heat Application - Not using enough heat prevents proper conforming, while too much heat can damage the material
- Rushing the Process - Installation takes time and patience - rushing leads to poor results
- Poor Trimming Technique - Improper trimming leaves visible edges and rough cuts
Planning and Preparation Errors
- Wrong Vinyl Type - Not understanding differences between cast and calendered vinyl leads to adhesive failure
- Inadequate Measurements - Relying solely on online specs without physical measuring causes material shortages
- Attempting Solo Installation - Vehicle wrapping requires teamwork - even professionals work together
TPU Paint Protection Film vs Vinyl Wrap: Understanding the Difference {#tpu-paint-protection}
Understanding the distinction between these two options helps you choose the right product for your needs:
TPU Paint Protection Film (PPF)
- Made from Thermoplastic Polyurethane, offering superior durability with 4H hardness rating
- Self-healing properties that repair minor scratches when heated
- Lasts 5-10 years with proper maintenance
- Primary Purpose: Paint protection and preservation
Vinyl Wraps
- Focus on aesthetic customization with 2H hardness rating
- Lower initial cost but less durable than PPF
- Primary Purpose: Visual transformation and style expression
Both options from Sailifilm's collections provide excellent results when properly installed, with TPU films offering superior protection and vinyl wraps providing unlimited customization possibilities.
Cost Analysis: DIY vs Professional Installation
DIY Cost Breakdown
- Material costs: $500-$2,000 depending on vinyl quality and vehicle size
- Tools and supplies: Additional $100-$200
- Total estimated DIY cost: $600-$2,200
Professional Installation
- Professional services: $2,000-$5,000 including materials and labor
- Includes warranty and guarantees that DIY projects lack
Maintaining Your Wrapped Vehicle
Proper maintenance ensures your wrap lasts its full lifespan:
- Cleaning: Use soft cloths or sponges with mild soap, avoiding abrasive materials
- Parking: Avoid parking under trees to prevent sap and bird dropping damage
- Car Washes: Hand washing recommended - if using automatic washes, choose brushless options
- Curing Time: Wait at least 1 week after installation before washing to allow full adhesion
Trending 2025 Car Wrap Colors and Finishes
Stay current with the latest automotive trends:
Top Color Choices:
- Passionate Purple: Deep, rich shade presenting regal elegance and luxury
- True Blood: Bold, vibrant red for supreme beauty and lasting impression
- Matte Coal Black: Timeless charm with mysterious aura and understated beauty
- Deep Blue: Breathtaking oceanic shade with high gloss finish
Finish Trends:
- Gloss finishes remain popular for high-shine, reflective properties
- Satin wraps provide smooth, non-reflective surface between gloss and matte
- Carbon fiber wraps used as accent elements for sporty, high-performance appearance
Final Thoughts: Making Your DIY Car Wrap Project Successful
DIY car wrapping can be incredibly rewarding when approached with proper preparation, quality materials, and patience. The key to success lies in gathering necessary tools, preparing surfaces meticulously, choosing the right vinyl, and proceeding with attention to detail.
Remember that even professionals make mistakes, and you won't be able to reuse vinyl film once errors occur. Start with smaller, less complex areas to build your skills before tackling entire vehicles.
Whether you choose TPU paint protection film for maximum durability or decorative vinyl wraps for style transformation, success comes from understanding your materials, respecting the process, and taking time to do it right.
For those seeking professional results without the learning curve, consider consulting with experienced installers who can provide guidance or handle the more challenging aspects of your project. Your vehicle is an investment worth protecting and personalizing properly.
External Resources:

