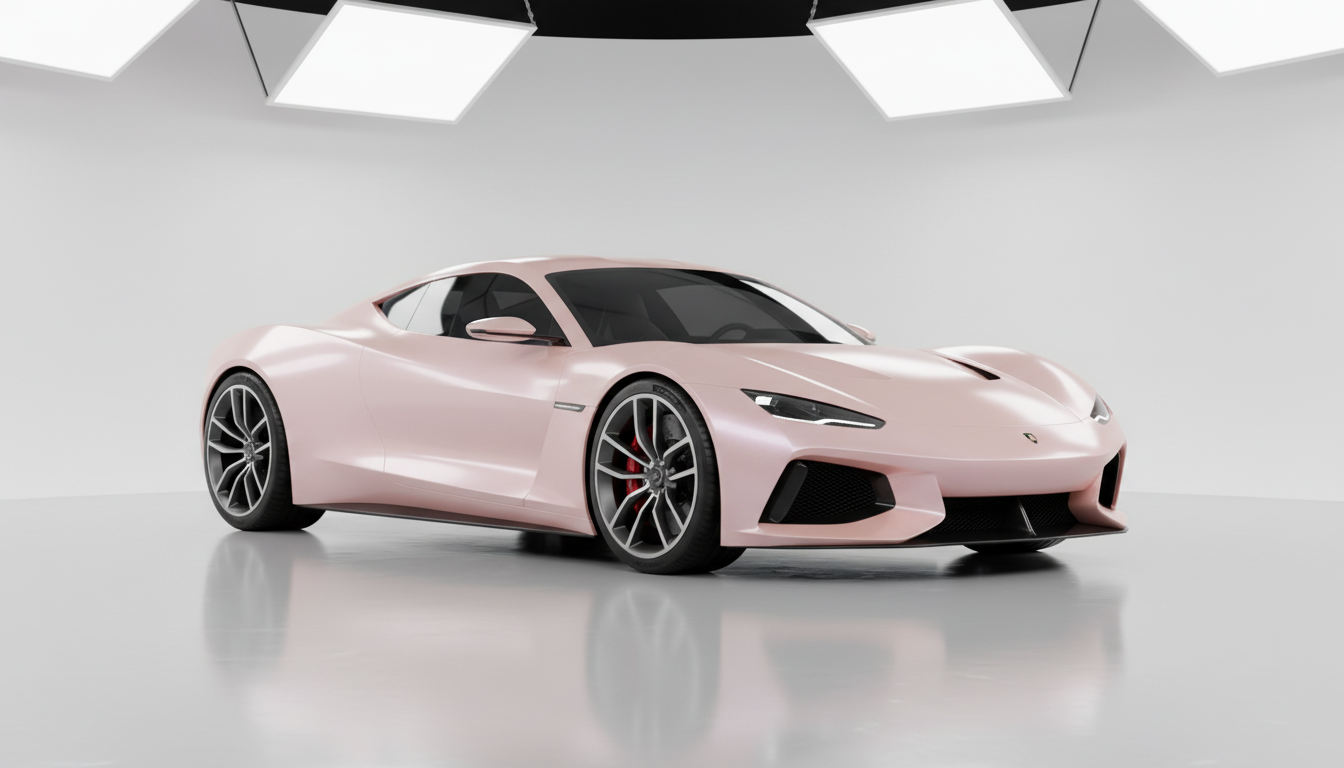
Why Ceramic Coating Must Be Removed Before Vinyl Wrapping
The science behind ceramic coatings reveals why they're problematic for vinyl wrap installation. Ceramic coatings create an ultra-low surface energy layer that repels water, dirt, and chemicals. This same hydrophobic property that makes ceramic coatings excellent for paint protection becomes a critical issue when applying vinyl wraps.
The Surface Energy Problem: Vinyl wrap adhesives require high surface energy to form strong molecular bonds with the underlying surface. Ceramic coatings dramatically lower this surface energy, preventing proper adhesion. This can lead to wrap lifting, edge peeling, and premature failure—especially in critical areas like rocker panels, door edges, and curved surfaces.
According to automotive surface preparation research, vinyl adhesives need surface energy levels above 38 dynes/cm for proper bonding, while ceramic-coated surfaces typically measure below 20 dynes/cm.
7 Professional Methods to Remove Ceramic Coating from Paint
Method 1: Citrus-Based Chemical Breakdown (Best for Recent Coatings)
For ceramic coatings less than 2 years old, citrus-based cleaners offer an effective chemical removal method without aggressive mechanical action.
What You'll Need:
- Citrus all-purpose cleaner or degreaser
- Clay bar or clay towel system
- Microfiber applicator pads
- 70% isopropyl alcohol (IPA)
- Surface energy testing pen
Step-by-Step Process:
- Initial Cleaning: Wash the vehicle thoroughly with pH-neutral car shampoo to remove surface contamination
- Apply Citrus Cleaner: Spray citrus-based cleaner liberally on one section at a time
- Clay Bar Treatment: Using a clay bar towel with additional cleaner as lubricant, work in overlapping strokes across the surface
- Break Down Coating: The citrus cleaner chemically breaks down the ceramic coating while the clay bar mechanically removes it
- IPA Wipe Down: Degrease the entire surface with 70% IPA solution
- Surface Energy Test: Use a surface energy pen to verify coating removal (solid lines indicate proper removal, beading indicates remaining coating)
Pro Tip: Focus extra attention on edges, recessed areas, and rocker panels where ceramic coating residue commonly hides. Missing even small spots can cause wrap failure.
Method 2: Machine Polishing (Most Effective for Older Coatings)
For ceramic coatings older than 2 years or high-quality professional-grade coatings, machine polishing provides the most reliable removal method.
Required Equipment:
- Dual-action orbital polisher
- Medium to heavy-cut polishing compound
- Foam cutting pads (orange or heavy-cutting pads)
- Paint depth gauge (to avoid clear coat damage)
- Microfiber buffing towels
Professional Process:
- Test Paint Thickness: Use a paint depth gauge to ensure adequate clear coat thickness (minimum 80-100 microns)
- Select Compound: Choose appropriate cutting compound based on coating age and thickness
- Polish in Sections: Work in 2x2 foot sections using medium speed and pressure
- Multiple Passes: Make 3-5 passes per section, checking progress frequently
- Final Polish: Follow with fine-cut polish to refine the surface
- Thorough Cleaning: Remove all polishing oils with IPA solution
Important Warning: Machine polishing requires experience and proper technique. Incorrect use can damage clear coat or create heat spots. If you're preparing a vehicle for TPU paint protection wrap or colored paint protection film, consider professional assistance.
Method 3: Chemical Stripping Products (For Stubborn Coatings)
Specialized ceramic coating removal products offer targeted chemical breakdown without excessive mechanical work.
Recommended Products:
- CarPro TarX or Eraser
- Griot's Garage BOSS Correcting Cream
- Meguiar's M105 compound
- Jescar Correcting Compound
Application Method:
- Apply chemical stripper to small sections
- Allow dwell time per manufacturer instructions (typically 3-5 minutes)
- Agitate with microfiber applicator
- Follow with light machine polishing
- Wipe clean with IPA solution
- Verify complete removal before proceeding
Method 4: Progressive Clay Bar Method (Gentle Approach)
For light ceramic coatings or maintenance applications, progressive clay bar treatment offers a gentler alternative.
Technique:
- Use fine-grade clay bar with quality lubricant
- Work in straight-line motions
- Fold and reshape clay frequently to expose clean surface
- Progress to medium-grade clay if needed
- Final decontamination with IPA
Method 5: Heat-Assisted Removal (Advanced Technique)
Some professional installers use controlled heat to soften ceramic coatings before removal. This technique requires extreme caution and experience.
Critical Safety Notes:
- Only use low-temperature heat guns (below 120°F)
- Maintain constant motion
- Never apply to one spot for extended periods
- Combine with chemical cleaners and clay bar
- This method is NOT recommended for DIY applications
Method 6: Abrasive Pad Method (Last Resort)
For extremely stubborn coatings, non-woven abrasive pads can provide additional cutting power.
Process:
- Use 1200-1500 grit finishing pads
- Apply cutting compound as lubricant
- Work with light to medium pressure
- Follow immediately with machine polishing
- Measure paint thickness frequently
Method 7: Professional Detailing Service (Recommended Option)
Given the complexity and risk involved in ceramic coating removal, professional detailing services offer the safest solution. Professional detailers have specialized equipment, experience, and insurance to handle coating removal safely.
Testing for Complete Ceramic Coating Removal
After any removal method, thorough testing is essential before applying your glitter sparkle car wrap or liquid chrome wrap.
Three-Step Verification Process:
- Water Beading Test: Spray clean water on the surface. Water should spread rather than bead up
- Surface Energy Pen Test: Use a YelloQuickStick or similar surface tension pen. Solid, continuous lines indicate adequate surface energy
- Adhesion Test: Apply a small piece of vinyl wrap to test areas. It should stick firmly without lifting
Critical Test Locations:
- Rocker panels and door edges
- Hood and trunk edges
- Mirror bases and door handles
- Behind license plates
- Lower bumper sections
Preparing the Surface for Vinyl Wrap Installation
Once ceramic coating is completely removed, proper surface preparation ensures successful vinyl wrap adhesion.
Final Preparation Steps:
- Thorough Degreasing: Wipe entire vehicle with 70% IPA solution using clean microfiber towels
- Dust Removal: Use compressed air to remove dust from panel gaps and crevices
- Final Inspection: Check for any remaining contamination, wax, or polish residue
- Temperature Stabilization: Ensure vehicle and vinyl wrap are at room temperature (68-77°F)
- Re-test Surface Energy: Verify high surface energy throughout the vehicle
Choosing the Right Vinyl Wrap After Coating Removal
With your surface properly prepared, you're ready to select the perfect vinyl wrap. Sailifilm offers extensive collections suitable for every style and application:
Popular Wrap Collections:
- Rainbow Laser Vinyl Wrap: Eye-catching holographic effects that shift colors with viewing angles
- Ultra Matte Wrap: Sophisticated matte finishes for modern, sleek appearances
- Dual Color Dream Vinyl Wrap: Dynamic color-shifting technology for unique customization
- Crystal Vinyl Wrap: Sparkling, diamond-like finishes that catch light beautifully
- 3D Carbon Fiber Wrap: Authentic textured patterns mimicking genuine carbon fiber
Pro Installation Tip: After removing ceramic coating, consider our wrapping tools collection for professional-grade installation equipment.
Can You Apply Ceramic Coating Over Vinyl Wraps?
While removing ceramic coating from paint is necessary before wrapping, applying ceramic coating over vinyl wraps is not only safe but highly beneficial.
Benefits of Ceramic Coating Over Vinyl Wraps:
- UV Protection: Prevents fading and color degradation, especially important for vibrant wraps like best sellers
- Hydrophobic Properties: Creates water-beading effect for easier cleaning
- Enhanced Gloss: Deepens color and adds dimensional appearance to glossy wraps
- Scratch Resistance: Provides additional protection against minor abrasions
- Extended Lifespan: Properly coated wraps can last 30-50% longer
Important Note: Always use ceramic coatings specifically formulated for vinyl and PPF surfaces. Traditional paint-specific coatings may not bond properly with vinyl's porous surface structure.
Common Mistakes to Avoid
Critical Errors That Damage Wraps:
- Incomplete Removal: Missing spots of ceramic coating will cause localized adhesion failure
- Over-Polishing: Cutting through clear coat weakens paint protection
- Using Wrong Products: Harsh chemicals can damage paint or leave residue
- Skipping Surface Tests: Assuming coating is removed without verification
- Rushing the Process: Proper ceramic coating removal requires patience and attention to detail
- Inadequate Degreasing: Leaving polish or compound residue affects wrap adhesion
Cost Considerations
Understanding the cost implications helps you budget appropriately for your vinyl wrap project.
Professional Ceramic Coating Removal:
- Small vehicles (sedan): $300-$500
- Medium vehicles (SUV): $500-$800
- Large vehicles (truck/van): $800-$1,200
DIY Approach:
- Materials and tools: $150-$300
- Time investment: 8-12 hours
- Risk of paint damage or incomplete removal
Total Project Budget: Factor in ceramic coating removal costs when planning your vinyl wrap installation. The combined investment in proper preparation and quality vinyl wraps from Sailifilm ensures long-lasting, professional results.
Professional Installation Recommendations
While DIY ceramic coating removal is possible for experienced detailers, professional installation offers significant advantages:
Benefits of Professional Service:
- Proper equipment and specialized products
- Experience with various coating types
- Paint thickness measurement and monitoring
- Warranty protection
- Time savings (typically 4-6 hours vs. 12+ hours DIY)
For valuable vehicles or when installing premium products like sample kits for testing before full wraps, professional preparation is a wise investment.
Maintaining Your Vinyl Wrap After Installation
Once your vinyl wrap is successfully installed on properly prepared surfaces, maintaining it properly extends its lifespan and appearance.
Essential Maintenance Tips:
- Regular Washing: Use pH-neutral car shampoo and soft microfiber wash mitts
- Avoid Automated Car Washes: High-pressure systems and harsh brushes can damage wrap edges
- Prompt Contaminant Removal: Clean bird droppings, tree sap, and bug splatter immediately
- Wax-Free Products: Never use traditional car wax on vinyl wraps
- Gentle Drying: Pat dry with microfiber towels rather than rubbing
Long-Term Protection: Consider applying vinyl-specific ceramic coating 2-4 weeks after wrap installation for maximum durability and easier maintenance.
Environmental Considerations
When removing ceramic coatings and preparing for vinyl wrap installation, environmental responsibility matters.
Eco-Friendly Practices:
- Dispose of chemical cleaners according to local regulations
- Use biodegradable citrus cleaners when possible
- Collect polishing compound waste properly
- Choose water-based cleaning products
- Consider professional services that properly handle chemical disposal
Conclusion: Achieving Perfect Vinyl Wrap Installation
Successfully removing ceramic coating from your vehicle's paint is the crucial first step toward achieving professional vinyl wrap results. Whether you're planning a bold transformation with metallic vinyl wraps or seeking ultimate protection with TPU paint protection wrap, proper surface preparation determines your project's success.
Key Takeaways:
- Ceramic coatings must be completely removed before vinyl wrap installation
- Multiple removal methods exist, from chemical breakdown to machine polishing
- Thorough surface energy testing verifies complete removal
- Professional assistance provides the safest, most reliable results
- Quality vinyl wraps from Sailifilm combined with proper preparation deliver stunning, long-lasting results
Ready to Transform Your Vehicle?
Explore Sailifilm's complete collection of premium vinyl wraps and professional-grade installation tools. From eye-catching rainbow laser vinyl wrap to protective colored paint protection film, we offer the quality materials you need for successful vehicle customization.
For more automotive customization guidance, check out these helpful resources:
External Resources:
- Paint Protection Film Technology - Comprehensive overview of automotive film development
- Surface Energy in Coatings - Technical explanation of surface tension principles
- Vinyl Graphics Industry Standards - Professional standards and best practices
