

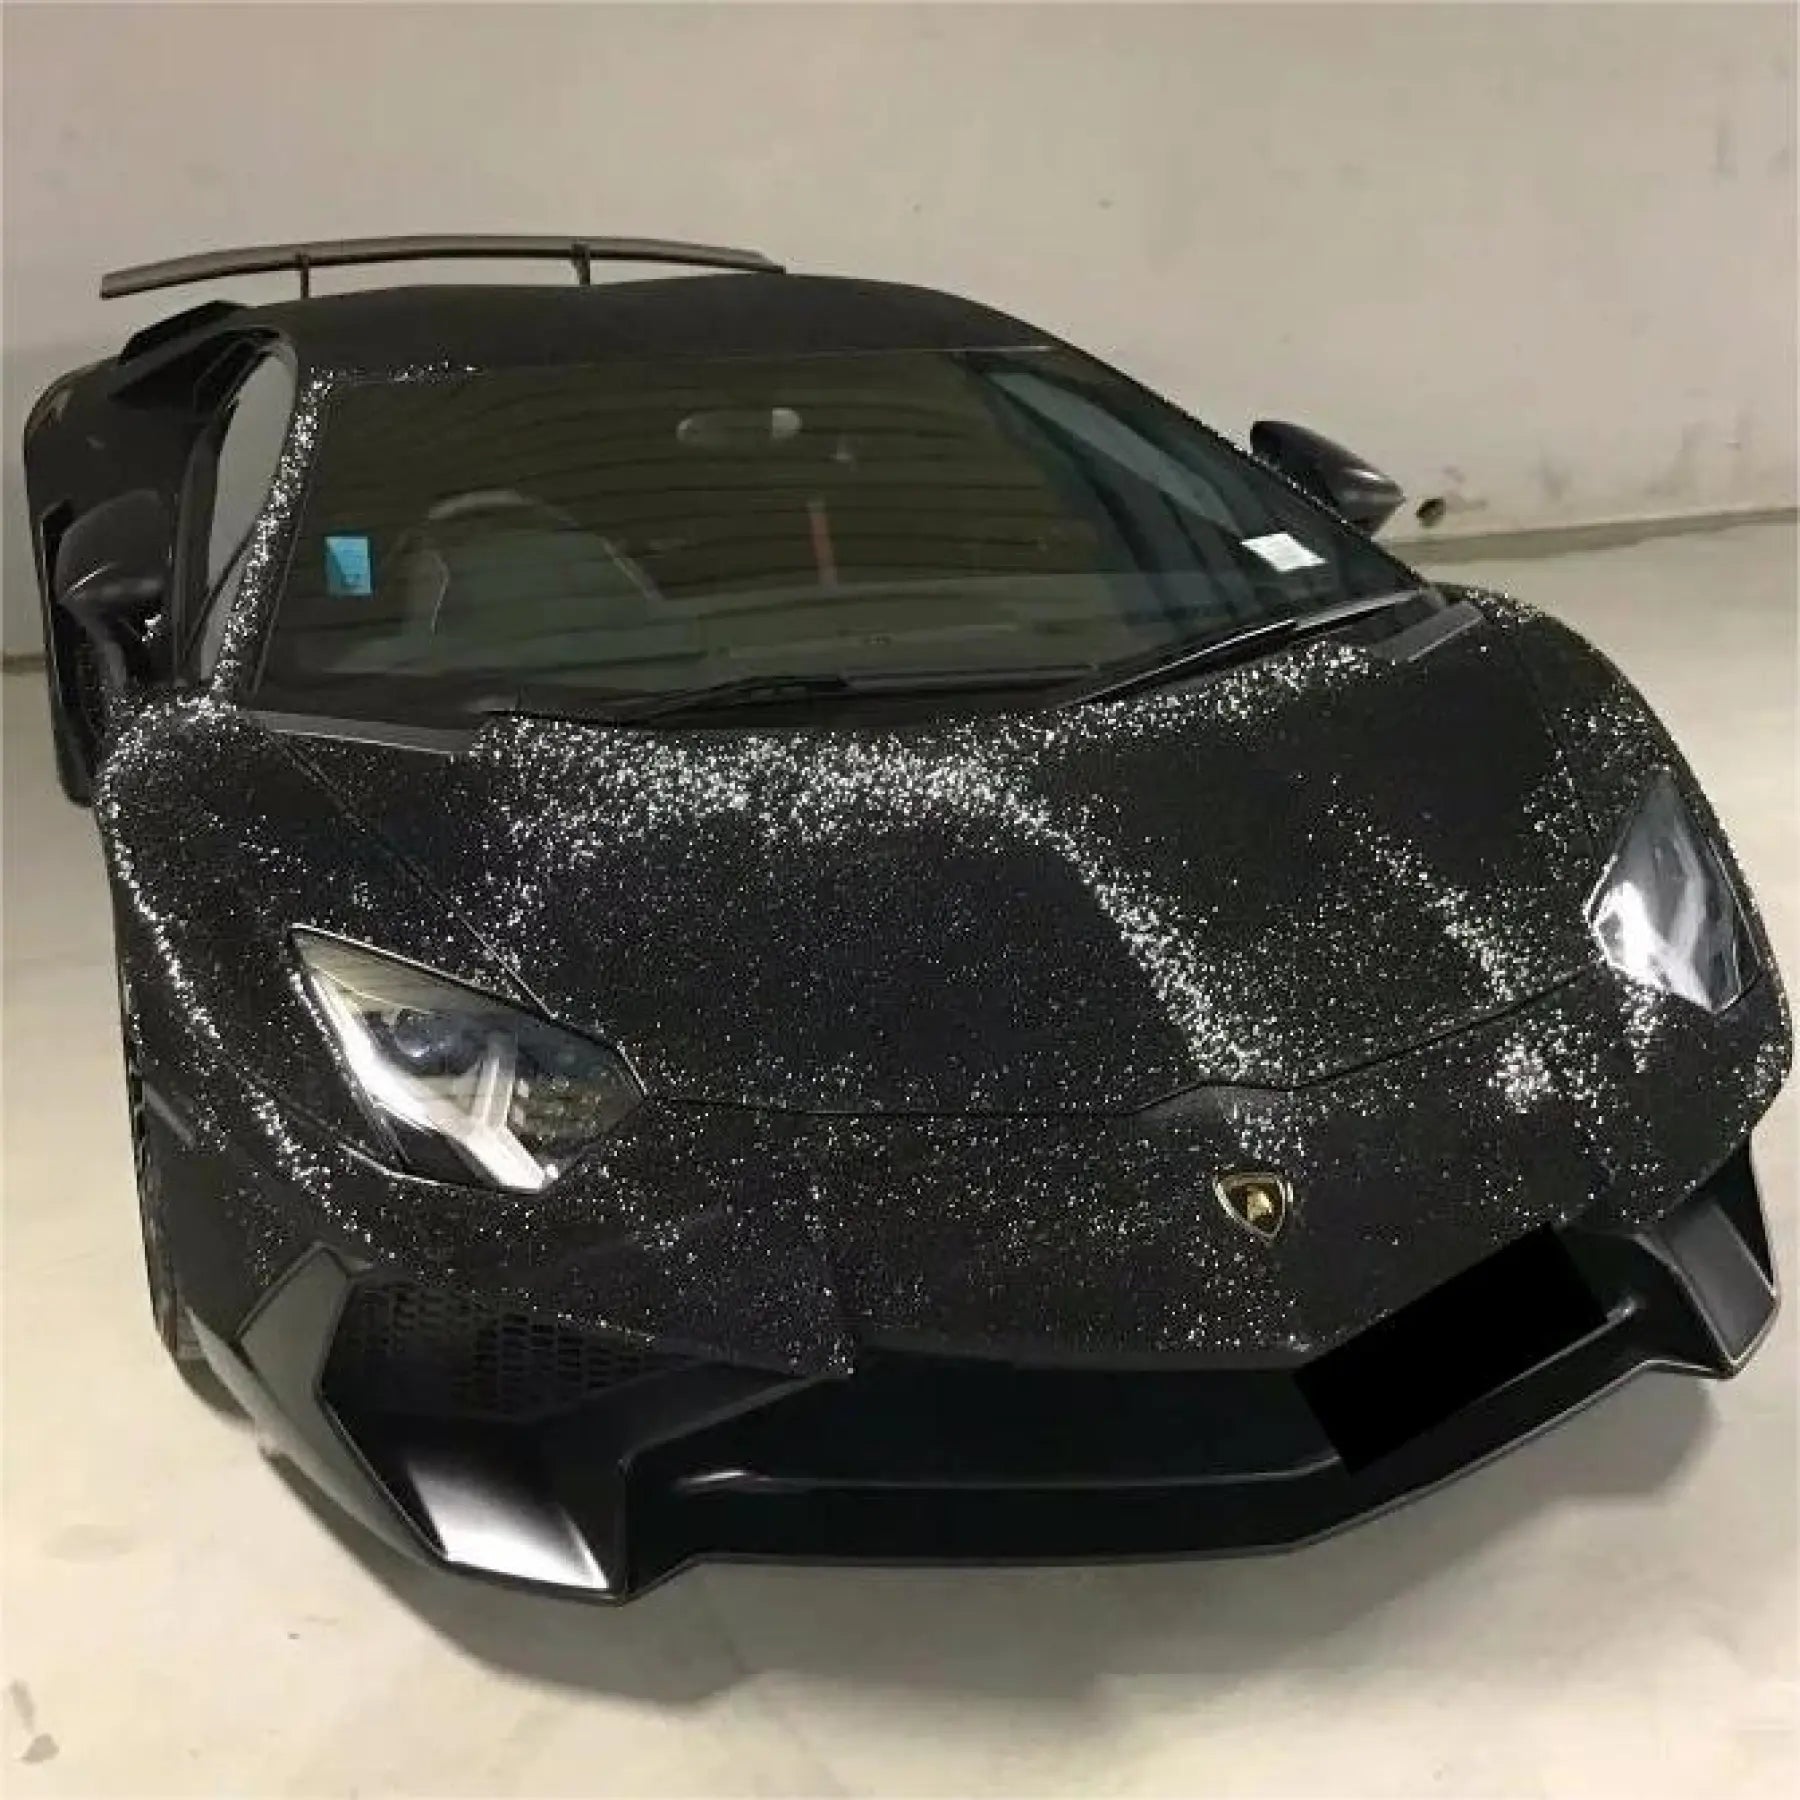
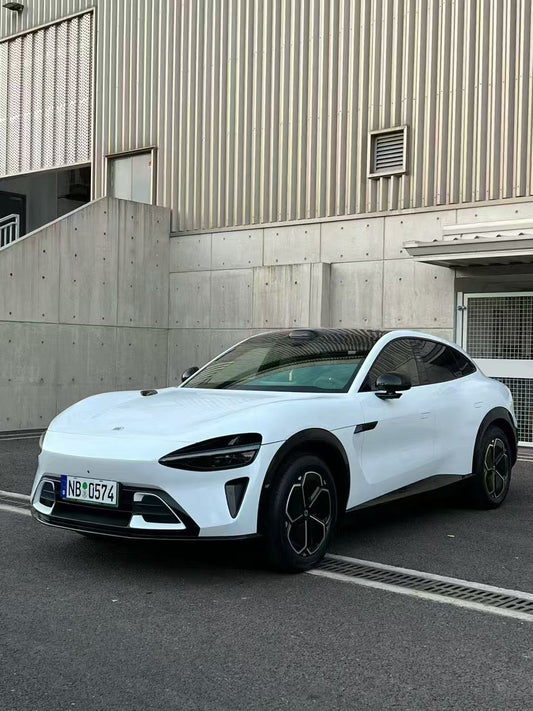
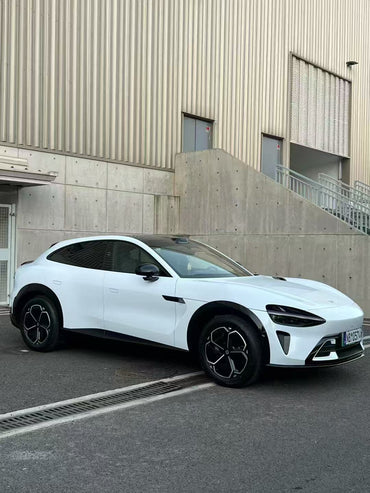
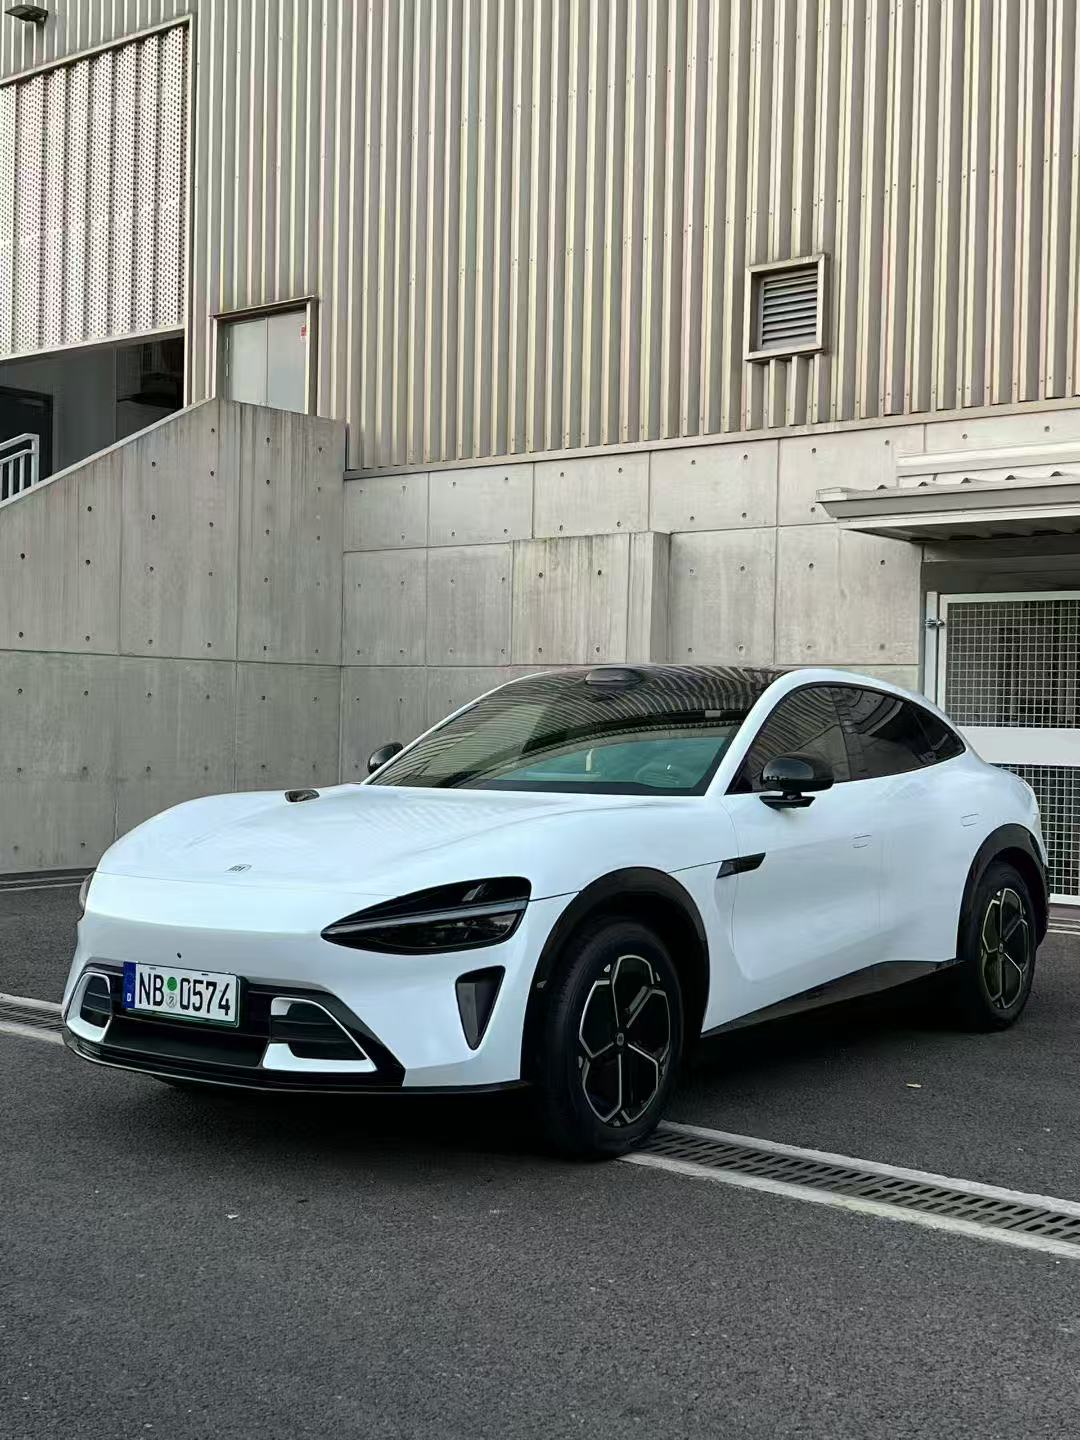


Removing a color change wrap safely comes down to three things: controlled heat, a low peel angle, and clean adhesive cleanup. Warm the film to soften its adhesive, lift a corner, and pull at 15 to 45 degrees so stress lands on the glue line, not the clear coat. On healthy factory paint, a quality wrap comes off clean and leaves the finish underneath fresh.
The fear most owners carry is that peeling off a wrap will tear paint with it. That fear is misplaced for the right film on sound paint, and well founded for cheap vinyl on weak paint. The difference is decided long before removal day. It starts with the film you chose, how it was applied, and how long it stayed on. This guide covers all three, so when the time comes to change your look, the paint underneath is the reason to smile, not the reason to worry.
Why a quality wrap protects paint instead of harming it
A vinyl wrap bonds to your paint with a pressure-sensitive adhesive. It holds firmly for years, then releases without tearing healthy paint when heat and technique are correct. During its life on the car, the film acts as a shield, taking UV, light scratches, rock chips, and bird droppings so the clear coat underneath does not.
This is why so many owners wrap a new car specifically to preserve the finish. Panels that spend years under film stay unfaded and unchipped, so a car unwrapped before sale can look garaged for its whole life. Original paint in factory condition adds real resale value, and a wrap is one of the most effective ways to keep it that way.
The protection only works with the right film. Low-quality or non-automotive vinyl can leave adhesive residue, fade early, and grow hard to remove cleanly. Choosing a proper cast wrap finish built for vehicles is the first and most important step toward damage-free removal, long before you ever pick up a heat gun.
Removal starts before you wrap: paint condition and film choice
Most paint that comes off during removal was already failing. Rust, chipped paint, peeling clear coat, or a poor previous repaint means the vinyl can grab loose paint on the way off. That is a pre-existing problem the wrap revealed, not one it caused. A paint inspection before wrapping is the single best insurance against a bad removal.
Match the film to the surface
Sound factory paint accepts almost any Sailifilm series and releases cleanly later. Repainted or older panels call for extra caution, because aftermarket paint bonds to the body less reliably than factory finish. On those cars, gentler heat and slower peeling matter even more.
When protection is the priority, choose colored PPF
If the whole point is to guard the paint, a thicker film earns its price. The Colored Paint Protection Film range changes color and shields the surface from chips and UV in one layer, sitting thicker than standard vinyl. For a high-value vehicle you plan to keep, that combination of color change and armor is the safest long-term choice, and it removes as a purpose-built protective film rather than a color-only wrap.
The safe removal method, step by step
The safest removal combines controlled heat with slow, steady peeling. Rushing is the one factor that causes more damage than any other, so plan for patience. A small sedan with a newer wrap may take only a few hours, while larger vehicles or aged film take much longer.
Prepare the car and the space
Wash the vehicle first. Dirt and grit act like sandpaper if you drag film across them while peeling. Park in a mild, shaded spot, ideally around 21 to 29 degrees Celsius, because direct sun makes vinyl too hot and brittle while cold makes it tear. Gather a heat source, a plastic scraper, adhesive remover, and microfiber towels before you start.
Heat, lift, and peel at a low angle
Warm the film section by section until it is pliable, keeping the heat moving so no spot overheats. A stationary heat source can blister vinyl or lift paint, so never hold it still. Start at a panel edge, seam, or corner, lifting with a plastic scraper rather than anything metal. Once a corner is up, peel by hand at 15 to 45 degrees. That low angle puts the pull on the adhesive layer instead of yanking up at the clear coat. Never peel straight back at 90 degrees, which is the fastest route to clear-coat damage. Reheat just ahead of where you are peeling, because warm vinyl comes away clean and cold vinyl shreds. Add a little extra heat at grooves, contours, and wrapped edges where the film is stretched and bonded most.
Clean the adhesive immediately
Some adhesive usually stays behind. Clean it while it is fresh with a residue remover or isopropyl alcohol, working gently so you do not scuff the finish. Follow with a wash, and check the panel for any dullness before moving on. Using proper wrapping tools throughout keeps the whole process paint-safe.
Removal difficulty by film series
Not every finish behaves the same on the way off. The table below maps Sailifilm series to what you can expect during removal, so you can plan heat and time accordingly.
| Series | Removal behavior | Heat needed | Residue risk |
|---|---|---|---|
| Ultra Matte | Peels evenly on flat panels | Low–Medium | Low |
| Metallic | Clean release, forgiving | Medium | Low |
| Crystal | Flake film lifts steadily | Medium | Low |
| Liquid | Glossy film peels cleanly | Medium | Low |
| Rainbow Laser | Directional film, work in sections | Medium | Low |
| Dual Color Dream | Two-tone film, steady peel | Medium | Low |
| 3D Carbon Fiber | Textured, extra heat at contours | Medium | Low–Medium |
| Colored PPF | Thicker film, removes as protective layer | Medium–High | Low |
The pattern is consistent. Quality cast films across the range are engineered to release cleanly, so the variable that matters most is not the series but the paint condition and your technique. Textured 3D carbon fiber asks for a little more heat where the pattern wraps tight edges, and colored PPF is thicker so it needs steadier, warmer handling. None of these films is designed to fight you on removal when the paint underneath is healthy. Time and patience, not force, get every one of them off cleanly.
How age and maintenance change the outcome
A wrap left on too long is the other common cause of trouble. Quality films are built to last several years, but past their useful life the vinyl grows brittle and the adhesive bonds harder to the clear coat. Removing an aged, sun-baked wrap gets riskier the longer it waits, and very old film can break into small pieces that leave heavy residue.
The lesson is to remove or replace on time rather than pushing film years past its rating. Good maintenance during the wrap's life helps too. Hand wash with mild products, skip stiff automatic brushes that stress edges, and avoid harsh chemicals. A wrap that was cared for comes off far more easily than one that was neglected. If you want to extend the film's life and protect resale value further, browsing by wrap color family to plan your next change keeps you ahead of the aging curve rather than behind it.
Frequently asked questions
Can you remove a car wrap without damaging the paint?
Yes, on healthy factory paint with the correct method. Use controlled heat to soften the adhesive, then peel slowly at a 15 to 45 degree angle so the stress falls on the glue rather than the clear coat. Damage mainly happens on paint that was already weak, on very old film, or when someone rips the wrap cold or too fast.
What temperature should I use to remove vinyl wrap?
Aim for a surface temperature warm enough to make the film pliable without scorching, roughly 40 to 50 degrees Celsius for most vinyl. Hold the heat source several inches away and keep it moving in slow passes. A stationary heat source concentrates heat in one spot and can blister the vinyl or lift the paint beneath, so never let it rest.
How do I clean adhesive residue after removing a wrap?
Clean residue while it is fresh, right after the film comes off a panel. Use a dedicated adhesive remover or isopropyl alcohol with a microfiber towel, working gently to avoid scuffing. Let residue dry out and it bonds harder, so move to cleanup immediately per panel rather than removing the whole wrap first.
Does a color change wrap protect the paint underneath?
Yes, a quality wrap acts as a barrier against UV, light scratches, rock chips, and road grime for the life of the film. Panels under the wrap stay unfaded and chip-free, which is why many owners wrap new cars to preserve the factory finish. When removed correctly before a sale, that preserved paint can raise resale value rather than lower it.
How long can I leave a wrap on before removal gets risky?
Quality films are built to last several years, but past their rated life the vinyl turns brittle and the adhesive bonds more strongly to the clear coat. Removing an aged wrap becomes trickier and can leave more residue. Removing or replacing on schedule, rather than years late, gives the best chance of a clean release and healthy paint.
Will removal leave my paint dull or marked?
Not on sound paint removed correctly. After cleaning adhesive, inspect the panel for dullness. If a spot looks flat, a follow-up detail or protective layer restores it. Most marks come from dragging film over grit, so the pre-removal wash and paint-safe plastic tools are what keep the finish bright.
Next step
Plan removal the way you planned the wrap: quality film, sound paint, patient technique. Wash first, heat in sections, peel at a low angle, and clean adhesive as you go. If protection is your real goal, start with colored PPF so the next removal is even lower risk. When you are ready to change your look, order a Sailifilm sample kit to test the next finish on your own paint in sunlight before you commit, and pick up the right paint-safe tools so the whole cycle stays clean from install to removal.
Vehicle wrap (background reading): https://en.wikipedia.org/wiki/Vehicle_wrap Adhesive / pressure-sensitive adhesive (background reading): https://en.wikipedia.org/wiki/Pressure-sensitive_adhesive Automotive paint clear coat (background reading): https://en.wikipedia.org/wiki/Automotive_paint

