



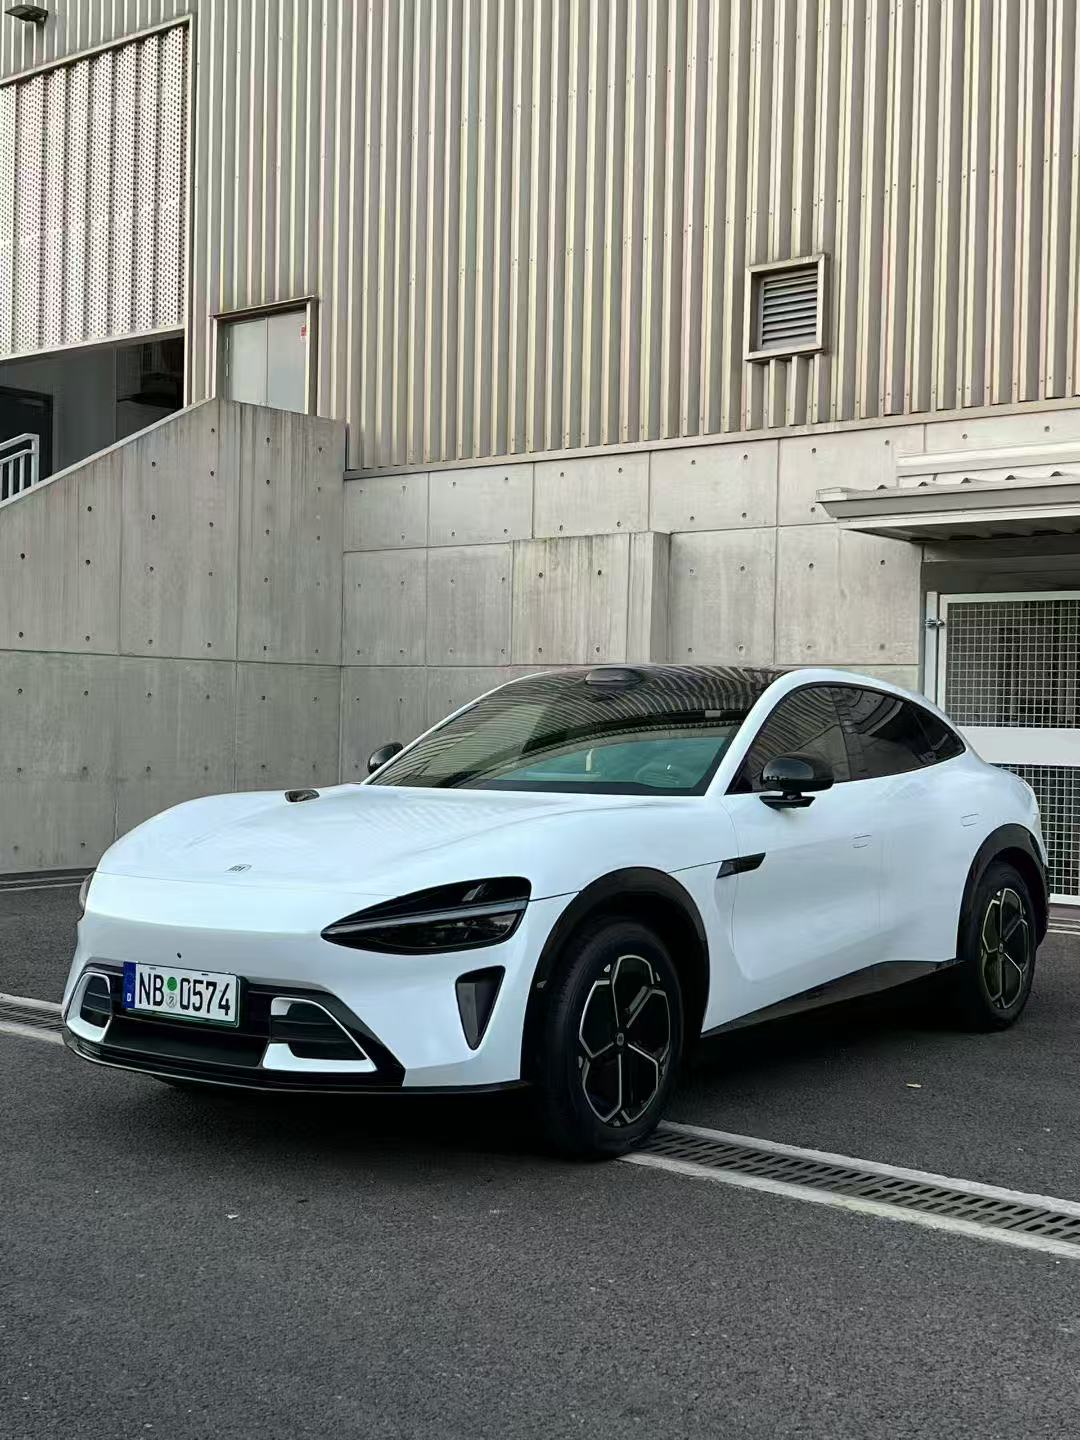


Why DIY Car Wrapping Is Worth the Effort
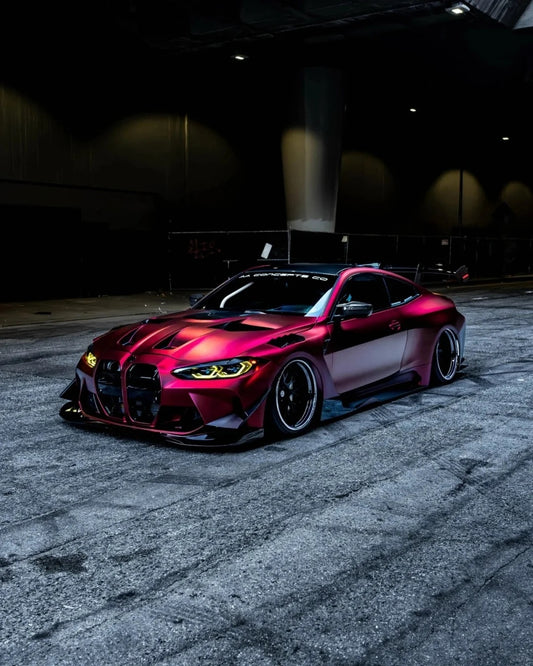
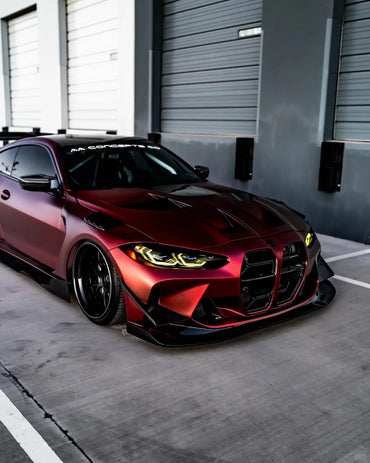
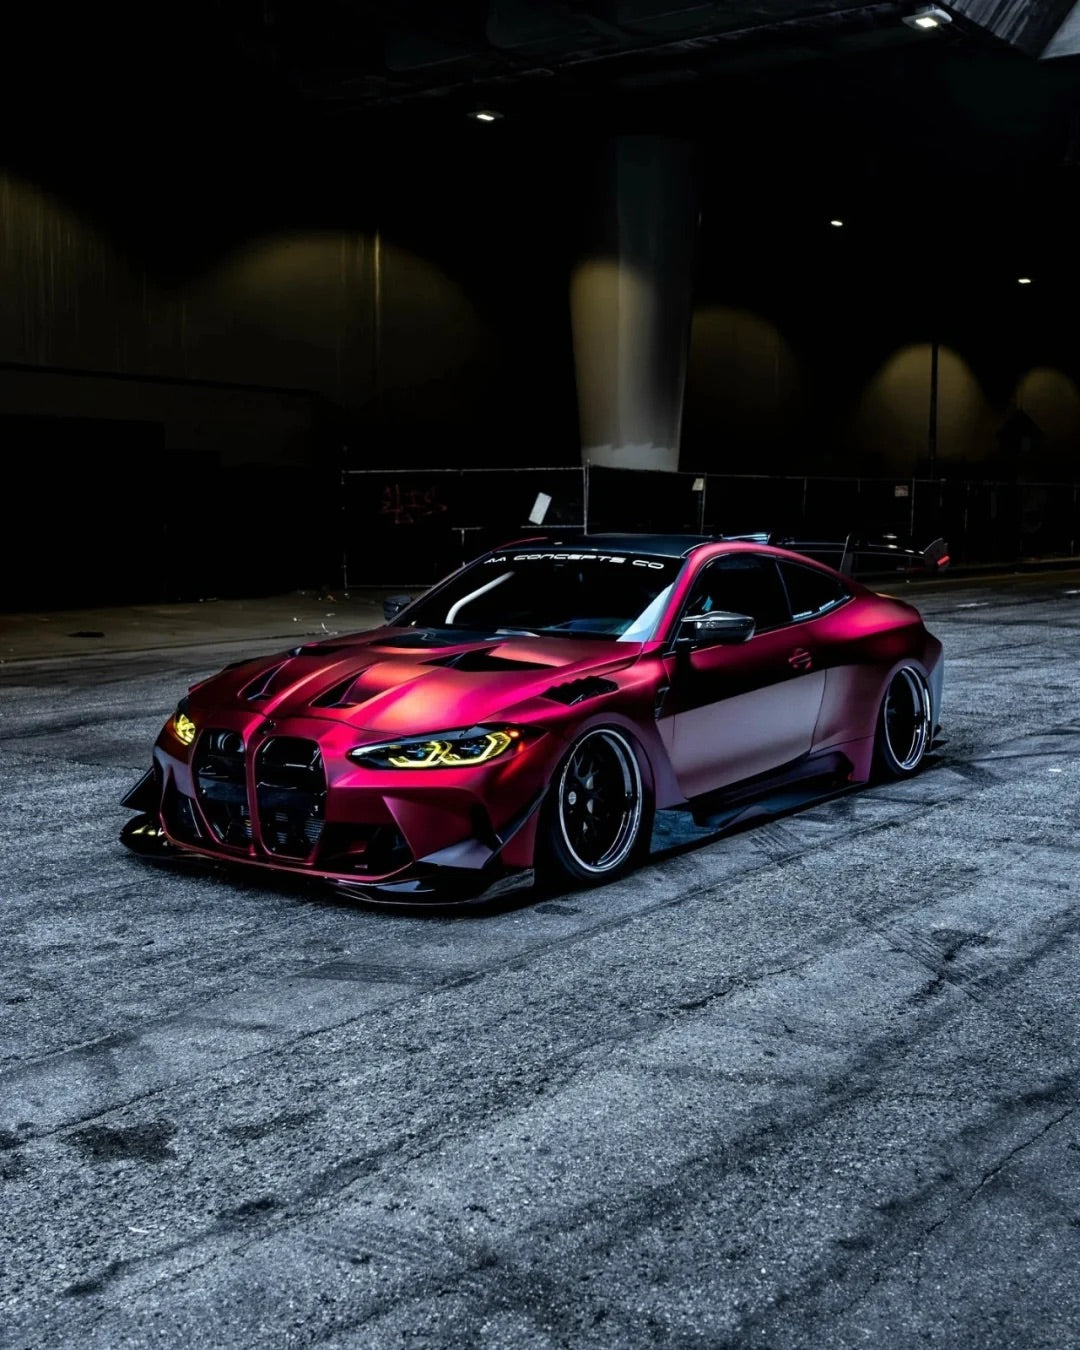
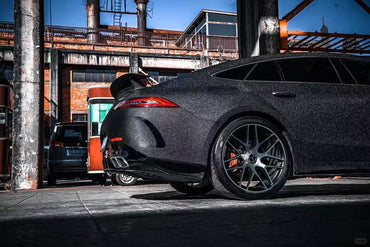
Professional full-body car wrap services typically cost between $2,500 and $5,000 depending on the vehicle size, film type, and shop location. A DIY installation can cut that expense by 50 to 70 percent because you eliminate the labor cost entirely. Beyond the savings, wrapping your own vehicle gives you the freedom to experiment with finishes and color combinations that reflect your personal style. You can apply a bold dual-color dream vinyl wrap on the roof and mirrors while keeping the body in a contrasting tone, or cover the full exterior in a single striking metallic vinyl wrap shade.
Vinyl wrapping also protects your original factory paint from UV exposure, road debris, and minor scratches. Unlike a permanent paint job, a high-quality vinyl wrap is fully removable and typically lasts five to seven years with proper maintenance. That reversibility is especially valuable for leased vehicles or cars you plan to resell, since it preserves the original finish underneath. The vinyl wrap process has become significantly more user-friendly thanks to modern air-release adhesive technology that virtually eliminates bubbles during application.
Essential Tools and Materials
Gathering the right equipment before you start is the single most important preparation step. Attempting a car wrap without the correct tools leads to frustration, wasted film, and a subpar finish. You will need a quality vinyl wrapping tool kit that includes felt-edged squeegees, a precision cutting knife with snap-off blades, knifeless tape for clean trim lines, and a reliable heat gun with adjustable temperature settings. Additionally, keep the following on hand: isopropyl alcohol (70 percent concentration) for surface decontamination, a spray bottle with a few drops of mild dish soap mixed into water for repositioning the film during application, lint-free microfiber cloths, vinyl wrap magnets for holding panels in place, and nitrile gloves to keep fingerprints and oils off both the paint and the adhesive layer.
If you are new to wrapping, consider starting with a sample kit to practice your technique on small panels before committing to a full roll. Practicing on a flat surface like a laptop cover or a cabinet door helps you develop confidence with the squeegee and heat gun before tackling complex automotive curves.
Choosing the Right Vinyl Wrap Film
The finish you select defines the entire character of your vehicle. Understanding the differences between film types helps you pick the one that matches both your aesthetic vision and your skill level as a first-time installer.
Matte and Satin Finishes
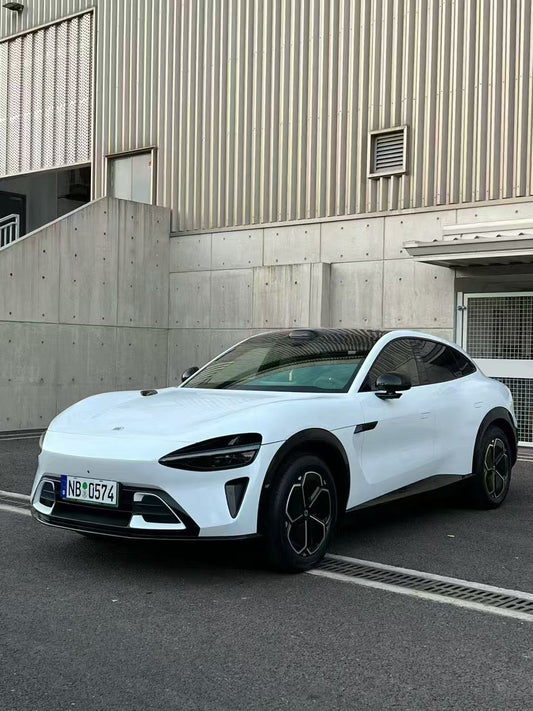
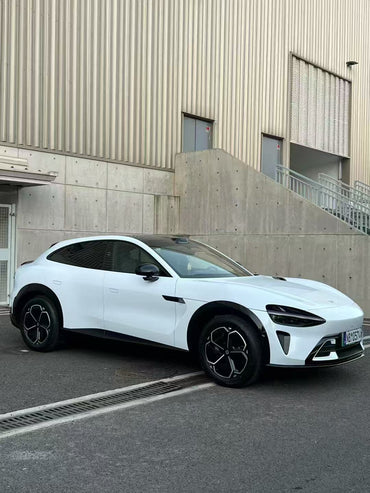
Matte wraps are the most popular choice in 2025 for their sophisticated, non-reflective surface that hides minor application imperfections better than glossy alternatives. The ultra matte wrap collection offers deep, rich tones that reduce glare and provide a modern, understated aesthetic. Matte finishes are an excellent option for DIY beginners because small squeegee marks and micro-scratches are far less visible on a non-reflective surface than they would be on a high-gloss film.
Metallic and Crystal Finishes
If you want depth and dimension, a metallic vinyl wrap delivers a polished look that shifts subtly as light plays across the surface. For an even more eye-catching effect, the crystal vinyl wrap series creates a jewel-like brilliance that is impossible to achieve with traditional automotive paint alone. These films require a bit more care during installation because any stretch marks will be amplified by the reflective particles embedded in the vinyl layer.
Color-Shifting and Specialty Wraps
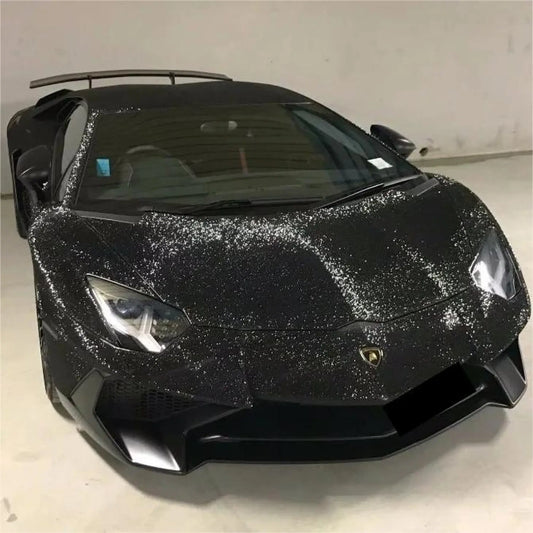
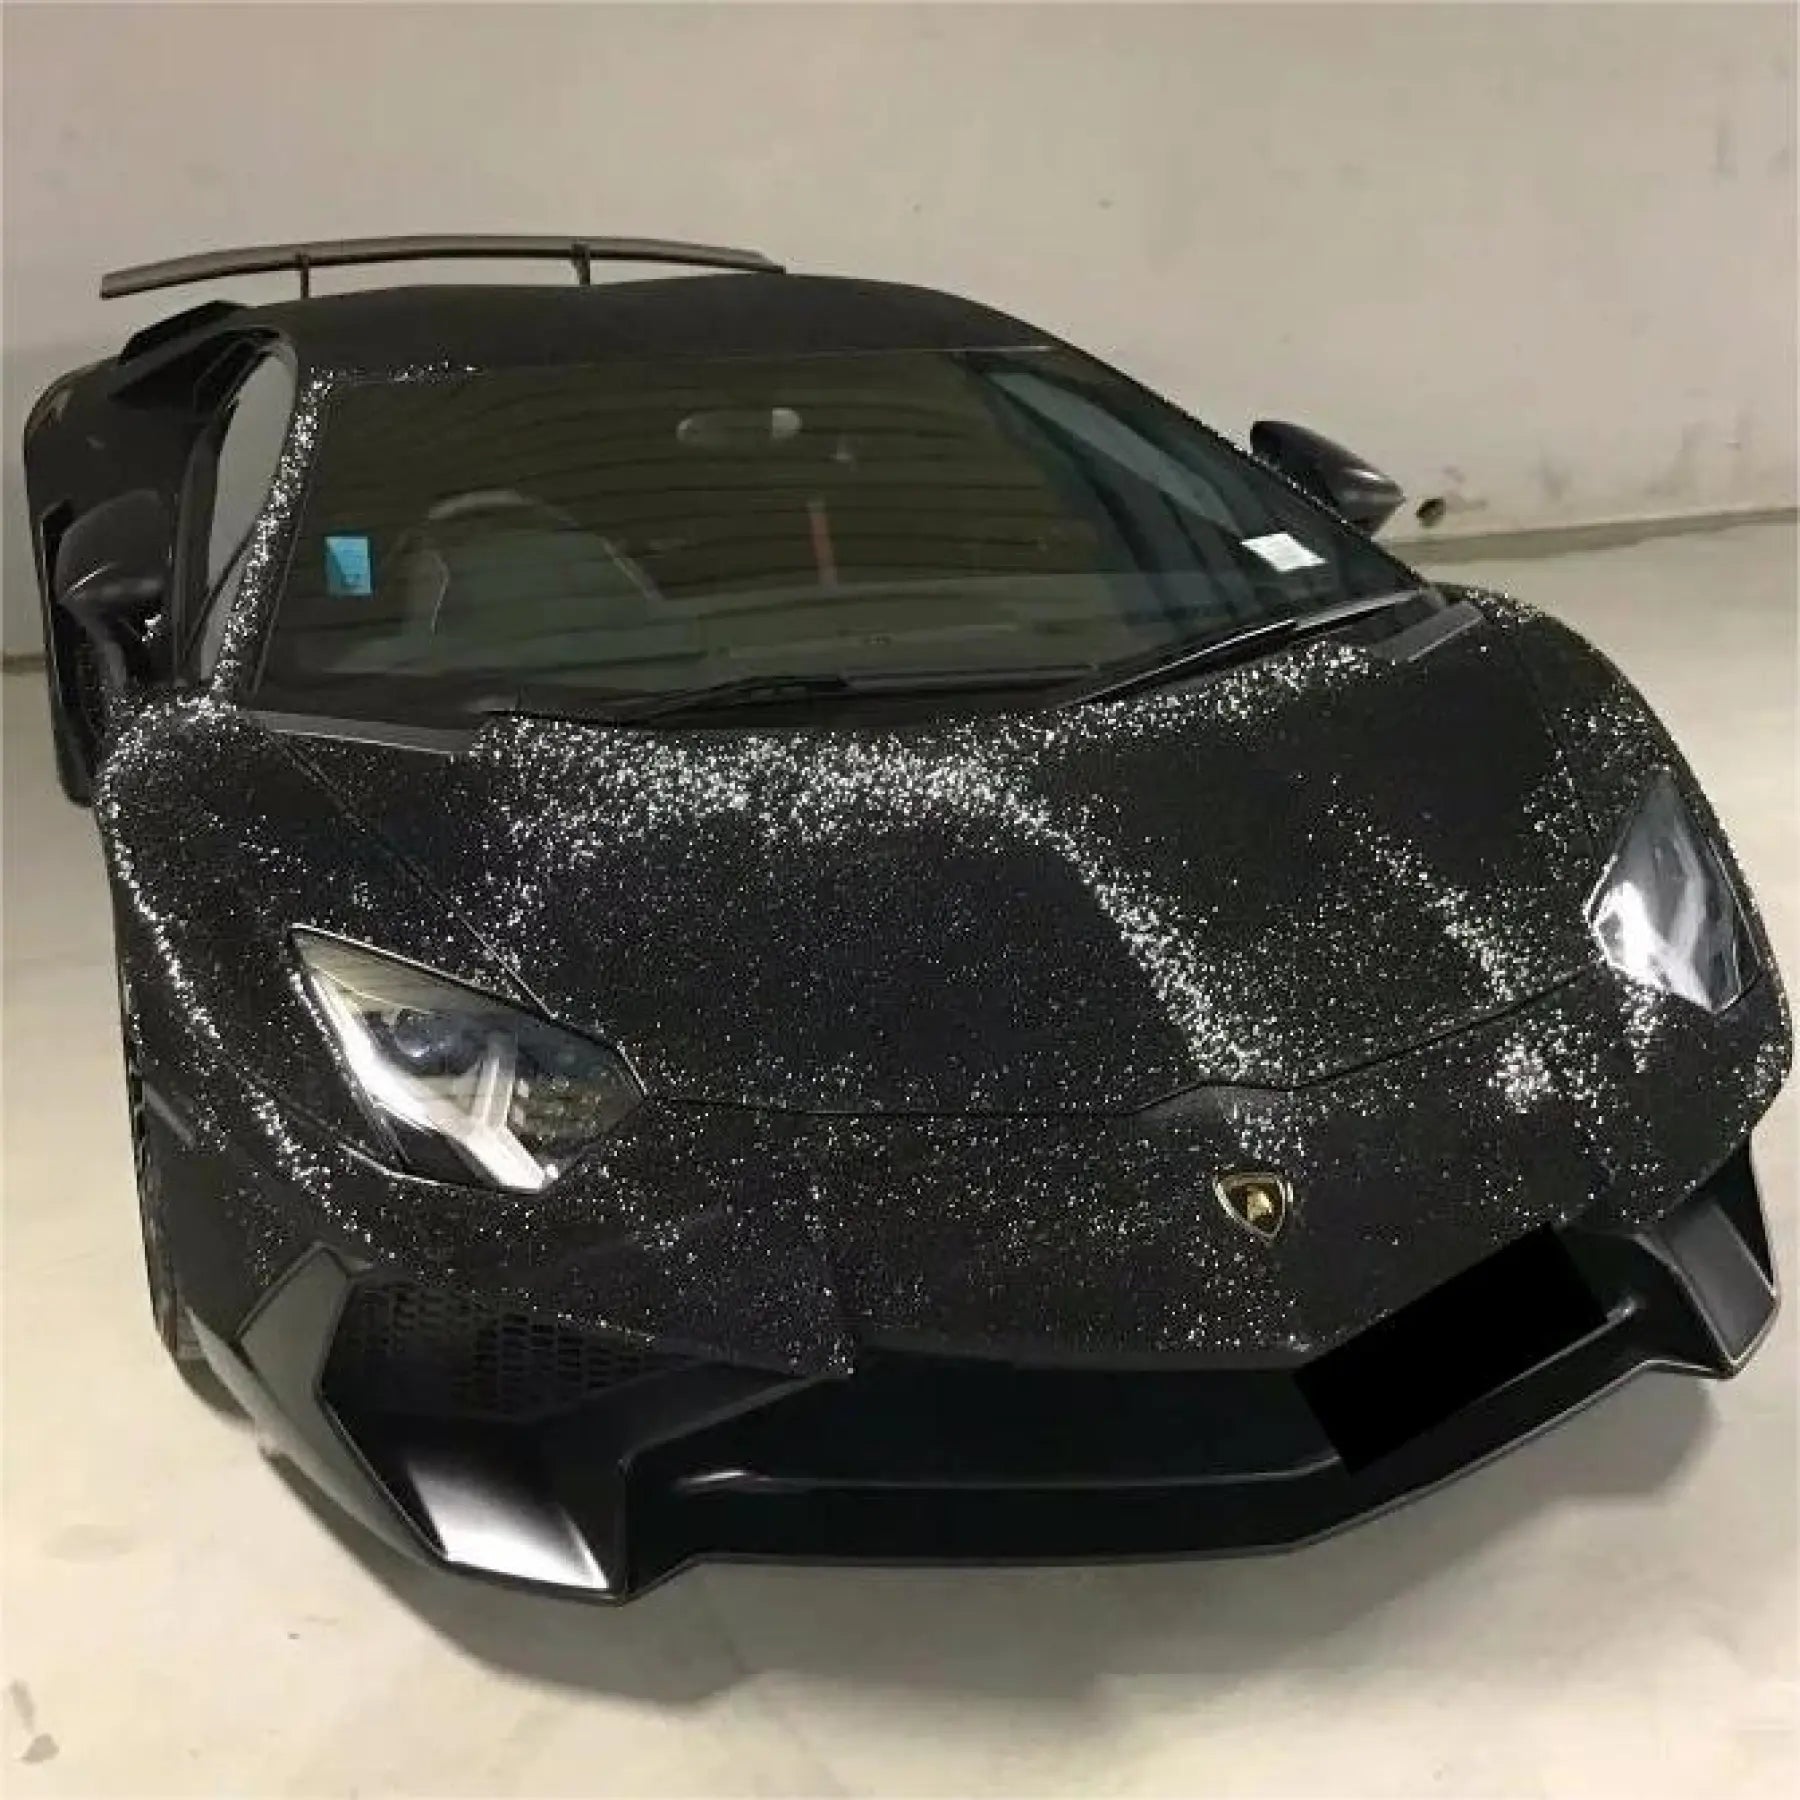
The rainbow laser vinyl wrap collection features prismatic, chameleon-like effects that shift color depending on the viewing angle and lighting conditions. These iridescent films are trending heavily this year as car enthusiasts seek bold personalization. Similarly, the glitter sparkle car wrap range adds a dazzling texture that catches every ray of sunlight. These specialty films work best on larger flat panels where the color-shifting effect has room to display across the surface.
Carbon Fiber and Textured Films
For a motorsport-inspired appearance, 3D carbon fiber wrap provides a realistic woven texture that mimics genuine composite materials at a fraction of the cost. Carbon fiber vinyl works exceptionally well for interior accents, mirror caps, spoilers, and roof panels where the tactile pattern creates visual contrast against painted body panels.
Paint Protection Film for Long-Term Defense
If your primary goal is preserving your paint rather than changing its color, a TPU paint protection wrap provides a virtually invisible shield against rock chips, bug acids, bird droppings, and road salt. TPU-based PPF is self-healing, meaning minor scratches disappear when exposed to heat from sunlight or warm water. For drivers who want both protection and a color change in one layer, the colored paint protection film range combines the durability benefits of PPF with vibrant tinted finishes. This category of film is growing rapidly as vehicle owners recognize the value of combining aesthetics with genuine surface defense. The paint protection film technology originally developed for military helicopter rotor blades has now become mainstream in the consumer automotive market.
Preparing Your Vehicle for Wrapping
Surface preparation is the foundation of every successful car wrap installation. Even the highest-quality vinyl film will fail if it is applied to a contaminated, dirty, or damaged surface. Begin by washing the entire vehicle thoroughly with a dedicated car shampoo and a soft wash mitt. Pay extra attention to panel edges, door jambs, fuel filler doors, and areas behind trim pieces where dirt and grime tend to accumulate. After the initial wash, dry the vehicle completely with clean microfiber towels.
Next, perform a full surface decontamination using isopropyl alcohol on every panel you intend to wrap. This step removes any residual wax, sealant, silicone, or polish that would prevent the vinyl adhesive from bonding properly. Wipe each section with a fresh lint-free cloth and allow it to evaporate fully before proceeding. If your paint has embedded contaminants such as iron fallout or tar spots, use a clay bar treatment before the alcohol wipe to ensure the surface is perfectly smooth.
Remove any accessories that will interfere with a clean installation, including badges, emblems, antenna covers, side mirror caps, and door handle bezels. Removing these components before wrapping allows you to tuck the film cleanly beneath trim pieces and prevents unsightly cutting lines around complex shapes. Take photos of each piece before removal so you can reinstall everything in the correct orientation afterward.
Step-by-Step Application Process
Setting Up Your Workspace
Choose a clean, enclosed area such as a garage with controlled temperature. Vinyl adhesive performs best between 60 and 80 degrees Fahrenheit (15 to 27 degrees Celsius). Avoid working in direct sunlight, wind, or dusty conditions, as airborne particles trapped beneath the film will create visible bumps. Sweep and mop the floor before you begin, and keep the garage doors closed during application. As recommended by the International Fensterbau Frontale standards for surface preparation, controlling the environment is just as critical as preparing the vehicle itself.
Measuring and Cutting
Measure each body panel individually and add at least three to four inches of extra material on every side. That excess allows you to grip and stretch the film during application, and provides enough bleed material to wrap around edges and tuck behind trim. For rear fender sections and bumpers, add six to twelve inches of extra length because these areas have deep contours that consume more film than flat panels. Write down every measurement, then cut your panels on a clean, flat surface using a sharp blade and a straight edge.
Applying the Vinyl Wrap
Start with the largest, flattest panel on the vehicle, typically the hood or the roof. Working on easier surfaces first builds your confidence before you tackle complex curves like bumpers and fenders. Position the cut vinyl sheet above the panel and use wrap magnets or tape a center hinge line to hold it in place. Peel back the release liner from the center outward, and use your felt-edged squeegee to press the film onto the surface using firm, overlapping strokes from the center toward the edges.
Apply moderate heat with your heat gun to soften the vinyl as you work over curves and recesses. Keep the heat gun moving constantly to avoid overheating a single spot, which can permanently damage the film or cause it to thin and tear. The adhesive on modern air-release vinyl channels trapped air out through micro-perforations, but you should still work slowly and methodically to minimize bubbles. If a small bubble does appear, gently lift the nearest edge, reposition, and squeegee again. For stubborn bubbles, a tiny pinprick with a needle followed by firm squeegee pressure will flatten the area completely.
Trimming and Finishing Edges
After the panel is fully applied and squeegeed, use knifeless tape or a sharp blade to trim excess material along body lines, panel gaps, and edges. When using a blade near the paint surface, angle it parallel to the panel and use minimal pressure to avoid scoring the clear coat underneath. Fold all trimmed edges at least half an inch behind panels or into gaps to create a clean, professional finish. Apply post-heat to every tucked edge at around 90 degrees Celsius (195 degrees Fahrenheit) for at least ten seconds to activate the adhesive memory. This step is critical for preventing edge lifting, especially on bumpers and mirrors where the film is stretched over compound curves.
Wrapping Complex Areas
Bumpers, side mirrors, and door handles are the most challenging sections of any car wrap installation. These components have deep contours, sharp angles, and compound curves that demand patience and generous heat application. Break complex areas into smaller manageable sections rather than attempting to cover an entire bumper with a single sheet. Overlap seams along natural body lines where they will be least visible. Inlays, where you cut a separate piece of film for each sub-section of a bumper, are easier for beginners than attempting a full single-piece stretch across a heavily sculpted surface.
For door handles, you have two options. If the handle is removable, take it off and wrap it separately on a flat surface, which produces the cleanest result. If removal is impractical, create relief cuts around the handle pocket, tuck the film into the recess, and post-heat every folded edge. Side mirrors follow a similar approach. Remove the mirror cap if possible, wrap it on a table, and reinstall once the adhesive has cured. For more guidance on complex panel techniques, explore the Sailifilm blog for detailed visual walkthroughs and installer tips.
Aftercare and Maintenance
Your freshly wrapped vehicle needs proper care to maintain its appearance and maximize the lifespan of the film. Allow the wrap to cure for at least 24 hours before washing or exposing the vehicle to rain. After the initial cure period, follow these ongoing maintenance practices to keep the vinyl looking flawless.
Always hand wash your wrapped vehicle using a mild automotive shampoo and a soft sponge or microfiber wash mitt. Avoid automated car washes with spinning brushes, as the abrasive bristles can scratch, scuff, or lift the edges of the film. Rinse the vehicle with low-pressure water and dry it immediately with a clean microfiber towel to prevent water spotting. For stubborn contaminants like bird droppings, tree sap, or fuel spills, clean the affected area as soon as possible using isopropyl alcohol on a soft cloth. Leaving corrosive substances on the vinyl surface for extended periods can cause discoloration or adhesive degradation.
Park in shade or in a garage whenever possible. While modern vinyl films contain UV inhibitors that resist fading, prolonged direct sun exposure will gradually reduce the vibrancy of any film over many years. Applying a vinyl-safe spray sealant or ceramic coating designed for wrapped surfaces adds an extra layer of UV protection and makes routine washing easier by creating a hydrophobic barrier. As the SEMA (Specialty Equipment Market Association) notes, proper maintenance is the key differentiator between a wrap that lasts three years and one that lasts seven.
Common Mistakes to Avoid
Even experienced installers encounter challenges, but knowing the most frequent pitfalls helps you avoid them. Rushing the surface preparation is the number one reason DIY wraps fail prematurely. Residual wax or silicone creates adhesion dead spots that lead to bubbling and edge lifting within weeks. Overheating the vinyl during application is the second most common error; when stretched beyond its limits, the film thins out and develops a hazy, orange-peel texture that cannot be reversed. Always work with gentle, even heat rather than concentrated blasts. Cutting too aggressively near the paint is another frequent mistake. Practice using knifeless tape on your first few panels to eliminate the risk of blade scratches entirely. Finally, skipping the post-heating step on edges and recesses invites the film to shrink back from tucked areas as temperatures fluctuate, leaving exposed gaps along panel edges.
How Much Vinyl Wrap Do You Need?
Estimating material requirements accurately prevents both shortages and excessive waste. A compact sedan typically requires 50 to 60 feet of 5-foot-wide vinyl (approximately 250 to 300 square feet), while a midsize SUV or truck may need 65 to 75 feet (325 to 375 square feet). Always order 10 to 20 percent additional material beyond your calculated measurements to account for trimming waste, learning-curve mistakes, and potential re-dos on tricky sections. If you are wrapping selective panels like just the hood, roof, and trunk lid for a two-tone look, you can reduce your material order accordingly. Browse the full car vinyl wrap collection to compare finishes and plan your project, or check the best sellers to see which films other DIY installers are choosing most often.
Final Thoughts
A home car wrap installation is one of the most rewarding DIY automotive projects you can tackle. It combines creative expression with practical paint protection, and the cost savings compared to professional installation are substantial. The keys to a successful result are thorough surface preparation, quality film from a trusted source, the right tools, controlled workspace temperature, and patient, methodical application. Start with a smaller project like a roof panel or mirror caps to build your skills, then work up to a full-body color change as your confidence grows. With practice and the right materials, there is no reason your garage-built wrap cannot rival the quality of a professional shop.

