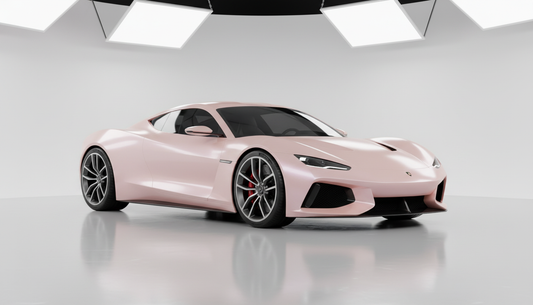
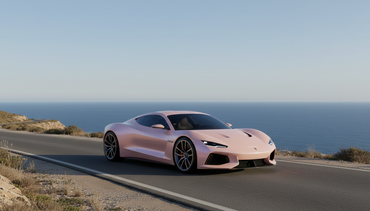
What Is Ceramic Coating and Why Apply It to Vinyl Wraps?
Ceramic coating is a liquid polymer that, once cured, forms a transparent hydrophobic layer on vehicle surfaces. Unlike traditional wax or sealants, ceramic coating creates a semi-permanent protective barrier that offers superior durability, typically lasting 1-2 years with proper maintenance.
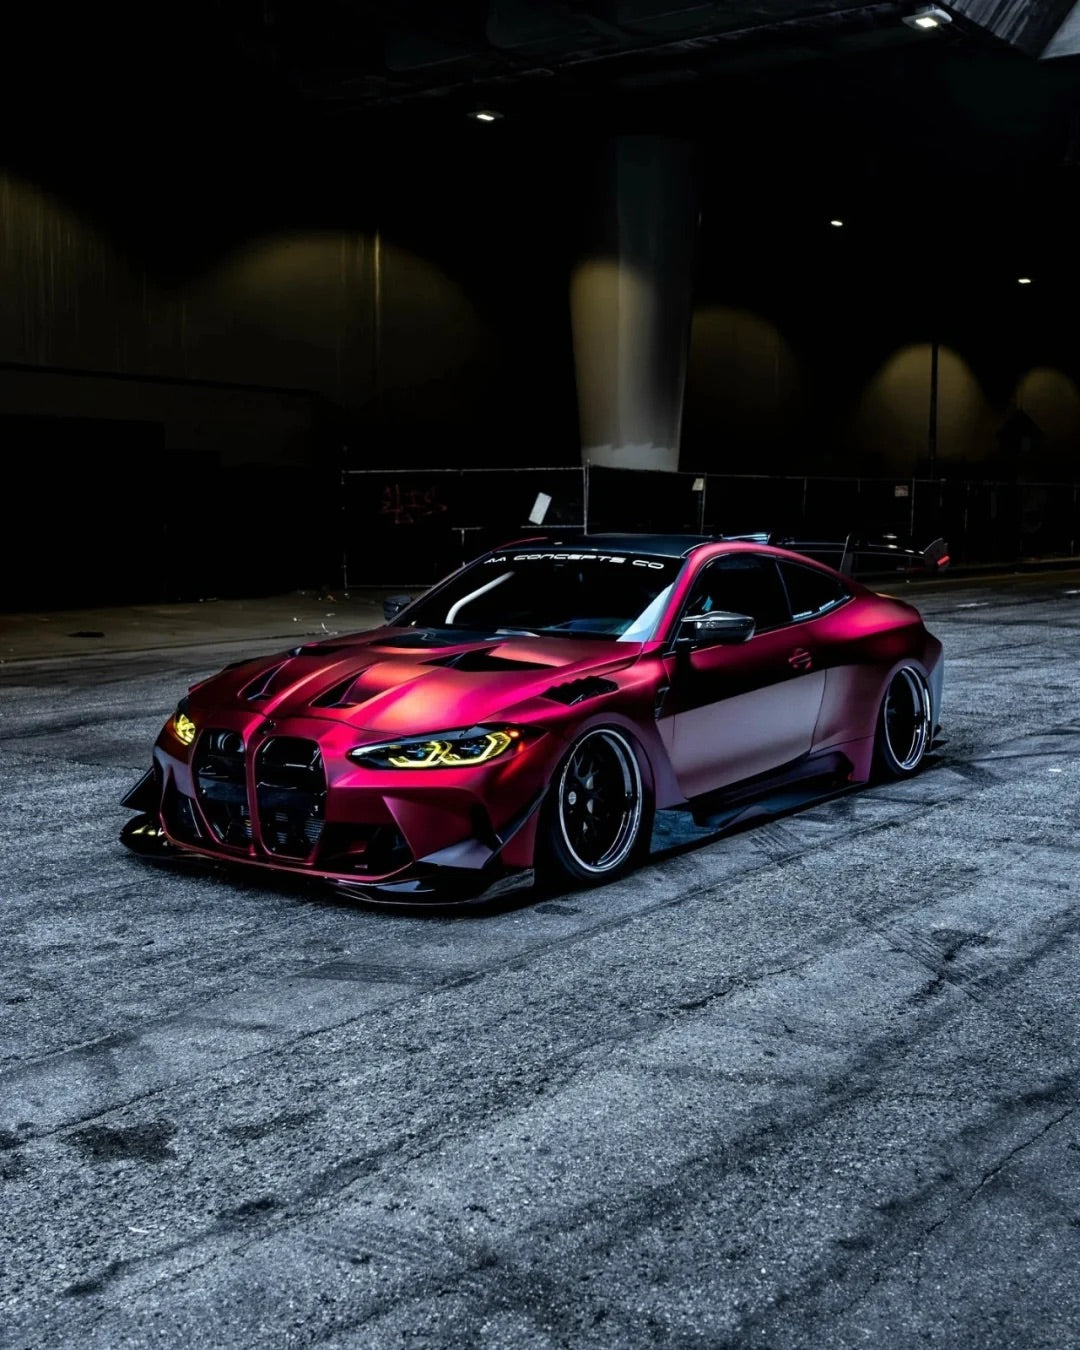
When applied to vinyl wraps, ceramic coating provides multiple advantages. It creates an invisible shield against UV rays, preventing the color fading that often compromises even premium wraps like Sailifilm's ultra-matte wraps or vibrant metallic vinyl wraps. The hydrophobic properties make the wrap easier to clean while repelling dirt, water spots, and environmental contaminants that can degrade vinyl over time.
Understanding Vinyl Wrap and Ceramic Coating Compatibility
A critical question many vehicle owners ask: Can ceramic coating be applied over vinyl wraps? The answer is a definitive yes, provided you use a ceramic coating specifically formulated for flexible vinyl surfaces rather than rigid paint. Standard automotive ceramic coatings designed for clear coat paint can actually damage vinyl wraps or cause adhesion issues.
The key difference lies in the surface properties. Vinyl is more porous than clear coat paint and has slightly different chemical characteristics. Premium ceramic coatings for vinyl wraps cross-link with polyurethane surfaces, creating a durable bond while allowing the wrap to breathe and flex naturally.
Surface Preparation: The Foundation of Success
Proper surface preparation determines the success of your ceramic coating application. This step cannot be rushed or overlooked, as any contaminants trapped under the coating become permanent.
Step 1: Wait for Proper Curing
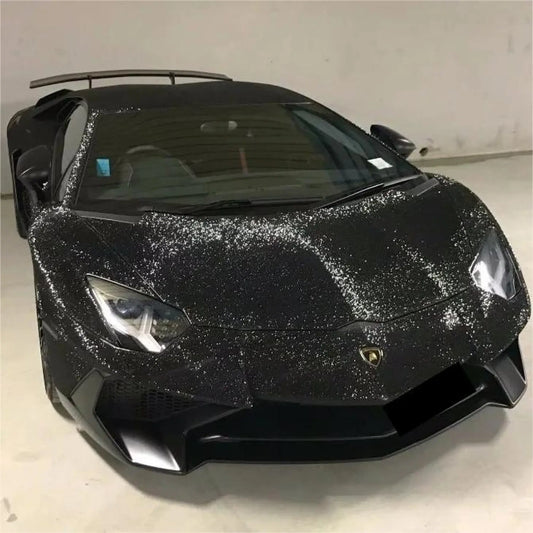
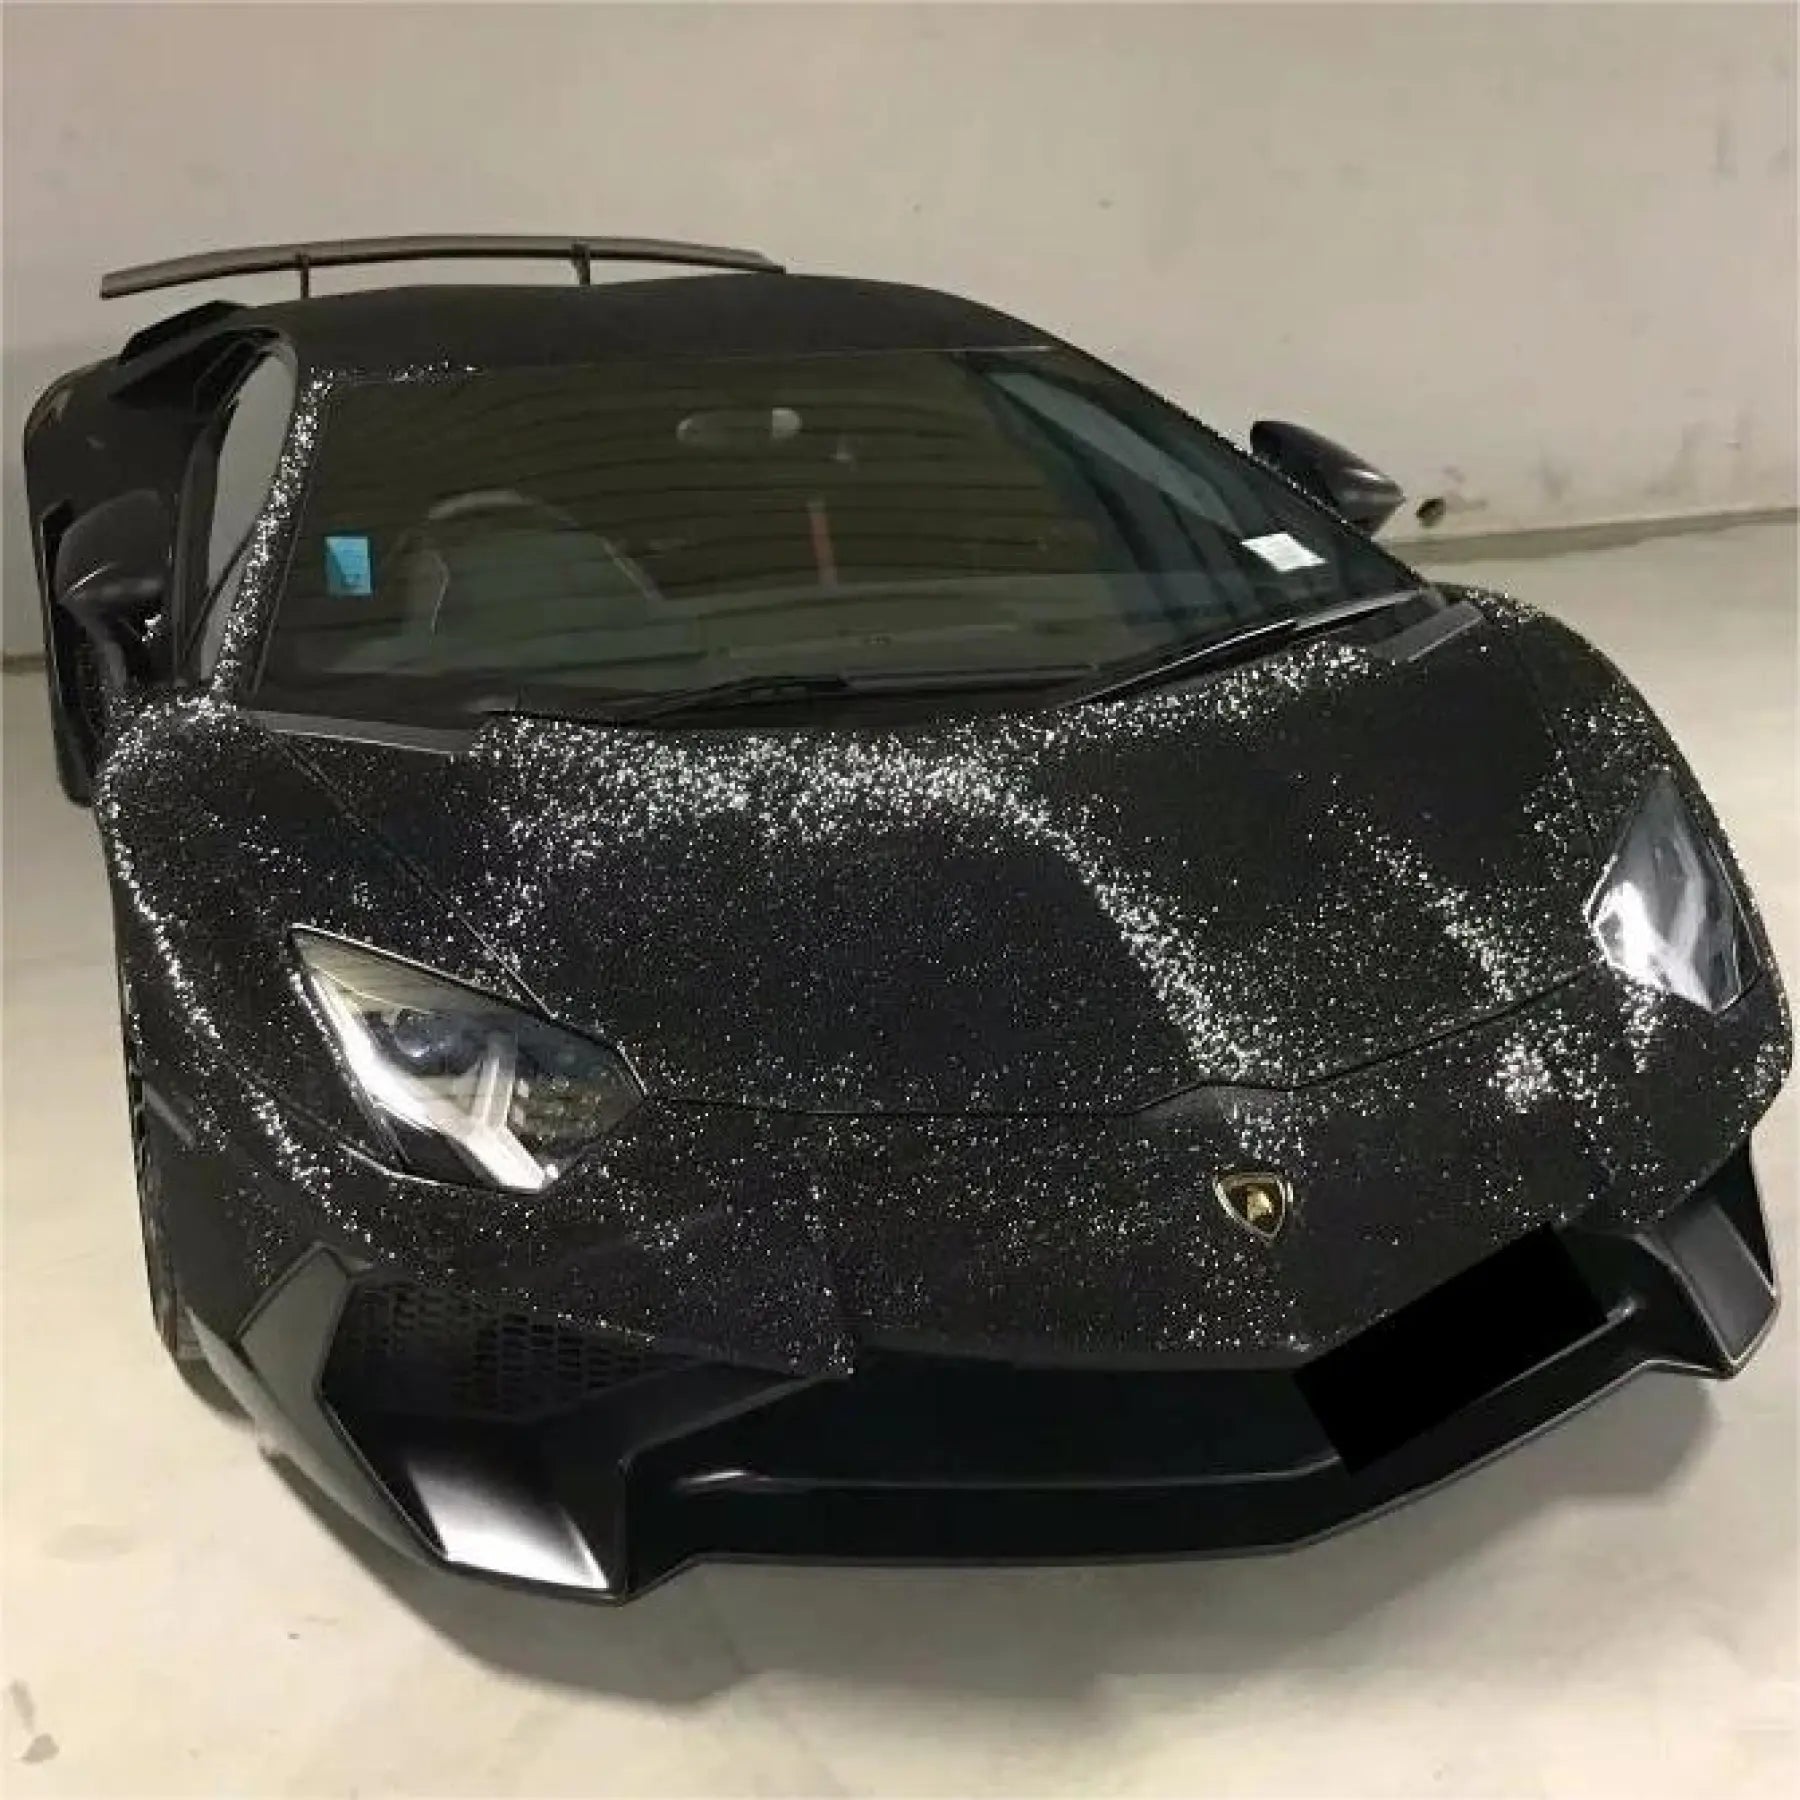
Do not apply ceramic coating immediately after wrap installation. Allow your vinyl wrap to cure for at least 72 hours to 5 days. This curing period permits the adhesive to fully set and prevents application issues. This timing applies whether you've chosen Sailifilm's glitter sparkle car wraps, liquid chrome options, or any other finish.
Step 2: Thorough Cleaning
Begin with a complete vehicle wash using pH-balanced automotive soap and cool water. Use a soft sponge or microfiber cloth rather than brushes. Rinse thoroughly to remove all soap residue, then dry completely with a clean microfiber towel. Any water spots or mineral deposits must be eliminated before coating application.
Step 3: Surface Prep Solution Application
Apply a pre-coating surface prep product designed for vinyl wraps. These solutions remove remaining oils, grease, and polish residue that could interfere with coating adhesion. Use a microfiber cloth and work in small sections, allowing the prep solution to evaporate completely. This step is essential for achieving optimal coating performance.
Step 4: Final Inspection
Examine the wrap surface under good lighting for any remaining contaminants. Even microscopic particles can create imperfections under the ceramic coating. Use a final microfiber cloth pass if needed to ensure a pristine surface.
Application Techniques for Optimal Results
Professional vs. DIY Application
While DIY ceramic coating application is possible, professional installation offers significant advantages. Experts understand coating flash times, humidity requirements, temperature sensitivities, and proper buffing techniques that prevent high spots, streaking, and uneven coverage. For vehicles with complex wraps like Sailifilm's dual-color dream vinyl wraps or 3D carbon fiber wraps, professional application ensures flawless results.
DIY Application Process
If choosing the DIY route, follow these critical steps:
- Work in Controlled Conditions: Apply ceramic coating in a cool, dry environment (65-75°F) with low humidity. Extreme temperatures affect curing times and coating performance.
- Use Proper Applicators: Utilize the applicator pad provided with your ceramic coating kit. Apply approximately 7-10 drops of product to the pad for each 2-foot by 2-foot section.
- Cross-Hatch Application Pattern: Apply the coating using overlapping cross-hatch motions rather than circular patterns. This ensures even coverage and prevents missed areas. Work on one panel at a time.
- Allow Flash Time: Follow product instructions for flash time—the interval before buffing. Typically, this ranges from 3-5 minutes. Buffing too early or too late results in high spots or inadequate bonding.
- Buff with Quality Microfiber: Use premium microfiber towels to buff the coating once it reaches the proper flash stage. Apply gentle pressure to remove excess coating while the surface is still tacky.
- Curing Period: Do not expose your vehicle to moisture, rain, or water for at least 24 hours. Full curing typically requires 2 weeks before washing. During this period, park in a garage or sheltered location.
Special Considerations for Different Vinyl Wrap Finishes
Matte and Ultra-Matte Wraps
Applying ceramic coating to matte wraps requires attention because the coating may slightly enhance the shine. Sailifilm's ultra-matte collection benefits from matte-specific ceramic coatings that preserve the flat aesthetic while adding protection. Use generous amounts of coating on matte surfaces, as the porous texture absorbs more product than gloss finishes.
Gloss Wraps
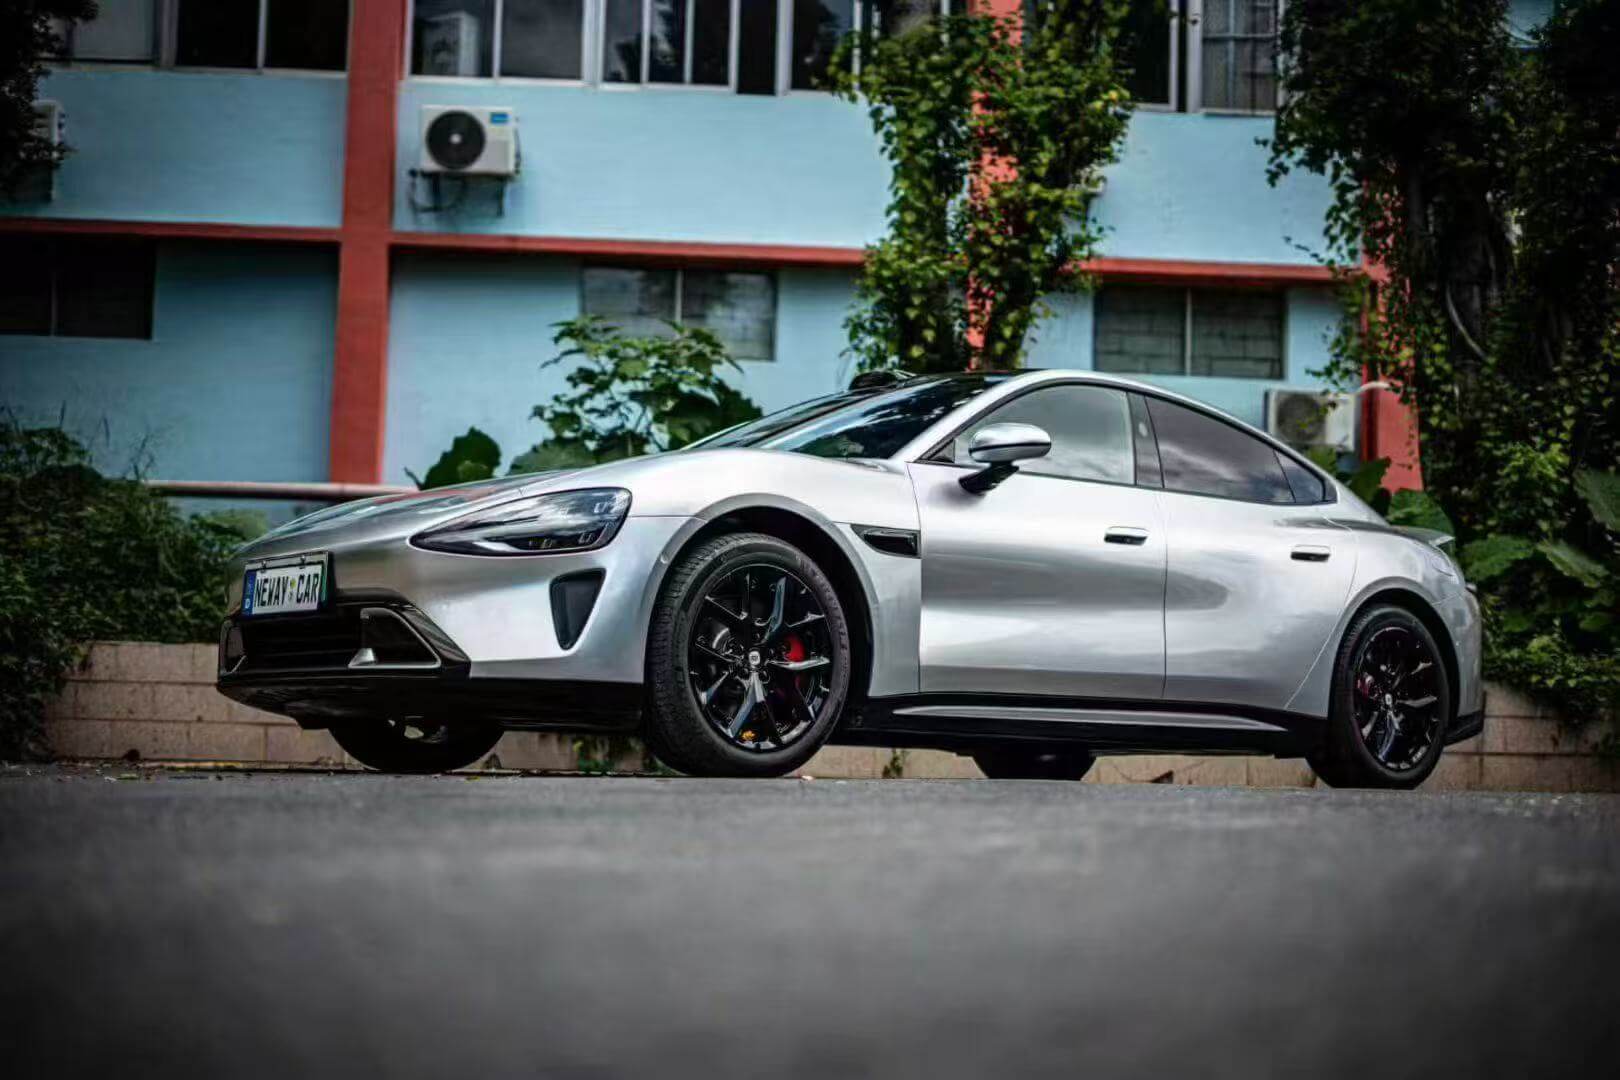
Gloss finishes like those in Sailifilm's best-sellers collection create a stunning result with ceramic coating. The coating enhances depth and creates an even more reflective, paint-like appearance. Standard ceramic coating formulas work excellently on gloss vinyl.
Specialty Finishes
Premium finishes like liquid chrome wraps, crystal vinyl wraps, and rainbow laser vinyl wraps require careful coating selection to preserve their unique effects. Ensure your ceramic coating maintains the finish's transparency and doesn't dull specialty colors or reflective properties.
Benefits of Ceramic Coated Vinyl Wraps
Extended Lifespan
Quality vinyl wraps typically last 3-5 years; ceramic coating can extend this to 5-7 years by protecting against UV degradation and environmental damage. This significantly improves your return on investment.
Enhanced Protection Against Environmental Threats
UV rays cause oxidation and fading. Ceramic coating includes UV inhibitors that prevent this deterioration. Additionally, the hydrophobic layer protects against acid rain, bird droppings, tree sap, road salt, and chemical contaminants that can stain or damage unprotected vinyl.
Simplified Maintenance
The superhydrophobic coating causes water and contaminants to bead and roll off the surface. This dramatically reduces cleaning frequency and effort. Dirt doesn't adhere as readily to coated surfaces, making maintenance a breeze compared to uncoated wraps.
Superior Aesthetic Enhancement
Ceramic coating creates a deeper, richer color appearance while adding a glossy finish even to matte wraps. The coating fills microscopic surface irregularities, creating a smoother, more professional appearance that rivals freshly painted vehicles.
Scratch and Swirl Resistance
The protective layer shields vinyl from minor scratches, light swirl marks, and abrasion from cleaning. While ceramic coating doesn't prevent damage from sharp impacts, it significantly reduces the appearance of light surface imperfections.
Maintenance of Ceramic-Coated Vinyl Wraps
Initial Care Period
For the first 2 weeks after application, maintain minimal contact with your wrapped vehicle. Avoid washing, parking under trees, or exposing the wrap to harsh weather. This allows complete curing and bonding.
Regular Cleaning Protocol
After full curing, maintain your ceramic-coated wrap through regular washing. Use ceramic-coating-safe shampoos (typically called ceramic-coat maintenance wash) and microfiber cloths. Avoid harsh brushes or high-pressure washers that can compromise the coating.
Inspection and Reapplication
Inspect your ceramic coating annually for signs of wear or damage. Reapplication typically occurs every 1-2 years, depending on environmental exposure and driving conditions. Vehicle owners in harsh climates may need more frequent reapplication. Reapply using the same preparation and application techniques as the initial coating.
Common Mistakes to Avoid
- Applying to Dirty Wraps: Contamination trapped under ceramic coating becomes permanent
- Skipping Surface Prep: Improper preparation results in poor adhesion and premature failure
- Over-Application: Excess coating causes high spots, rainbow effects, and streaking
- Applying in Extreme Conditions: Humidity, temperature extremes, and wind affect curing and results
- Insufficient Curing Time: Exposing coating to moisture during curing causes adhesion failure
- Using Wrong Coating Type: Standard paint ceramic coatings can damage vinyl; always use vinyl-specific formulas
- Buffing Errors: Incorrect timing or technique during buffing compromises the finish
Ceramic Coating vs. Paint Protection Film
While both provide protection, they serve different purposes. Ceramic coating is ideal for rainbow laser vinyl wraps and other specialty finishes because it maintains transparency. Paint protection film, like Sailifilm's TPU paint protection wrap and colored paint protection film, provides thicker physical protection against rock chips and scratches but is less transparent.
Many professionals recommend combining both—using paint protection film on high-impact areas like the hood and front bumper, while applying ceramic coating to the entire wrap for comprehensive protection.
Cost Considerations
Professional ceramic coating application typically costs $1,000-$1,400 for a full vehicle, depending on size and condition. DIY kits cost significantly less ($100-$300) but require proper technique and may not deliver the same flawless results. When calculated over the extended lifespan of a ceramic-coated wrap, the professional investment often proves cost-effective.
Conclusion
Applying ceramic coating to your vinyl wrap transforms protection and maintenance. Whether you've invested in Sailifilm's ultra-matte wraps, vibrant metallic vinyl wraps, or any specialty finish from our wrapping tools collection, ceramic coating preserves your investment while simplifying ongoing care.
The combination of premium vinyl wrap quality and professional ceramic coating protection ensures your vehicle maintains its stunning appearance for years while enduring environmental challenges. By following proper surface preparation, application, and maintenance protocols, you'll experience the full benefits of ceramic-coated protection.
Ready to elevate your wrap's protection? Explore Sailifilm's complete vinyl wrap and protective film selections, including sample kits to test your chosen finish before full commitment.
External Authority Resources
- Wikipedia: Ceramic Coating Technology
- Wikipedia: Automotive Paint and Protection Systems
- Nanotechnology in Automotive Protection
- Vehicle Customization and Wrapping Standards
-
How to Remove Ceramic Coating from Vinyl Wraps: Complete Guide
Vinyl Wrap vs. Paint Protection Film: Protection Comparison
DIY Ceramic Coating Application: Step-by-Step Instructions
Best Maintenance Products for Ceramic-Coated Wraps
Ceramic Coating Lifespan: How Long Does Protection Last?
UV Protection for Vinyl Wraps: Natural vs. Coated Solutions
Common Ceramic Coating Failures and How to Prevent Them
Matte Wrap Ceramic Coating: Preserving Flat Finishes
Ceramic Coating for Chrome and Specialty Vinyl Wraps


