




Why Surface Preparation Determines Wrap Lifespan
Vinyl wrap adhesive bonds chemically to whatever it touches first. If that something is paint, you get a clean, durable bond that can last five to seven years. If it touches a film of dust, wax residue, road tar, or hand oil, the adhesive bonds to the contamination instead — and that contamination is the weakest link. As temperature cycles wear on the wrap, those weak spots become lifting edges, peeling corners, and bubbles that no heat gun can permanently fix.
The Wikipedia entry on vehicle wraps describes the modern wrap process as a precision adhesive application. Wraps also magnify whatever lies beneath them. A scratch or oxidation patch invisible on bare paint will telegraph through a crystal vinyl wrap or ultra matte wrap with brutal clarity. Prep is your only defense against that.
What You Need Before You Start
Gather everything before you begin so you're not pausing mid-process to find a missing item. Most prep stops fail because someone improvised with the wrong product. Here's the working list:
-
pH-neutral car wash soap — never dish soap, which contains stripping agents that damage clear coat
-
Two clean wash buckets — one for soap, one for clean rinse water
-
Microfiber wash mitt — soft enough to avoid swirl marks, dense enough to lift dirt away from paint
-
Clay bar or clay mitt — removes embedded contaminants you can feel but not see
-
70% isopropyl alcohol — mixed with 30% distilled water in a clean spray bottle
-
Lint-free microfiber towels — at least six fresh ones, never linty cotton rags
-
Masking tape — for protecting trim, grilles, and shut lines from spray and overspray
-
Plastic trim removal tools — for safely popping off badges, mirror caps, and door handles where possible
Most of these specialty items, including the right squeegees and heat gun for the actual install that follows prep, are bundled in our wrapping tools collection. Investing in proper tools once is far cheaper than redoing a failed wrap.
Step 1: A Thorough Two-Bucket Wash
Start the day before installation, not the morning of. The vehicle needs adequate drying time, and a rushed wash leaves moisture in panel gaps that will sabotage adhesion later. Wash in shade — direct sunlight dries soap into streaks before you can rinse it off.
-
Rinse the entire vehicle from top to bottom with low-pressure water to flush loose dirt before any contact washing.
-
Fill bucket one with pH-neutral soap and bucket two with clean water for rinsing your mitt between panels.
-
Wash one panel at a time, top to bottom, rinsing the mitt thoroughly between every section.
-
Pay extra attention to lower panels, rocker areas, and wheel arches where road grime accumulates heavily.
-
Final rinse with low-pressure water, then dry immediately with clean microfiber towels using a blotting motion rather than dragging.
Avoid pressure washing the day before installation. High-pressure water forces moisture deep into panel seams, mirror housings, badge recesses, and door shut lines — water that takes hours or even days to fully evaporate. Trapped moisture under fresh vinyl produces bubbles that no amount of post-heating will resolve.
Step 2: Clay Bar Decontamination
Even after a thorough wash, embedded contaminants remain bonded to your clear coat: industrial fallout, rail dust, brake dust particles, tree sap residue, tar specks, and tiny paint overspray. Run a fingertip across a freshly washed panel — if it feels gritty rather than glass-smooth, you have embedded contamination that needs claying.
Spray clay lubricant generously on a small section, glide the clay bar back and forth in straight lines using light pressure, and wipe the panel clean with a fresh microfiber. Fold the clay frequently to expose a clean working surface; if you drop the clay, throw it out — even a single grain of grit picked up from the ground will scratch every panel after.
This step is non-negotiable for liquid chrome wrap, rainbow laser vinyl wrap, and any specialty finish where surface texture dramatically affects how light reflects through the film.
Step 3: Inspect for Damage and Repair Before Wrapping
With the surface fully clean, walk around the vehicle in good lighting and assess what's actually there. Look for:
-
Rock chips and stone strikes — fill with touch-up paint and let cure 24 hours minimum
-
Surface rust spots — treat with rust remover, sand smooth, prime, and let cure fully
-
Deep scratches — compound and polish; vinyl will telegraph anything left behind
-
Edge lifting from previous wrap or PPF — remove all old film, residue, and adhesive completely
-
Orange peel or paint texture irregularities — minor unevenness can be smoothed with light wet sanding by experienced hands; significant defects warrant professional paint correction first
This is also when to decide whether wrapping makes sense for the vehicle's current condition. A vehicle with extensive paint failure, peeling clear coat, or active rust beneath the surface is a poor candidate for any wrap — the film will only delay visible failure, not fix it.
Step 4: Strategic Disassembly
Wrap quality goes up dramatically when you remove components rather than wrap around them. The goal isn't to strip the entire vehicle — it's to remove parts that complicate edges and create lifting points.
High-priority removals include: badges and emblems, side mirror caps (when removable on your model), door handle inserts, license plate frames, antenna bases, fuel filler door covers, and small trim pieces around windows. Take photos before each removal so reassembly is straightforward.
For complex panels like front bumpers on some performance vehicles, full removal allows wrapping the entire panel on a clean workbench rather than fighting gravity and curves while the part remains on the car. This is especially valuable for dual color dream vinyl wrap installs where alignment of the color shift across panels needs to look intentional.
Step 5: Final IPA Wipe Down
This is the single most important step before vinyl touches paint. A 70/30 isopropyl alcohol and distilled water solution removes every trace of wax, polish residue, oils transferred from your hands, and silicone from any product applied during prior detailing. Wax is the silent killer of wraps — even invisible residue prevents adhesive bonding.
Spray IPA solution onto a fresh microfiber towel rather than directly on the panel (direct spraying drives solution into seams). Wipe each panel in single-direction strokes, flipping to a clean section frequently. Let each panel flash off completely before moving on. Do this final wipe immediately before installation, never the day before — fresh hand contact, dust, or temperature changes can re-contaminate the surface.
Skip products labeled as detailing sprays, glass cleaners, or all-purpose cleaners. Many contain surfactants, fragrances, or silicones that leave a film. Pure IPA solution is the only safe choice.
Step 6: Stage Your Installation Environment
Even perfectly prepped paint will fail if installation happens in the wrong environment. The ideal workspace is:
-
Indoor and dust-controlled — a closed garage with the floor wet-mopped that morning to suppress airborne dust
-
Temperature stable between 65°F and 80°F — vinyl adhesive doesn't activate properly below 60°F and becomes too tacky above 85°F
-
Low humidity — high humidity slows adhesive curing and can leave moisture under the film
-
Well-lit from multiple angles — shadows hide imperfections during installation that become obvious in daylight later
-
Out of direct sunlight — sun-heated panels make vinyl pre-tack and bond before you can position it
Open garage doors, leaf blowers nearby, or any HVAC vent blowing into the workspace will deposit dust on prepped panels within minutes. Treat the workspace like a clean room from final IPA wipe through installation completion.
Prep Mistakes That Wreck Wraps
After enough installations, certain prep mistakes show up over and over. Avoid these:
-
Applying wax, sealant, or ceramic coating before wrapping. Coatings prevent adhesive bonding entirely. Ceramic coatings go on after the wrap, never before.
-
Skipping the IPA wipe because the car looks clean. Visual cleanliness and adhesion-ready cleanliness are different standards.
-
Wrapping over rust or active paint failure. The film traps moisture and accelerates corrosion underneath.
-
Using rags that shed lint. Microfiber only — old t-shirts, paper towels, and shop rags all leave fibers under the wrap.
-
Touching prepped panels with bare hands. Skin oils undo the entire IPA wipe in one fingerprint. Use clean gloves from the final wipe forward.
-
Rushing the cure on touch-up paint or rust treatment. Vinyl applied over still-curing paint will lift when the underlying material continues to outgas.
Special Considerations for Different Film Types
Some films demand even more careful prep than standard vinyl. Specialty finishes magnify surface defects more aggressively because their visual effect depends on uniform light reflection.
Liquid chrome and mirror finishes: Any contamination shows as dull spots that break the mirror effect. Triple-IPA the surface and inspect under bright light immediately before installation.
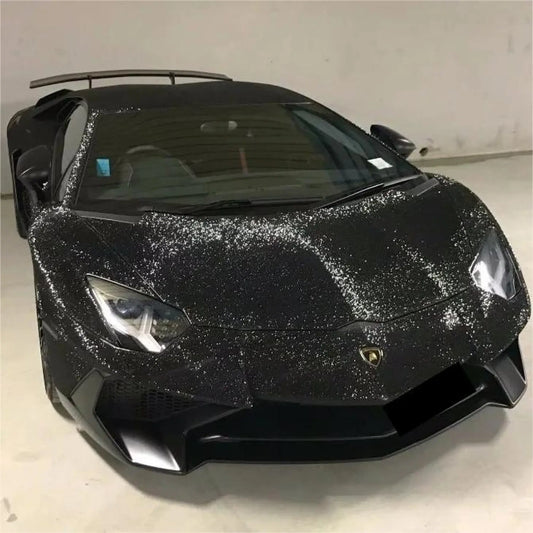
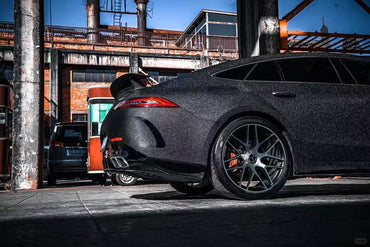
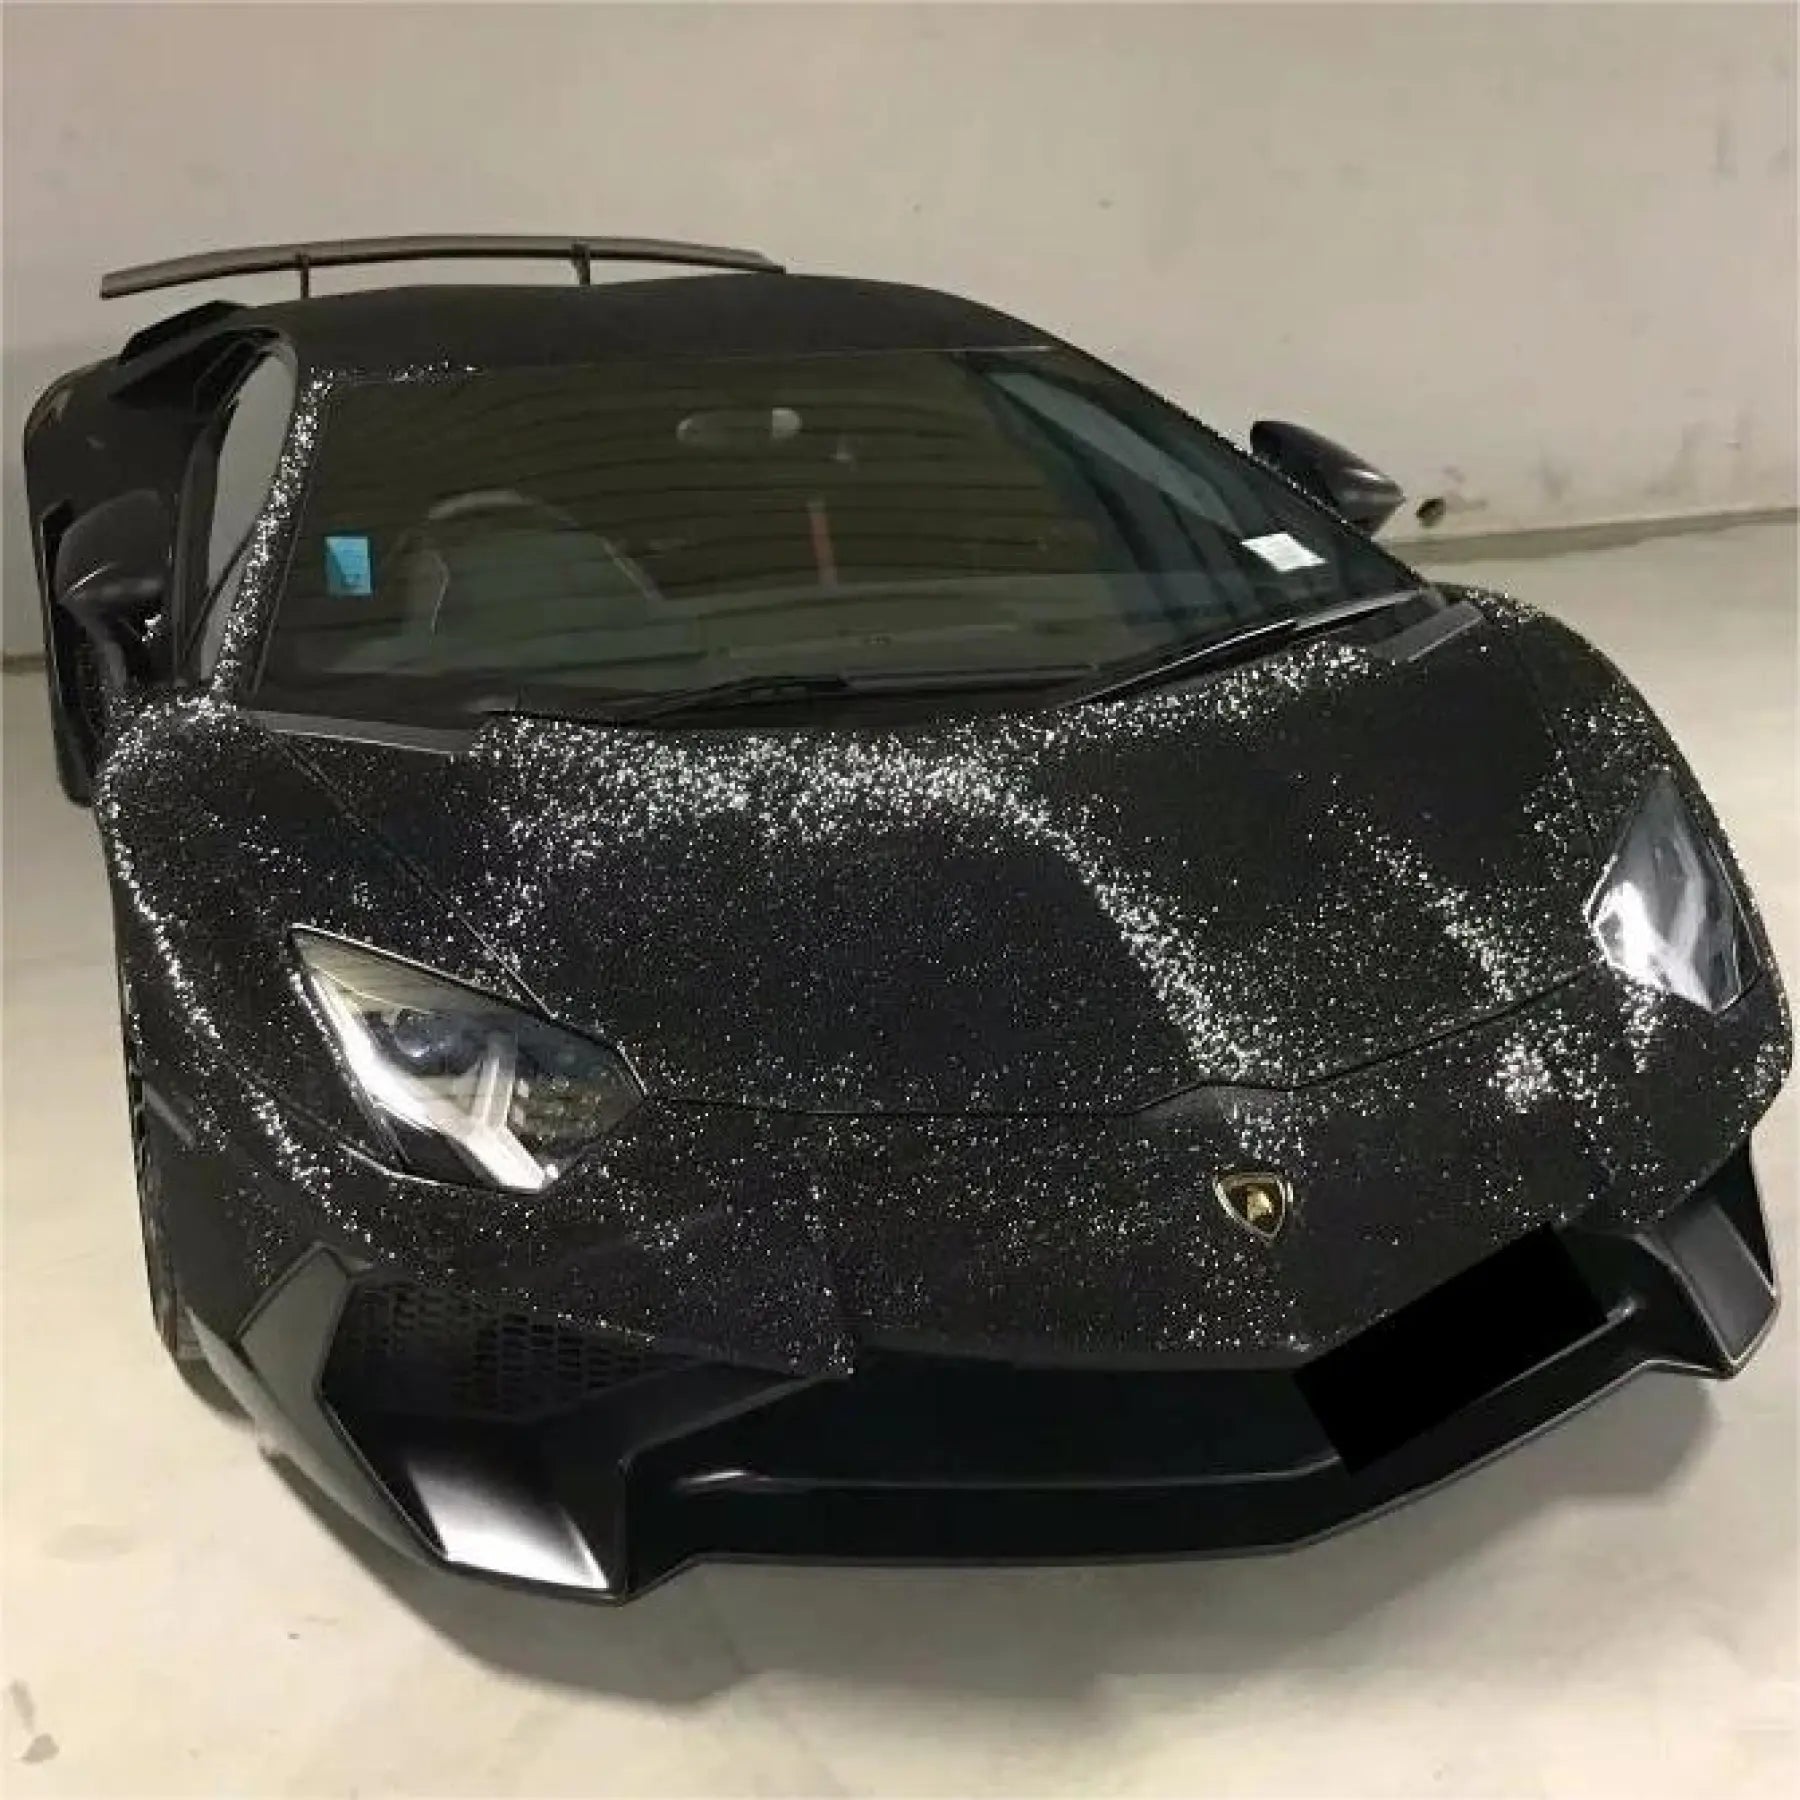
Glitter and sparkle wraps: Surface debris under the film catches light differently than the surrounding flake. Our glitter sparkle car wrap line earns its sparkle from the film, not from anything trapped beneath it.
Carbon fiber textures: Embossed films like our 3D carbon fiber wrap are slightly thicker and forgiving on minor surface flaws, but heavy contamination still shows through.
Paint protection film and colored PPF: Both clear TPU paint protection wrap and colored paint protection film demand even more meticulous prep because the film is thicker and the install is wet — any debris on the surface gets pinned in place permanently when the slip solution evaporates.
Test Your Prep Method on a Sample First
First-time installers benefit enormously from practicing the entire prep-and-application sequence on a small panel before committing to a full vehicle. Order from our sample kits or pick a single section from our best sellers collection to wrap a removable panel like a fuel filler door or mirror cap. You'll learn how thorough your prep actually needs to be when the film starts revealing every contaminant you missed.
For comprehensive walkthroughs of the installation process that follows surface prep, the broader Sailifilm blog covers DIY techniques, panel-specific tips, and post-installation curing protocols. Read those after you've nailed prep — sequencing matters.
The Foundation Decides the Finish
Surface preparation isn't the glamorous part of vinyl wrapping. Nobody photographs their car mid-wash for social media. But every wrap that lasts five to seven years rests on prep that took several hours, and every wrap that fails within twelve months traces back to a corner cut during this stage. Wash thoroughly, decontaminate with clay, repair what's damaged, disassemble what you can, wipe down with IPA, and stage the environment correctly. Skip none of these steps, even if your car vinyl wrap looks like it could go on without them.

