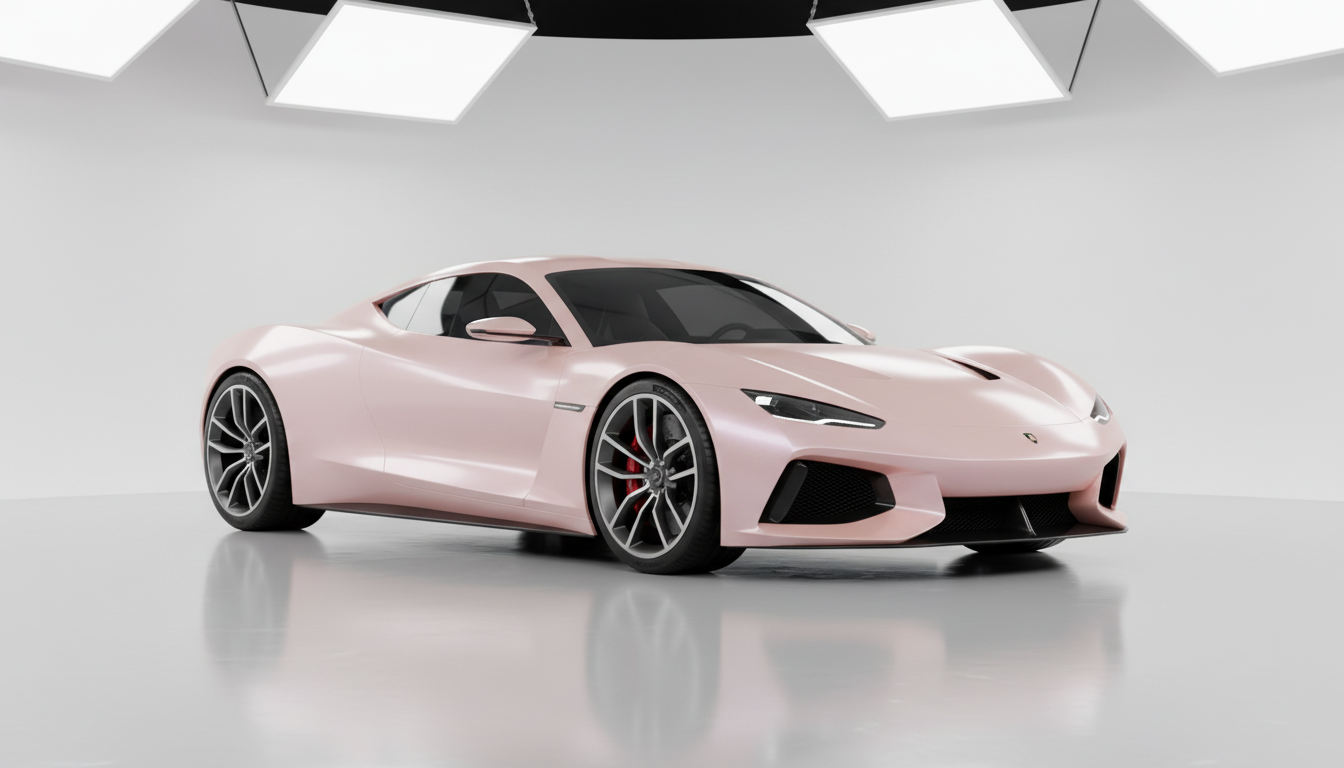
What is Paint Protection Film (PPF)?
Paint protection film, commonly referred to as clear bra or PPF, is a transparent thermoplastic urethane film applied to vehicle surfaces to protect against rock chips, scratches, bug splatter, and environmental damage. According to automotive protection industry research, modern PPF technology features self-healing properties that eliminate minor scratches when exposed to heat.
Types of Paint Protection Film
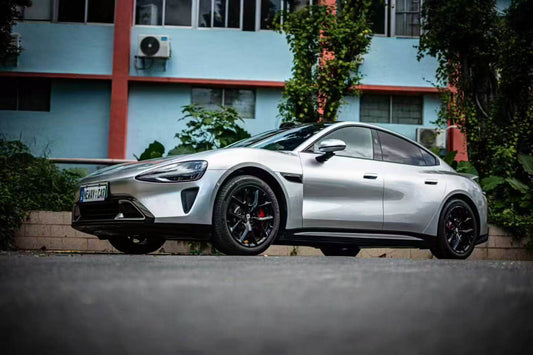
Clear PPF (Transparent Film) The most popular choice for maintaining original paint visibility while providing invisible armor against road debris and UV damage. Sailifilm's clear TPU films offer optical clarity that won't yellow over time.
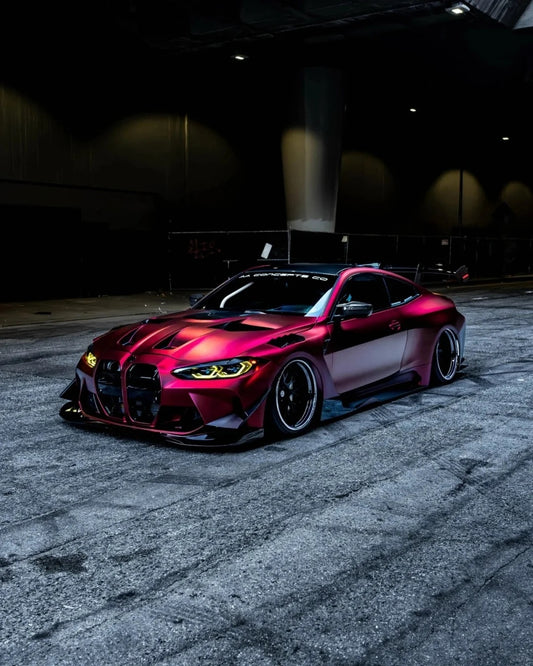
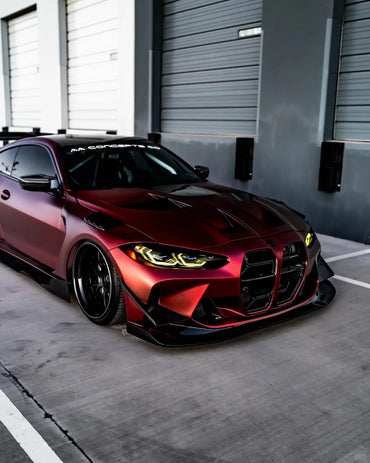
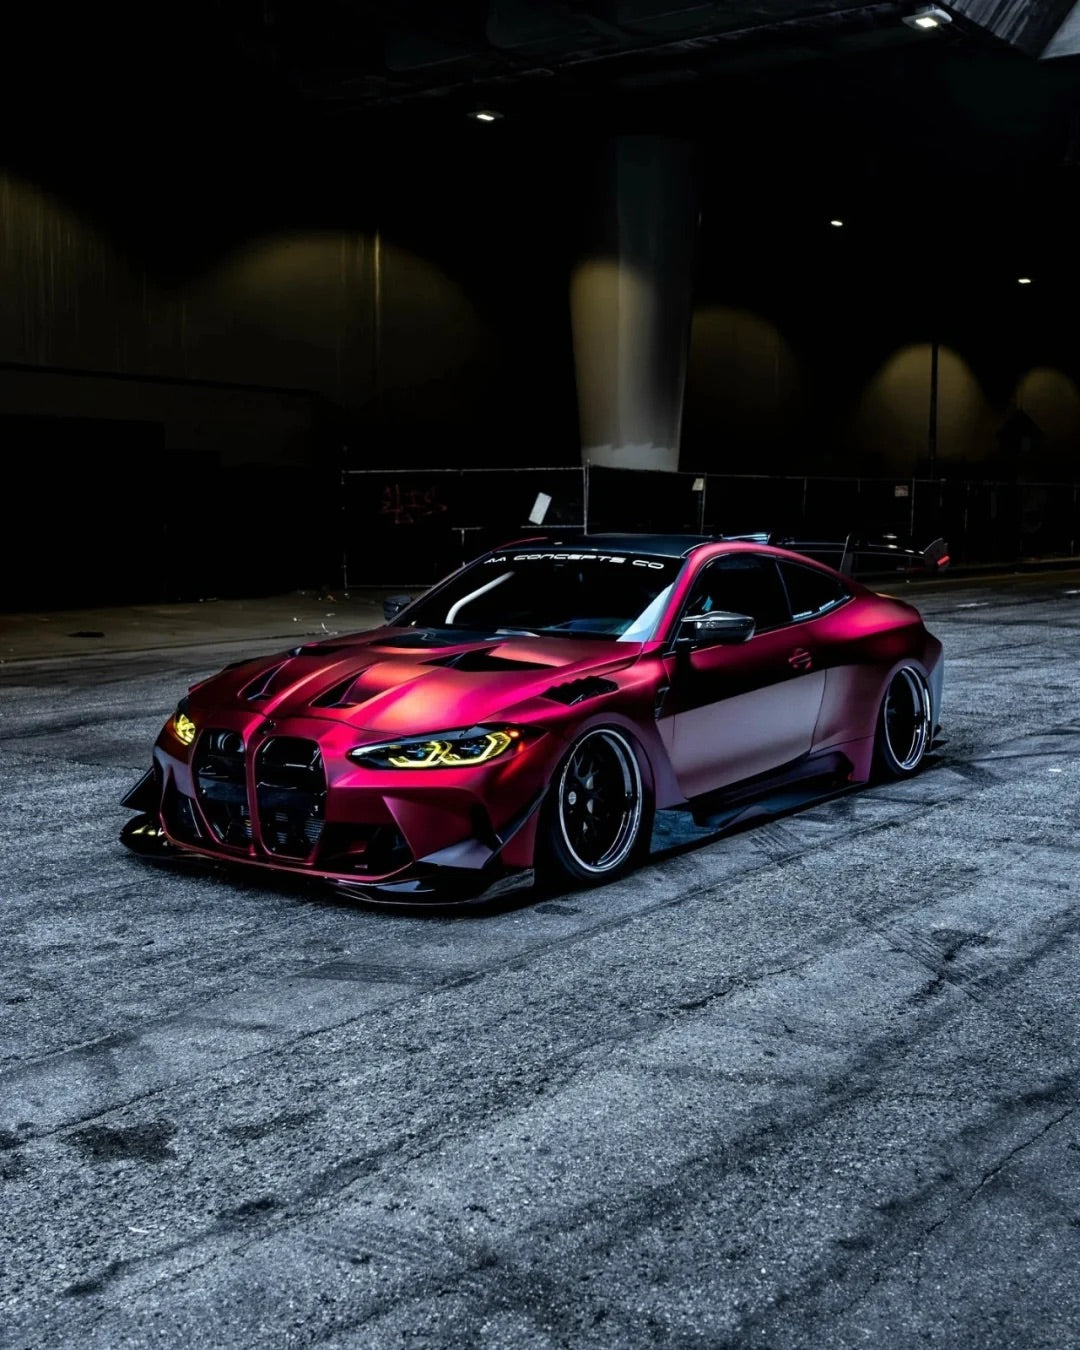
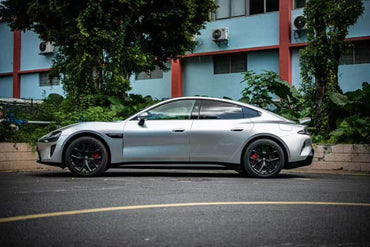
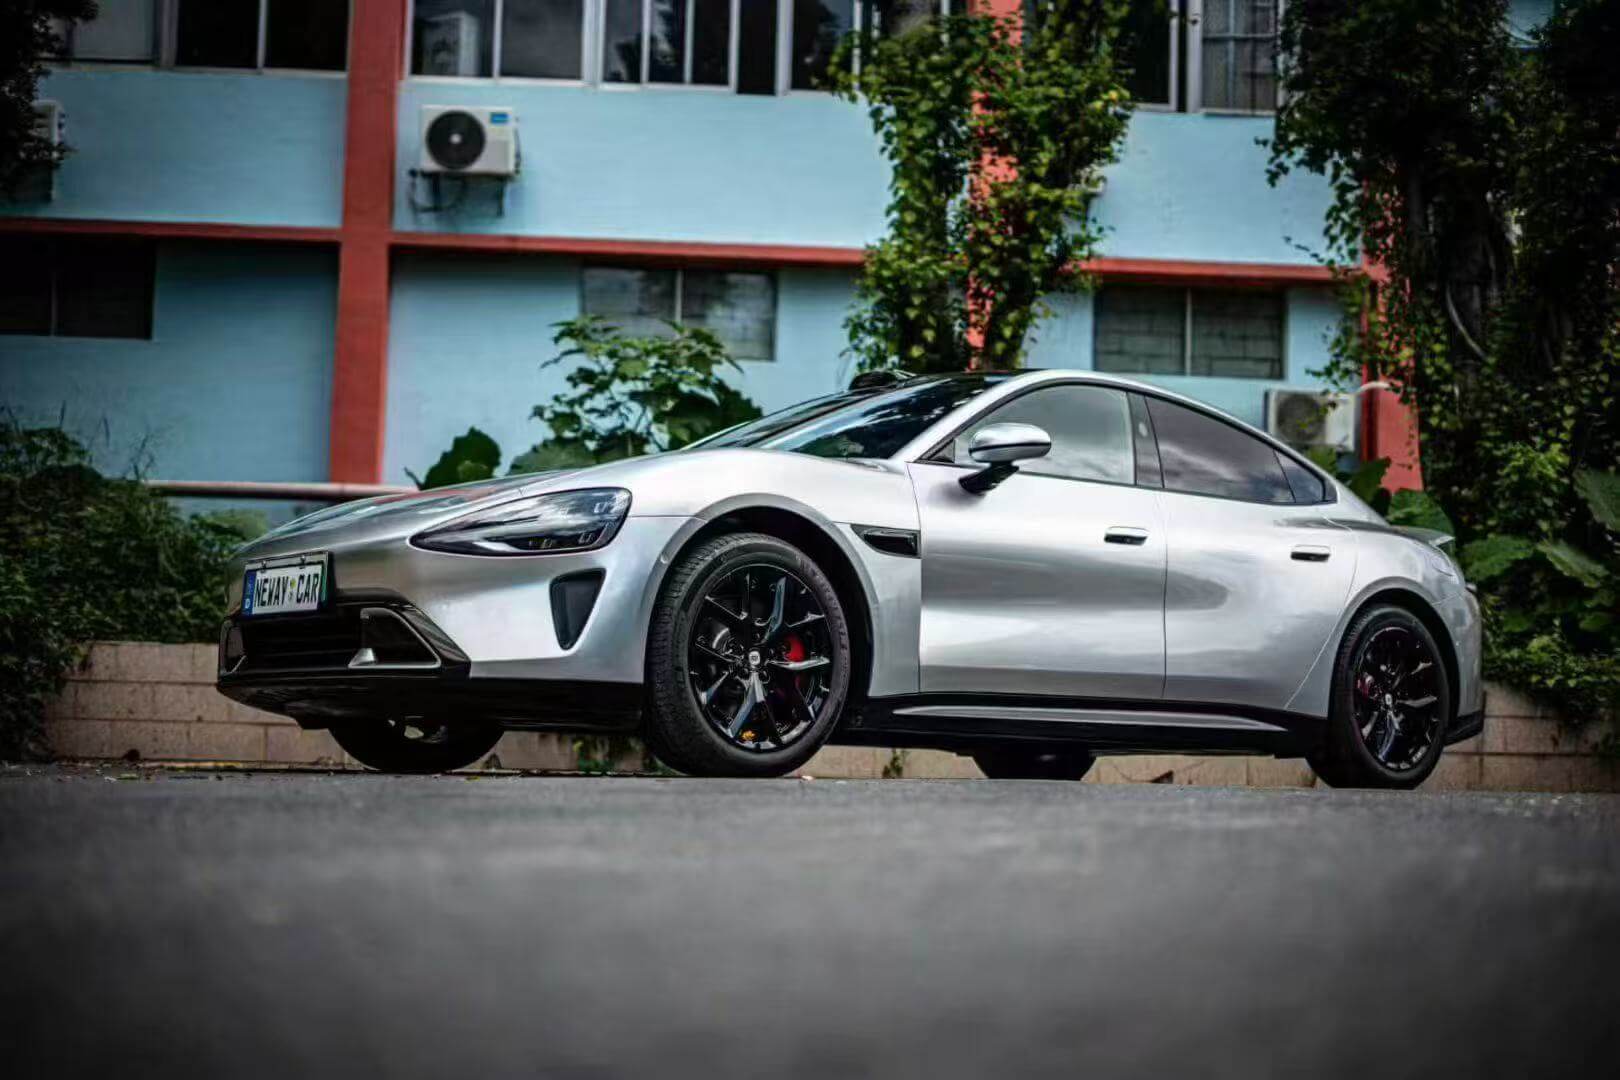
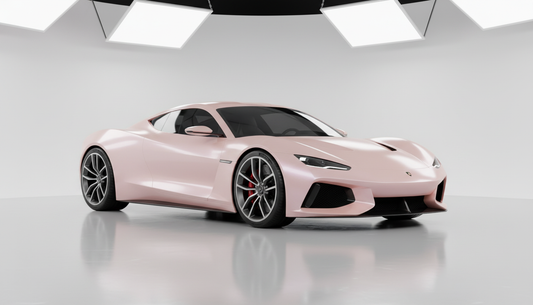
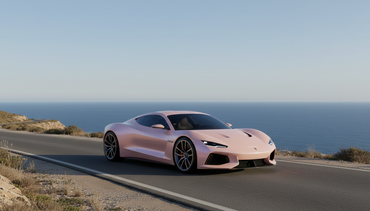
Colored Paint Protection Film A revolutionary product combining protection with aesthetic transformation. Our colored PPF collection includes options like Gloss Ferrari Red, Crystal Sky Blue, and Arctic Grey, allowing complete vehicle color changes while maintaining premium protection.
Matte & Specialty Finishes For enthusiasts seeking unique aesthetics, ultra-matte wraps and dual-color dream vinyl provide distinctive finishes with full protective capabilities.
Essential Tools for Professional PPF Installation
Before beginning any paint protection film installation, assembling the correct tools ensures professional results. The Sailifilm Professional Car Tool Wrapping Kit 14-in-1 includes all essential equipment for seamless installation.
Required Installation Tools:
- Application Squeegees (felt-edged and hard plastic)
- Precision Cutting Tools (sharp blades and safety cutters)
- Heat Gun (adjustable temperature, 180°F optimal)
- Spray Bottles (for slip and tack solutions)
- Microfiber Towels (lint-free for surface preparation)
- Isopropyl Alcohol (70-99% concentration for degreasing)
- Clay Bar or Auto Scrub (for embedded contaminant removal)
- Measuring Tape and Templates (for accurate cutting)
Pre-Installation Surface Preparation: The Foundation of Success
Professional PPF installation begins with meticulous surface preparation. Studies show that over 80% of installation failures result from inadequate surface prep rather than application technique.
Step 1: Comprehensive Vehicle Washing
Begin with a thorough wash using pH-balanced automotive shampoo. High pH detergents effectively remove oil, dirt, grease, bugs, and road film more efficiently than standard soap. Pay special attention to panel edges, seams around headlights, grilles, and fog lights where contamination often hides.
Pro Tip: Use a high-pressure washer to flush dirt from seams and openings, preventing contamination from leaching out during installation.
Step 2: Clay Bar Treatment
After washing, use a clay bar, clay pad, or auto scrub to eliminate embedded contaminants that washing alone cannot remove. These include:
- Metal dust and rail dust
- Road tar and asphalt deposits
- Tree sap and industrial fallout
- Brake dust particles
The clay treatment creates an ultra-smooth surface essential for optimal film adhesion and prevents visible imperfections beneath the PPF.
Step 3: Paint Correction (If Necessary)
Inspect the paint surface under proper lighting. If scratches, swirl marks, or oxidation are visible, perform paint correction before PPF application using a dual-action polisher and quality polishing compounds. Any imperfection will be sealed beneath the film and remain visible, so this step is crucial for show-quality results.
Step 4: Final Surface Degreasing
Using 70-99% isopropyl alcohol and lint-free microfiber towels, thoroughly wipe all surfaces where PPF will be applied. This critical step removes:
- Residual waxes and sealants
- Polishing oils
- Silicone-based products
- Any remaining contaminants
Focus particularly on panel edges where adhesion is most critical. According to 3M installation guidelines, proper edge preparation prevents lifting and ensures long-term durability.
Creating Professional Installation Solutions
Slip Solution Recipe
The slip solution allows PPF repositioning during initial placement. Mix the following:
- 1 liter (1000ml) distilled water (room temperature 75°F/24°C)
- 2ml baby shampoo (Johnson's Baby Shampoo recommended)
Important: Always use distilled or purified water. Tap water contains dissolved minerals (iron, calcium) that can damage film aesthetics and adhesion. Never exceed the recommended soap ratio, as too much solution prevents proper adhesion.
Tack Solution Recipe
Tack solution activates adhesive for permanent bonding, particularly at edges and complex curves:
- 850ml distilled water
- 150ml isopropyl alcohol (99% concentration)
Critical Warning: Never exceed 17% alcohol by volume. Excessive alcohol concentration can damage the adhesive layer and compromise long-term performance.
Professional PPF Installation Process: Step-by-Step
Step 1: Environmental Preparation
PPF installation requires controlled conditions:
- Temperature Range: 60°F-90°F (15°C-32°C)
- Environment: Dust-free, indoor space away from direct sunlight
- Lighting: Adequate overhead lighting to spot contamination
- Ventilation: Proper airflow without excessive air movement
During winter months, ensure the vehicle reaches minimum 60°F before beginning. Use infrared heaters if necessary to warm both the vehicle and film.
Step 2: Pattern Creation and Film Cutting
For Pre-Cut Kits: Sailifilm offers precision-cut patterns for popular vehicle models, eliminating measurement guesswork and reducing installation time.
For Bulk Film:
- Measure each panel carefully using measuring tape
- Add 2-3 inches excess to all edges for adjustment
- Use sharp cutting tools for clean, straight cuts
- Keep film away from contamination during cutting
Step 3: Initial Film Positioning
- Generously spray slip solution on both the vehicle panel and adhesive side of PPF
- Carefully position film over the target area
- Allow slip solution to provide mobility for perfect alignment
- Work from center outward, ensuring film covers entire panel with excess at edges
For Complex Curves: The slip solution is essential for repositioning. Don't rush this step—proper initial positioning prevents wrinkles and misalignment.
Step 4: Squeegee Application Technique
This step is where professional technique separates amateur from expert results:
- Center Anchor: Begin squeegeeing from the center of the panel
- Overlapping Strokes: Use firm, overlapping strokes working toward edges
- Consistent Pressure: Maintain even pressure to eliminate air bubbles and slip solution
- Edge Focus: Pay special attention to panel edges where lifting commonly occurs
Technique Tip: Hold squeegee at 45-degree angle and use long, smooth strokes rather than short, choppy movements.
Step 5: Heat Application for Complex Areas
For curves, contours, and recessed areas, heat application is essential:
- Set heat gun to approximately 180°F (82°C)
- Safety Test: Direct air stream on your hand for 2-3 seconds—if too hot to handle comfortably, it's too hot for film
- Warm the film while gently stretching around curves
- Immediately squeegee heated areas to lock shape
- Allow to cool before releasing pressure
Applications for Heat:
- Door handle recesses
- Mirror housings
- Bumper contours
- Complex body lines
- A-pillar transitions
Our colored paint protection film collection is specifically engineered with enhanced stretchability for complex vehicle designs.
Step 6: Edge Wrapping and Trimming
Professional installations require clean edges:
- Trimming: Using sharp blades, carefully trim excess film leaving 1-2mm overlap at panel edges
- Edge Sealing: Apply tack solution to edges
- Heat Setting: Use heat gun at 180°F to thoroughly seal all edges
- Pressure Application: Apply firm pressure to edges for 10 seconds to activate firmer adhesive
Critical Areas for Edge Attention:
- Panel seams
- Door edges
- Hood and trunk edges
- Around emblems and badges
Step 7: Final Inspection and Touch-Up
- Inspect entire installation under proper lighting
- Check for trapped air bubbles (use heat gun and squeegee to eliminate)
- Verify all edges are fully adhered
- Remove any excess slip solution with lint-free towel
- Allow 15 minutes before applying any pressure to avoid leaving marks
Post-Installation Care: Ensuring Longevity
Curing Period (Critical First 7-10 Days)
- No Washing: Allow film to cure completely for 7-10 days
- No Pressure: Avoid touching or applying pressure to film
- Park Indoors: Keep vehicle protected from weather when possible
- Monitor Edges: Check daily for any lifting
Long-Term Maintenance
Washing Protocol:
- Hand wash or touchless car wash only (avoid automatic brush washes)
- Use pH-neutral car soap
- Soft microfiber wash mitts
- Dry with clean microfiber towels
Pressure Washing Guidelines: According to automotive detailing standards, if using pressure washer:
- Minimum 40-degree wide spray pattern
- Keep nozzle 12 inches from surface
- Never direct spray at film edges at close range
Protection Enhancement: Many professionals apply ceramic coating over PPF 3-6 months after installation. This combination provides:
- Enhanced hydrophobic properties
- Increased gloss and shine
- Easier cleaning and maintenance
- Additional UV protection
Self-Healing Properties
Premium TPU films from Sailifilm feature self-healing technology. Minor scratches and swirl marks disappear when exposed to:
- Direct sunlight
- Warm water (during washing)
- Heat gun application (for deeper scratches)
This technology significantly reduces maintenance requirements and keeps vehicles looking pristine for years.
Common Installation Mistakes to Avoid
1. Inadequate Surface Preparation
Problem: Contamination trapped under film Solution: Follow comprehensive prep protocol, never skip clay bar treatment
2. Incorrect Solution Ratios
Problem: Film won't adhere or slides excessively Solution: Precise measurement of slip and tack solutions
3. Insufficient Heat Application
Problem: Film won't conform to curves, creates wrinkles Solution: Proper heat gun technique with safety testing
4. Rushing Edge Sealing
Problem: Premature edge lifting and peeling Solution: Thorough heat setting and tack solution application to all edges
5. Wrong Environmental Conditions
Problem: Dust contamination, poor adhesion Solution: Controlled environment within 60-90°F temperature range
DIY vs. Professional Installation: Making the Right Choice
DIY Installation Considerations
Advantages:
- Cost savings on labor
- Learning valuable skill
- Satisfaction of personal achievement
- Suitable for small panels and precut kits
Challenges:
- Steep learning curve
- Risk of costly mistakes
- Requires proper tools and environment
- Time-intensive (8-20+ hours for full vehicle)
Best DIY Applications:
- Mirror caps
- Door handle cups
- Small accent panels
- Glitter sparkle accents
Professional Installation Benefits
Advantages:
- Expert technique and experience
- Warranty coverage
- Specialized tools and controlled environment
- Bubble-free, perfect results
- Time-efficient
When to Choose Professional:
- Full front-end coverage
- Complete vehicle wraps
- Complex body styles (sports cars, luxury vehicles)
- Valuable or show cars
- First-time installation
Sailifilm Product Recommendations by Application
Full Vehicle Protection
Product: TPU Paint Protection Wrap Features: Crystal clear, self-healing, 10-year durability Best For: Complete invisible protection maintaining original paint
Color Change + Protection
Product: Colored Paint Protection Film Features: Full color transformation with PPF protection Options: Ferrari Red, Sky Blue, Arctic Grey, Crystal White, Piano Black Best For: Enthusiasts wanting style and protection simultaneously
Matte Finish Enthusiasts
Product: Ultra Matte Wrap Features: Satin finish with full protective capabilities Best For: Modern, understated aesthetic with premium protection
Attention-Grabbing Looks
Products:
- Rainbow Laser Vinyl Wrap
- Liquid Chrome Wrap
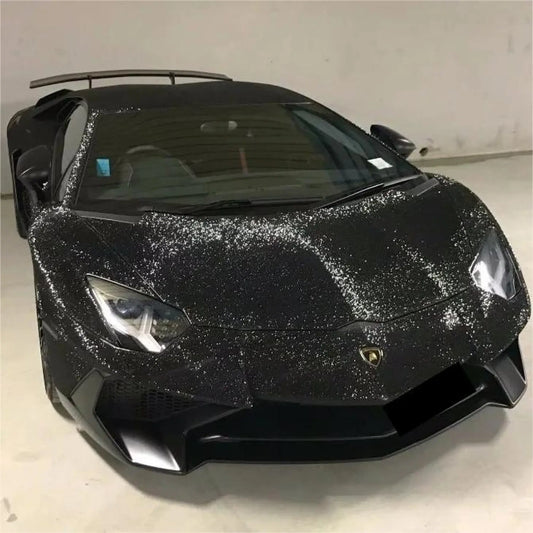
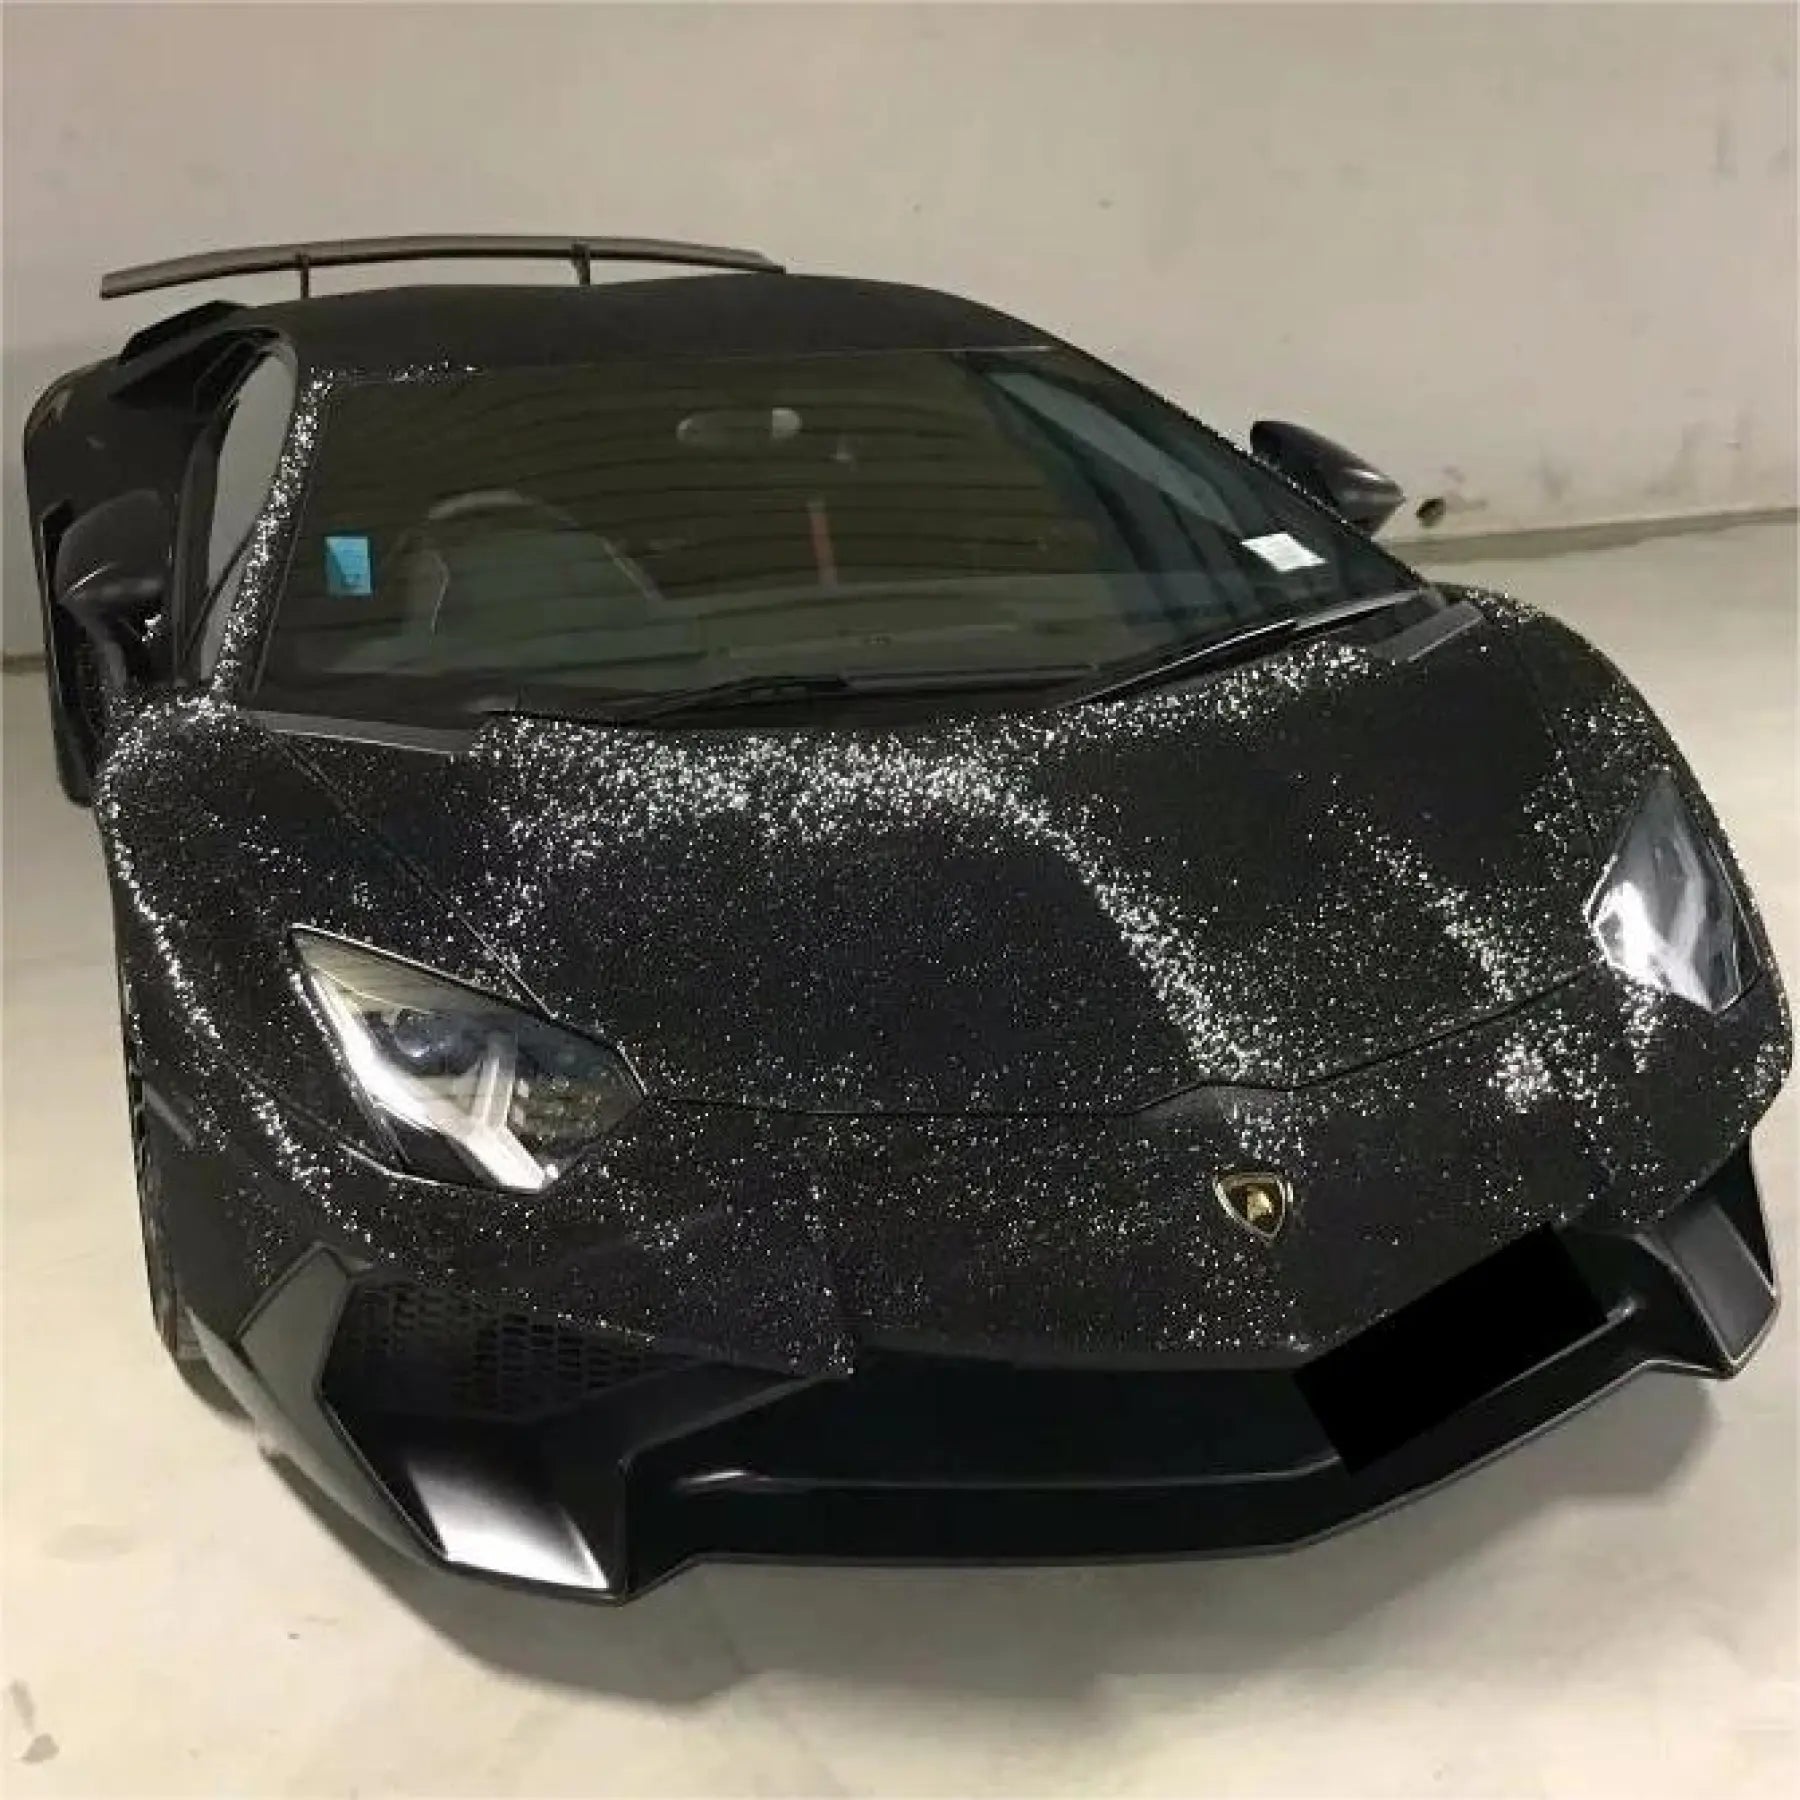
- Glitter Sparkle Car Wrap Best For: Show cars, special events, maximum visual impact
Professional Installers
Product: Sample Kits Purpose: Test material characteristics before major projects Includes: Multiple finish options for client presentation
Understanding Installation Costs and ROI
2025 PPF Installation Cost Breakdown
Partial Front Coverage (bumper, partial hood, headlights)
- DIY: $400-600 (materials only)
- Professional: $1,500-2,500
Full Front End (full hood, fenders, bumper, mirrors, headlights)
- DIY: $800-1,200 (materials only)
- Professional: $2,000-4,000
Full Vehicle Coverage
- DIY: $2,000-3,000 (materials only)
- Professional: $5,000-8,000+
Factors Affecting Cost:
- Vehicle size and complexity
- Film quality and brand
- Coverage area
- Geographic location
- Installer experience and certification
Return on Investment
Studies indicate vehicles with PPF maintain 10-15% higher resale value. For a $50,000 vehicle, this translates to $5,000-7,500 additional value—far exceeding installation costs. Additionally, PPF eliminates:
- Paint correction costs ($300-1,000)
- Rock chip repairs ($50-150 each)
- Complete panel repaints ($500-2,000 per panel)
Frequently Asked Questions
How long does PPF installation take? Small panels: 30-60 minutes each Single large panel (hood): 2-4 hours Full front end: 6-12 hours Complete vehicle: 15-25+ hours
Can PPF be removed? Yes, professional-grade PPF removes cleanly without damaging paint when properly installed. Sailifilm TPU films are designed for safe removal after 5-10 years.
Will PPF damage my paint? No. Quality PPF with proper installation protects rather than damages paint. Issues only arise from counterfeit films or improper installation.
Can I apply PPF over existing wraps? Not recommended. PPF should be applied directly to painted surfaces for optimal adhesion and performance.
Does PPF require special maintenance? Basic care is simple: hand washing with pH-neutral soap, avoiding abrasive materials, and periodic inspection of edges. Self-healing properties minimize maintenance needs.
Advanced Techniques for Professional Results
Working with Metallic and Specialty Films
Metallic vinyl wraps and crystal vinyl wraps require modified techniques:
- Lower heat application to prevent color shifting
- More frequent slip solution reapplication
- Gentler squeegee pressure to avoid texture damage
- Extended curing time before initial washing
Complex Curve Mastery
For extreme curves like bumper corners:
- Pre-stretch film slightly while warming
- Apply in sections rather than full panel at once
- Use relief cuts strategically (hidden areas only)
- Multiple heat and squeegee passes
Carbon Fiber Pattern Application
3D carbon fiber wrap installation requires pattern alignment:
- Plan pattern direction before cutting
- Use alignment marks during positioning
- Maintain consistent stretch to prevent pattern distortion
- Overlap seams carefully to maintain pattern flow
Industry Trends Shaping 2025 PPF Market
Colored PPF Revolution
The fastest-growing segment in paint protection is colored PPF, combining full protection with complete color transformation. This eliminates the traditional choice between protective clear film and decorative vinyl wraps.
Enhanced Self-Healing Technology
Modern TPU formulations from manufacturers like Sailifilm now feature improved self-healing that activates at lower temperatures, making minor scratch repair nearly effortless through normal sun exposure.
Eco-Friendly Materials
Increasing focus on sustainability has led to PPF production using recycled materials and biodegradable compounds without sacrificing performance or durability.
Nano-Ceramic Integration
Advanced films now incorporate nano-ceramic particles, offering enhanced UV protection, superior hydrophobic properties, and increased scratch resistance beyond traditional TPU alone.
Conclusion: Protecting Your Investment
Professional paint protection film installation represents one of the smartest investments for vehicle preservation. Whether you choose DIY installation with Sailifilm's premium products and professional tool kits, or opt for certified professional installation, proper technique and quality materials ensure years of flawless protection.
The key to successful PPF installation lies in meticulous preparation, proper technique, appropriate environmental conditions, and patience throughout the process. By following this comprehensive guide and using premium materials, you can achieve professional results that protect your vehicle's finish while maintaining—or even enhancing—its aesthetic appeal.
Explore Sailifilm's complete range of automotive protection solutions to find the perfect film for your vehicle protection needs. From invisible clear PPF to eye-catching specialty finishes, we offer professional-grade materials designed for both DIY enthusiasts and certified installers.
Ready to protect your investment? Visit Sailifilm.com to explore our full collection of paint protection films, vinyl wraps, and professional installation tools. Transform and protect your vehicle with industry-leading materials backed by quality assurance and expert support.
External Resources:
